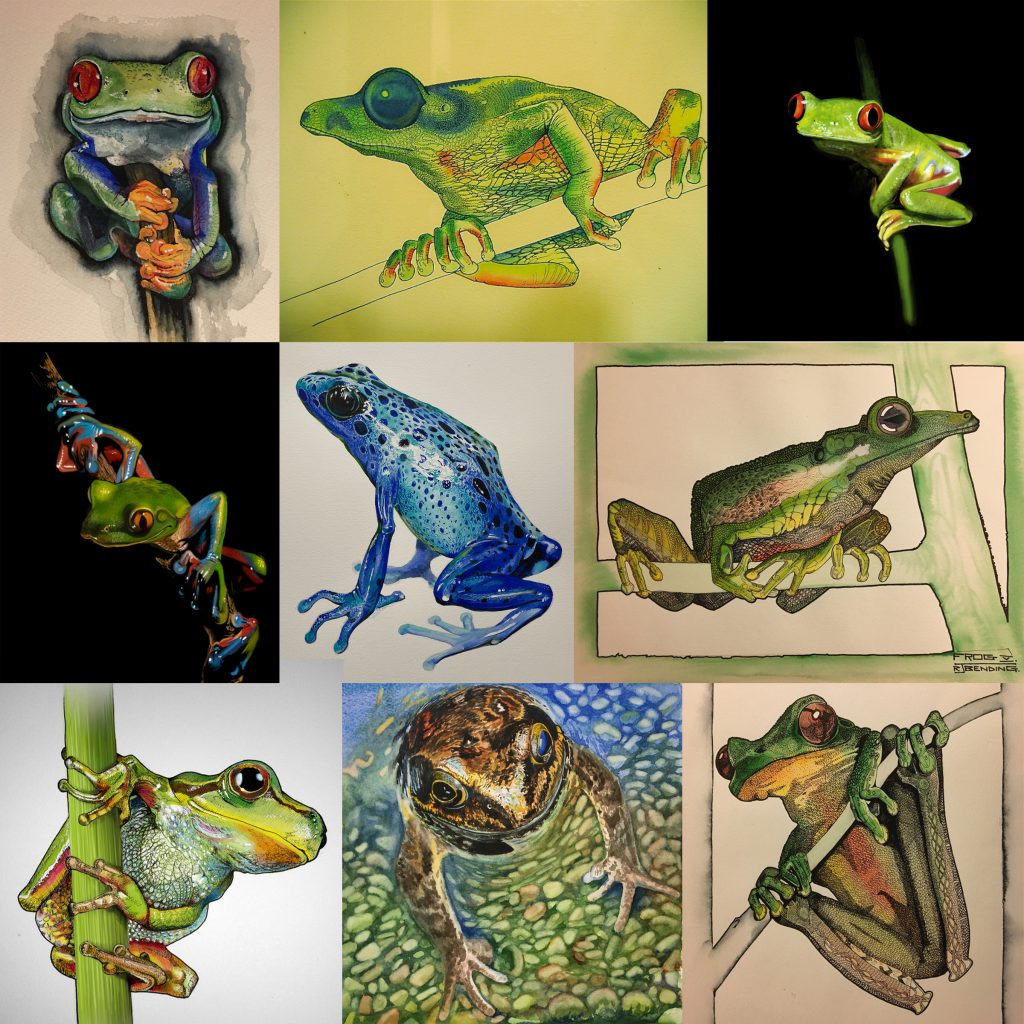
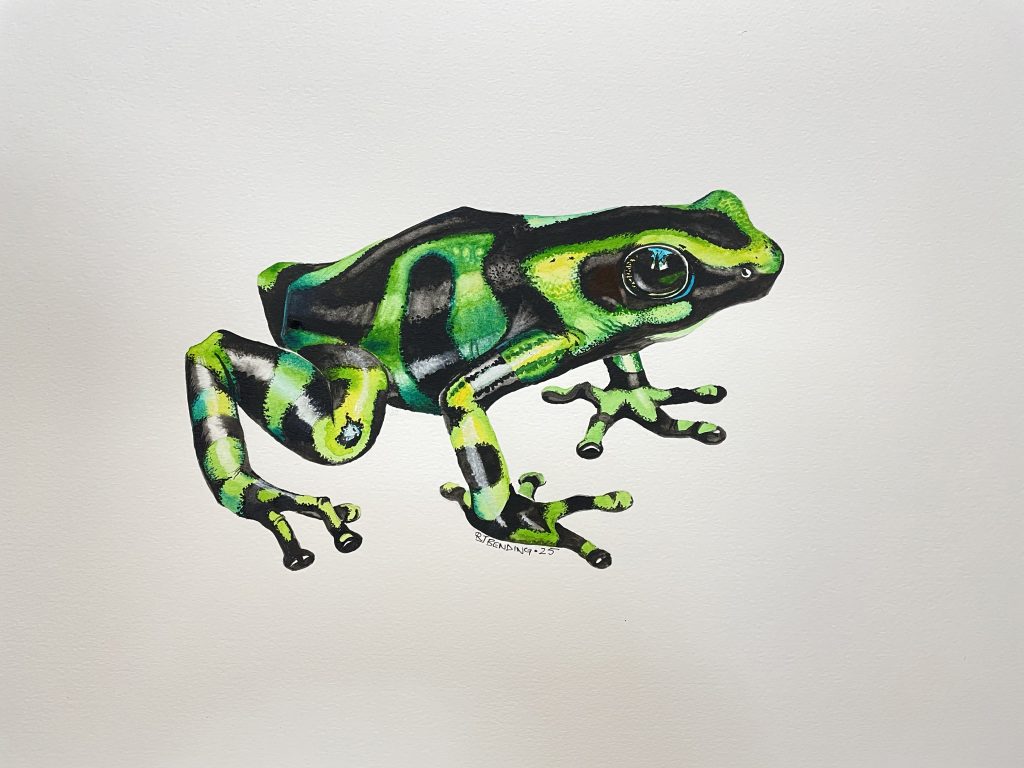
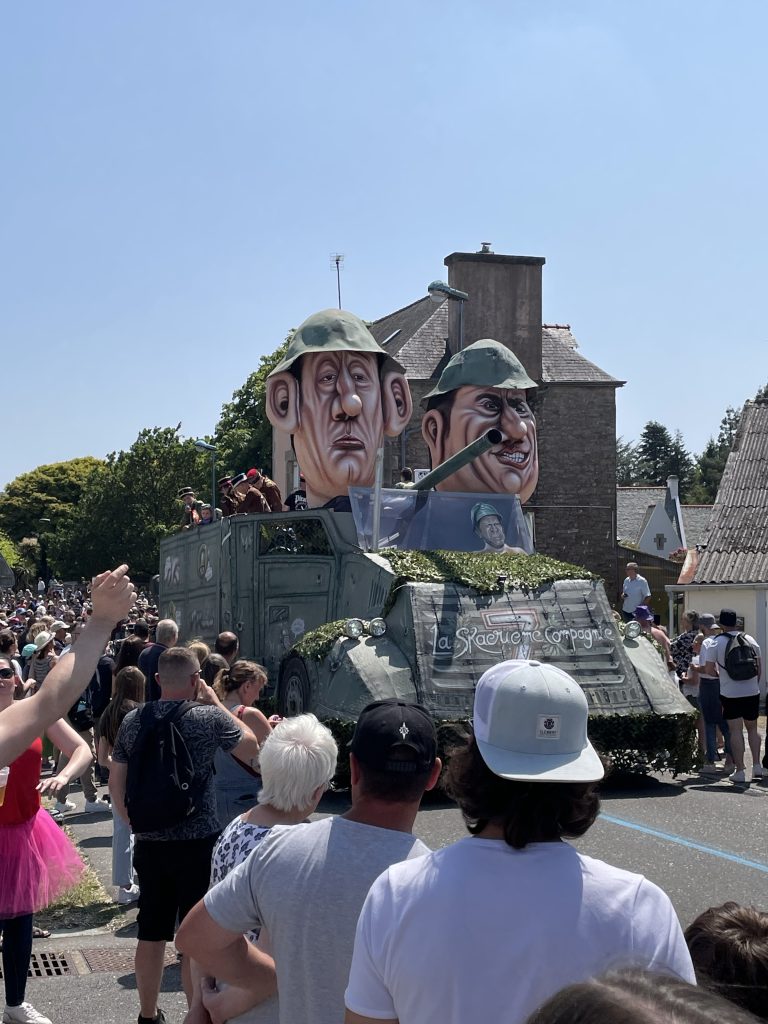
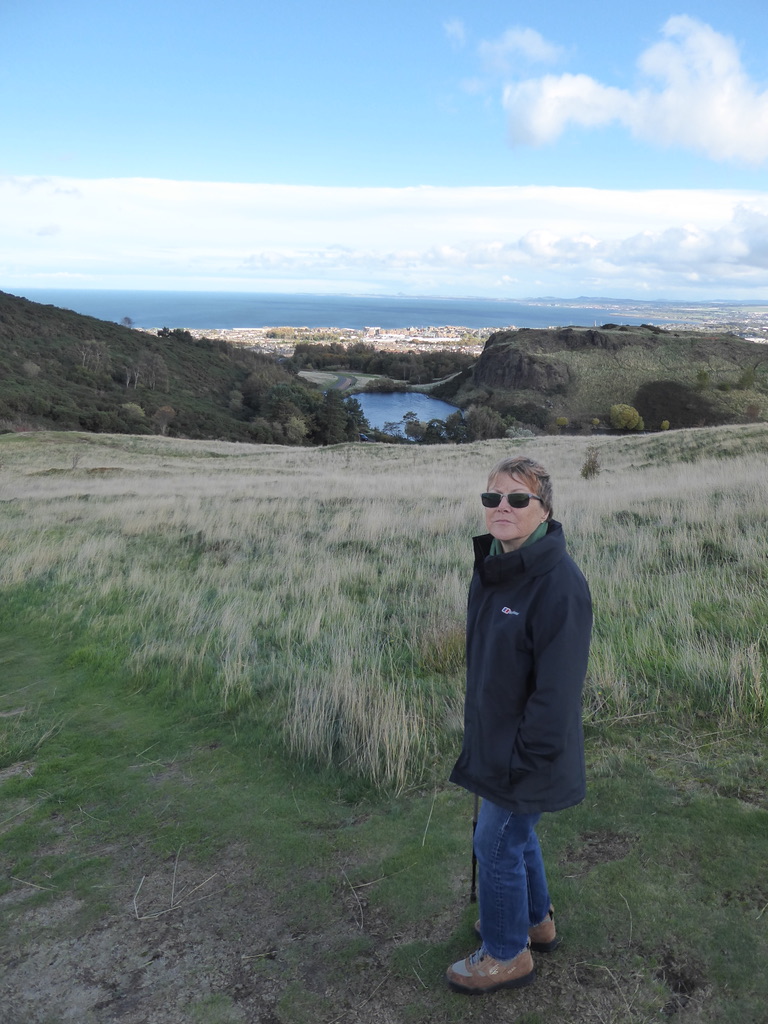
More frogs.
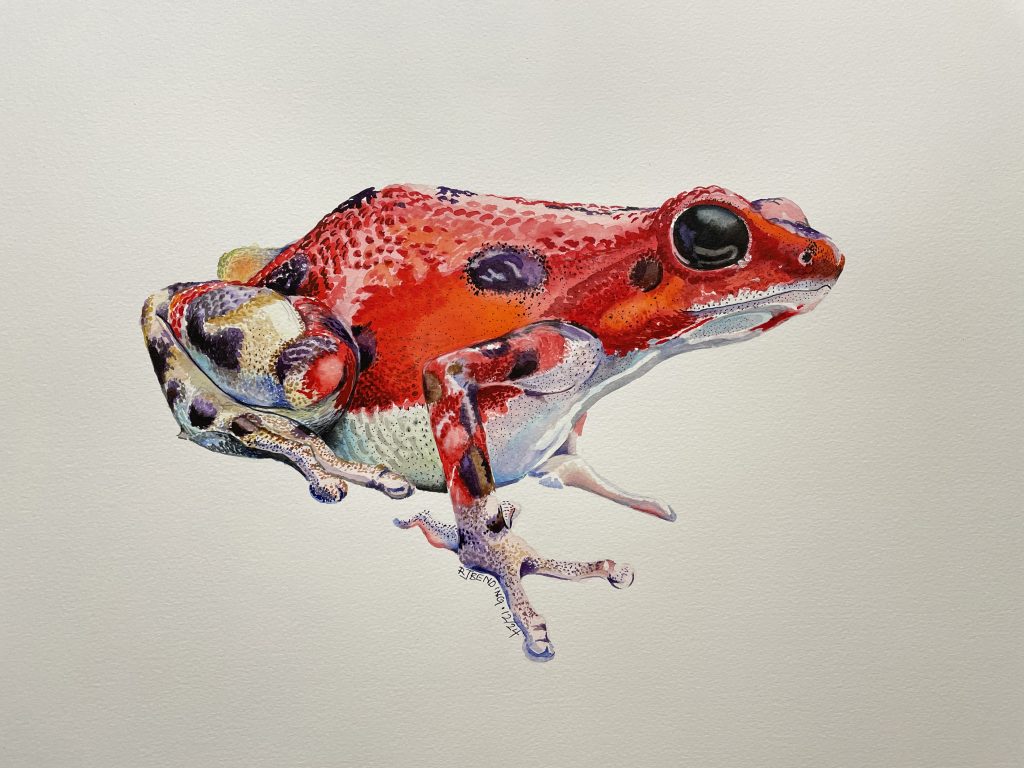
I liked the blue poison dart frog in the centre, so decided to add a few more in various colours.
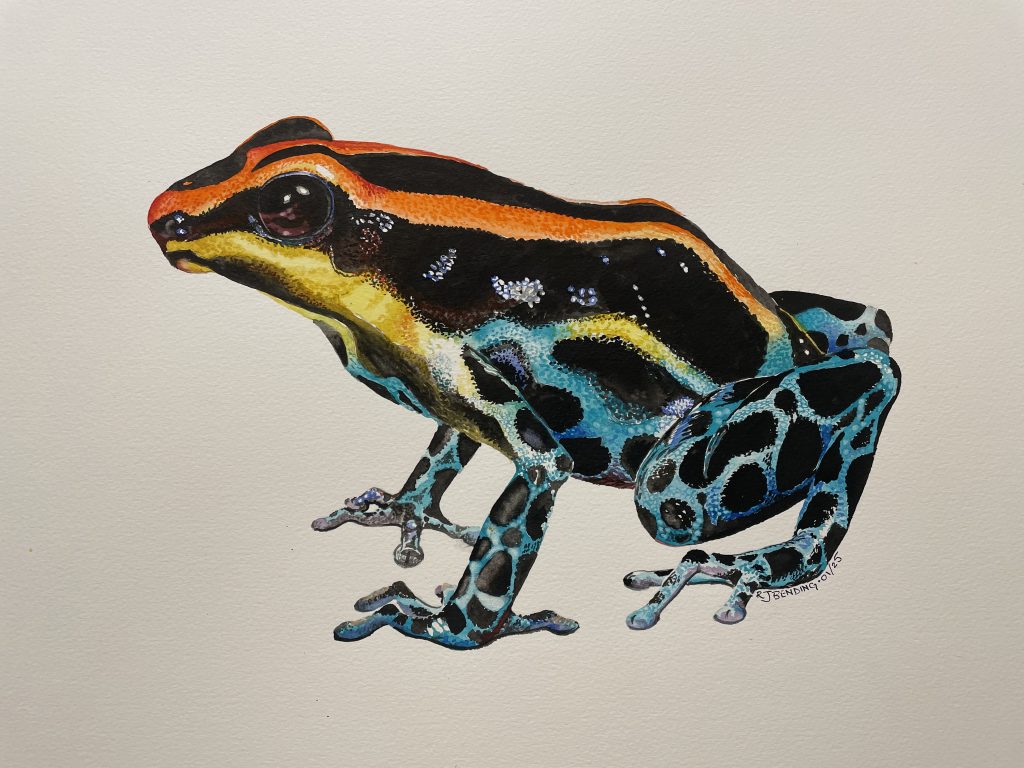

Nov 19
I liked the blue poison dart frog in the centre, so decided to add a few more in various colours.
Nov 19
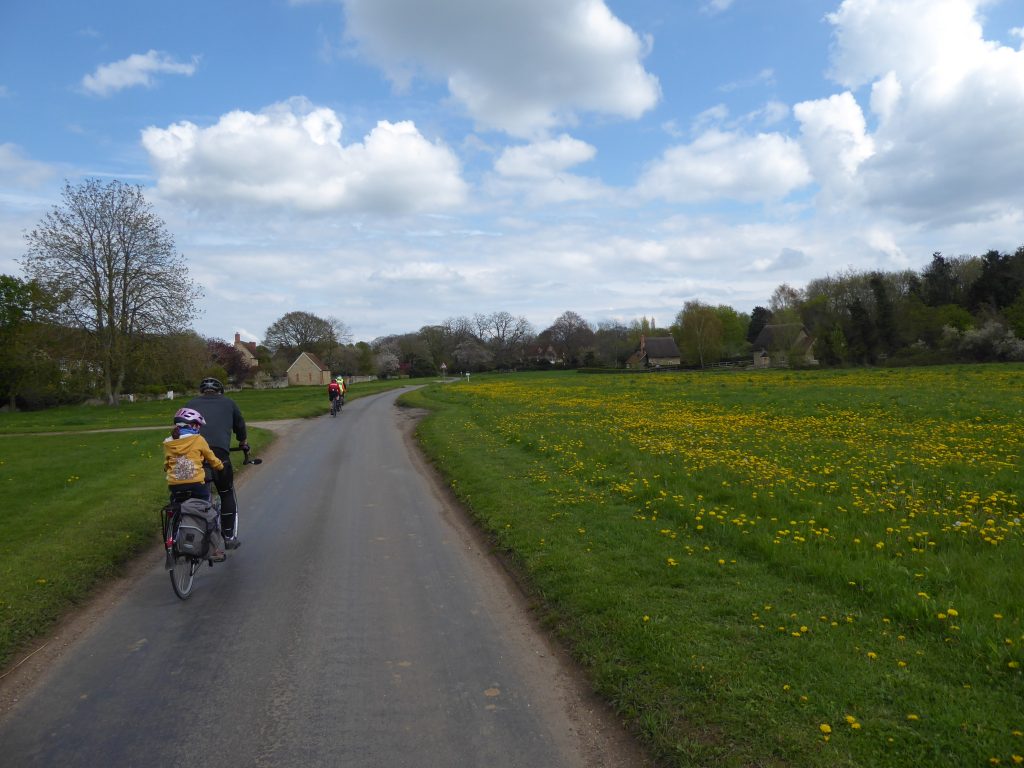
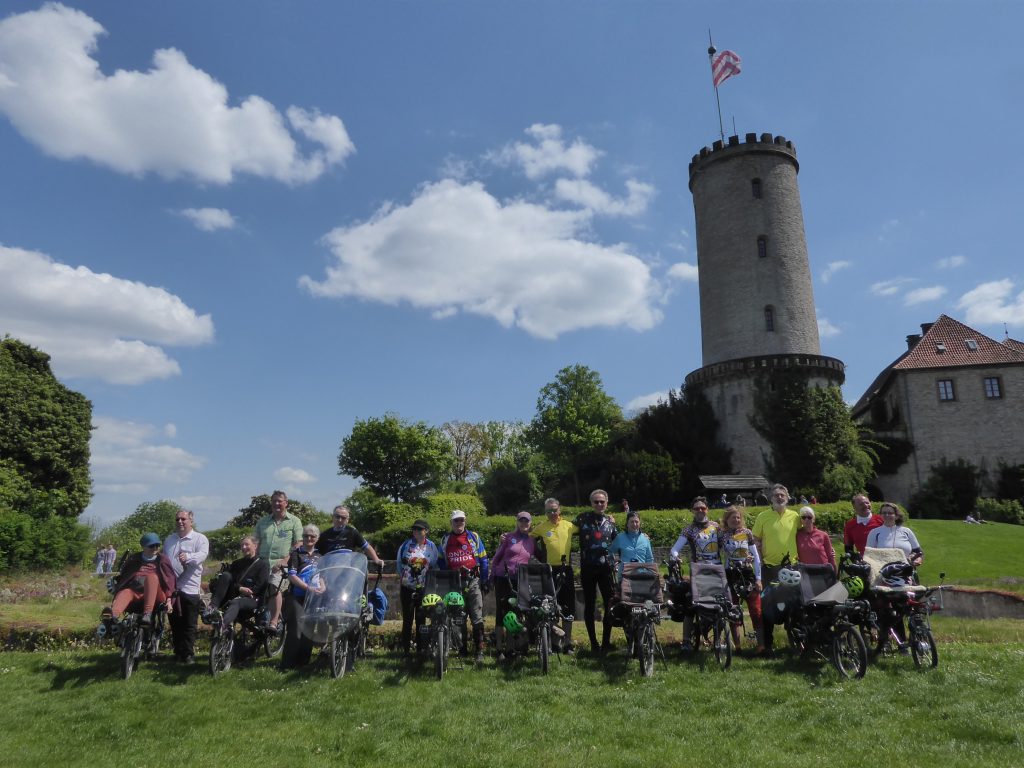
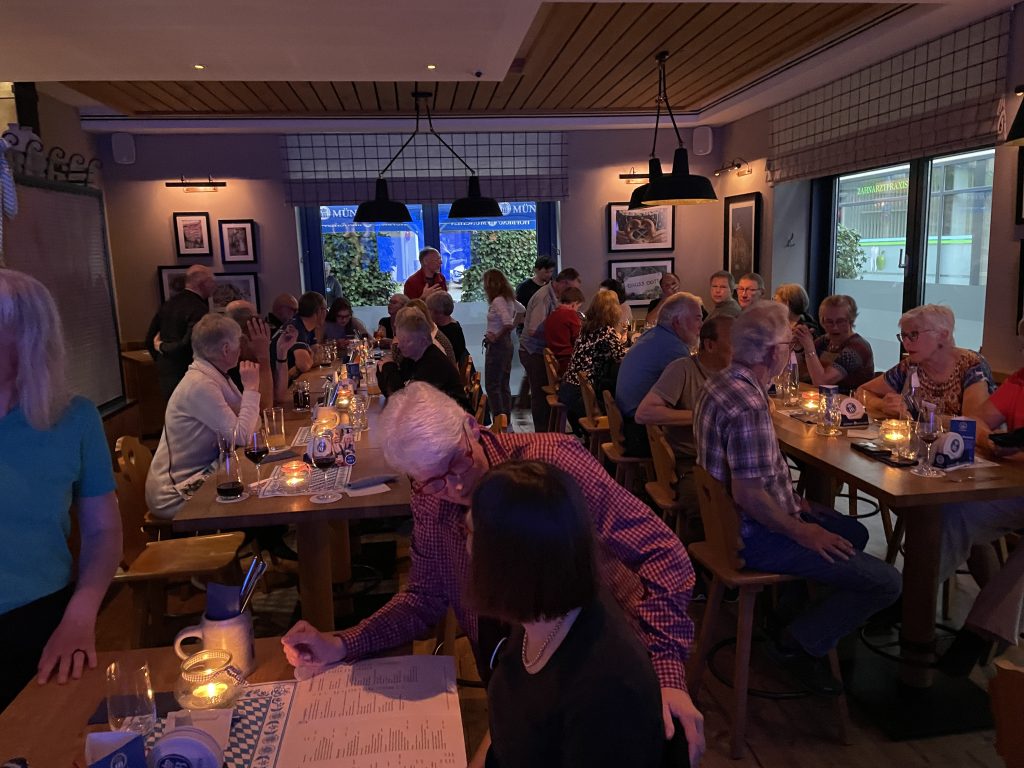
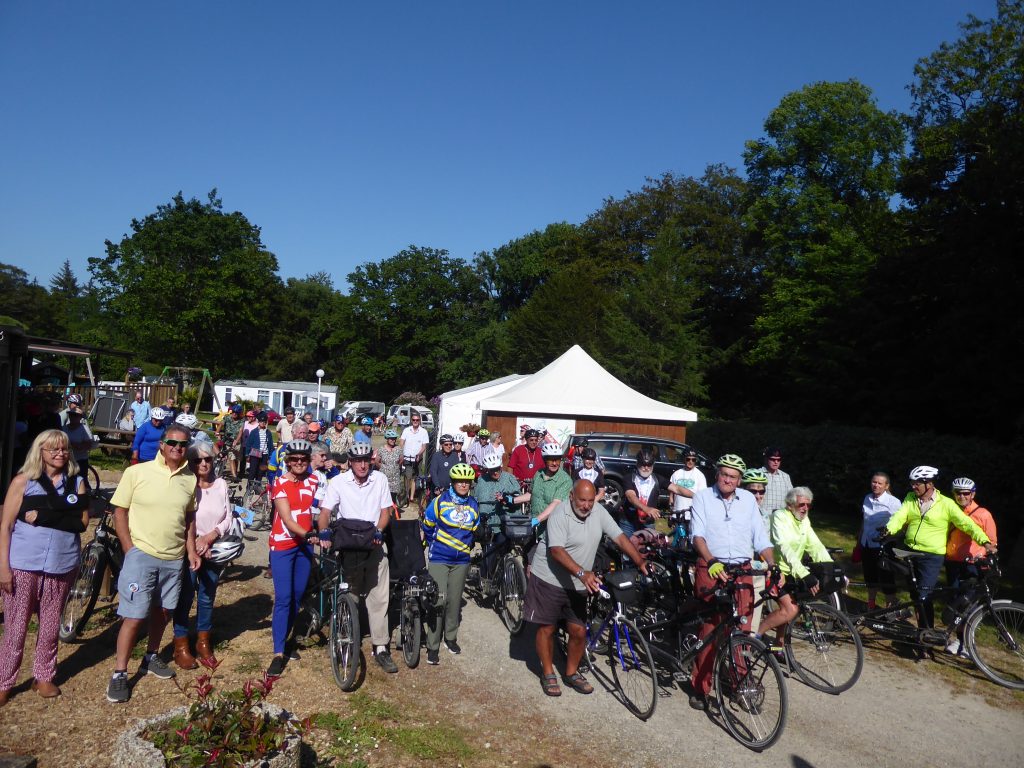
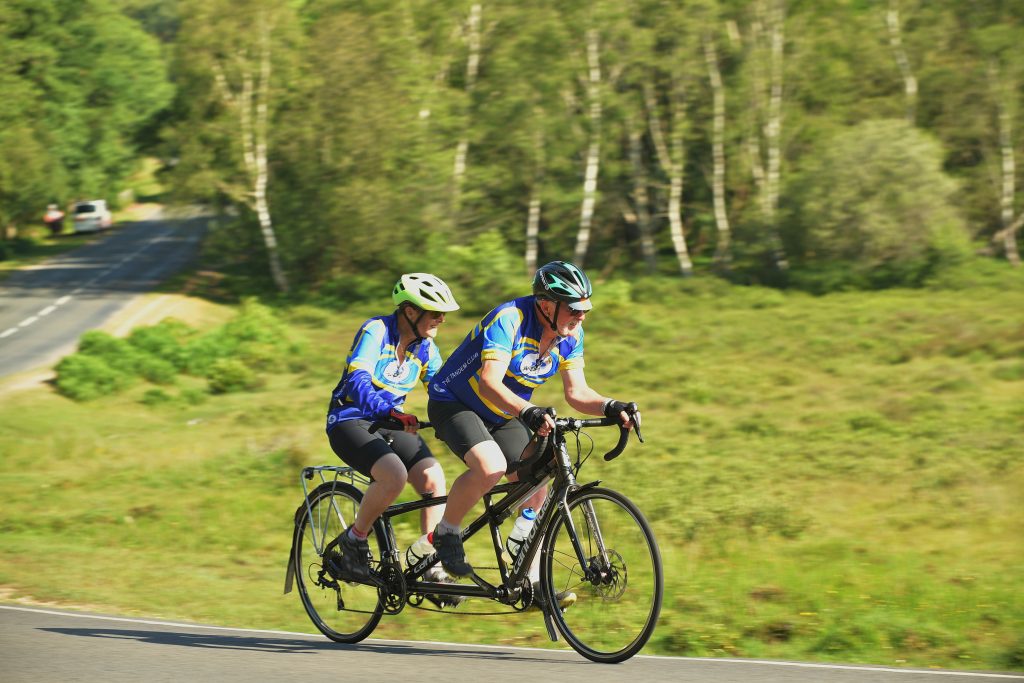
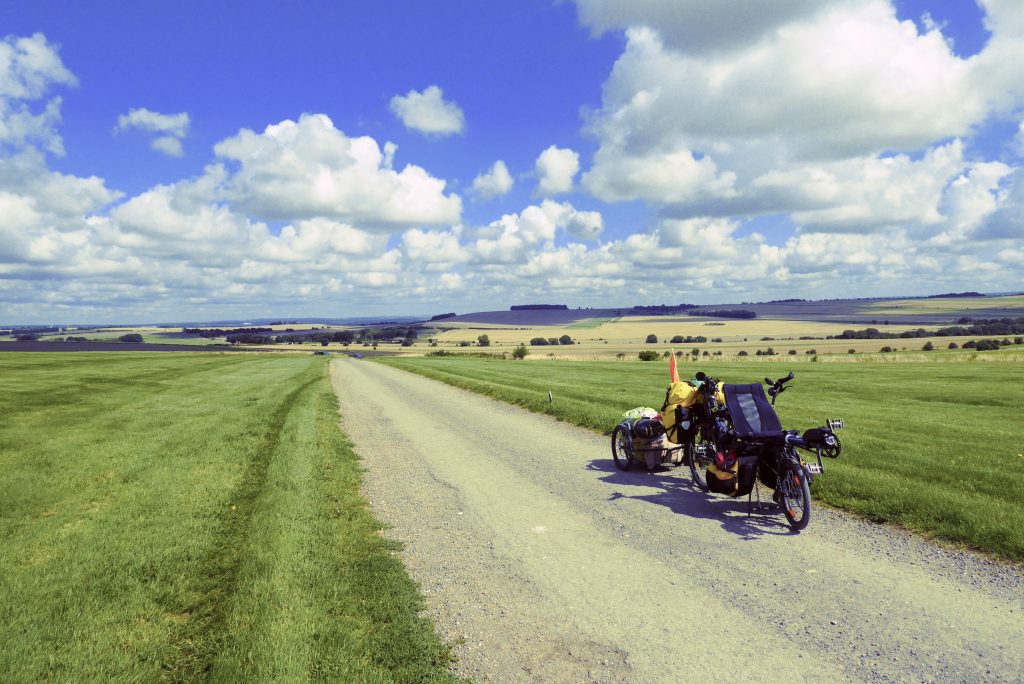
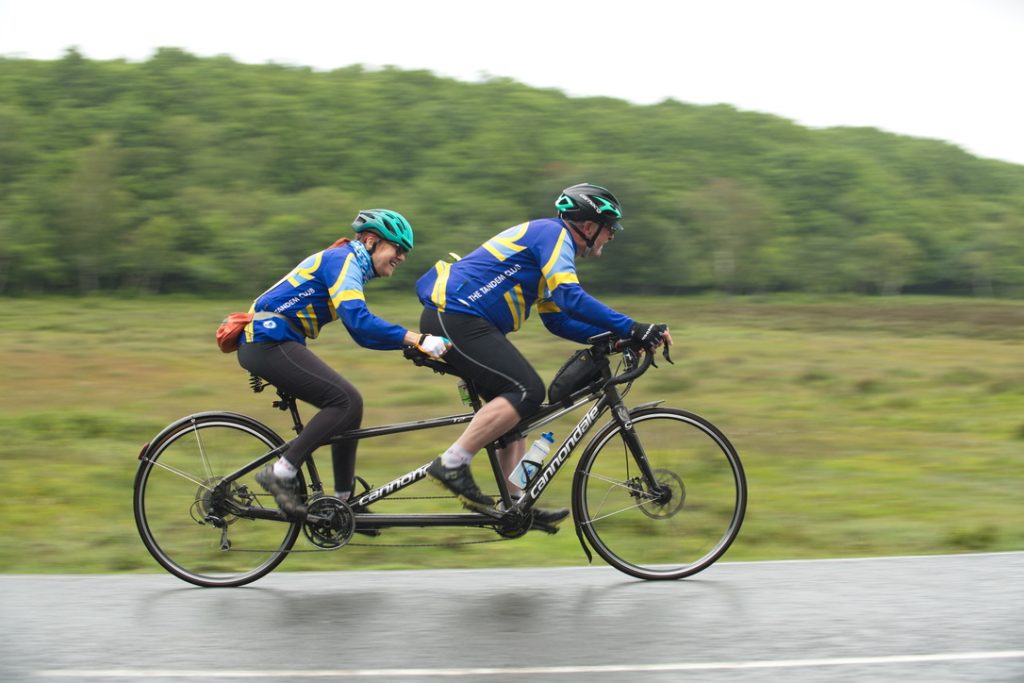
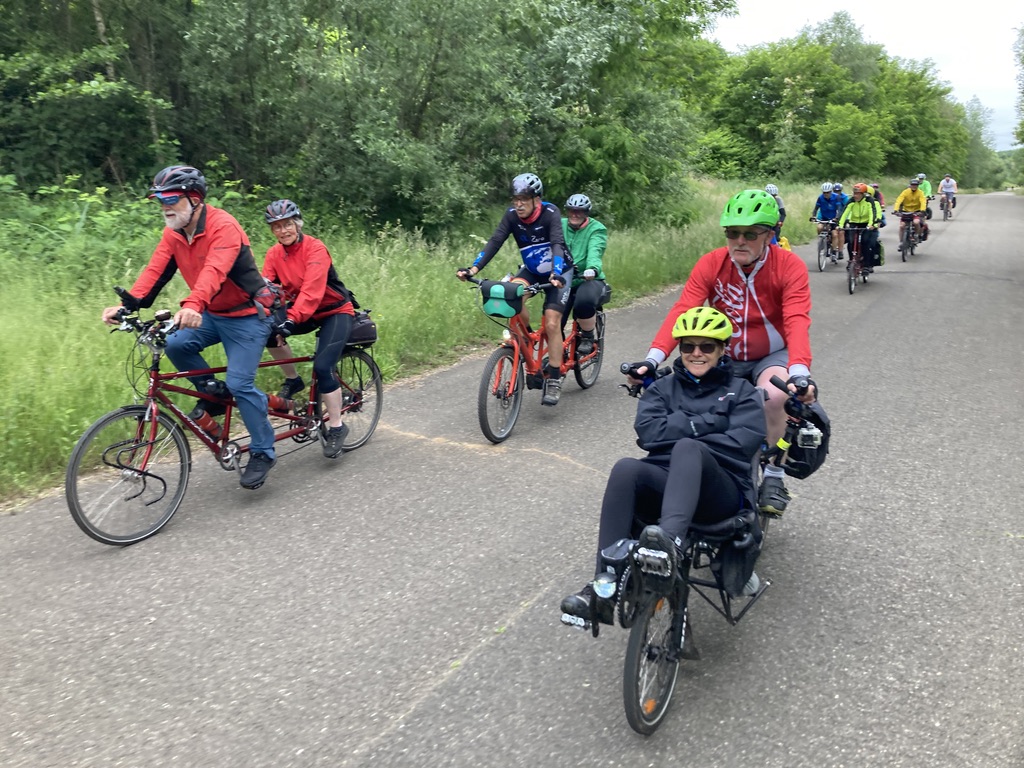
Meeting up with our (mostly) German tandem friends and spending a festive weekend riding out from Bad Salzuflen into the surrounding countryside and to the nearby towns of Herford, Bielefeld, Detmold and Bad Oeyenhausen.
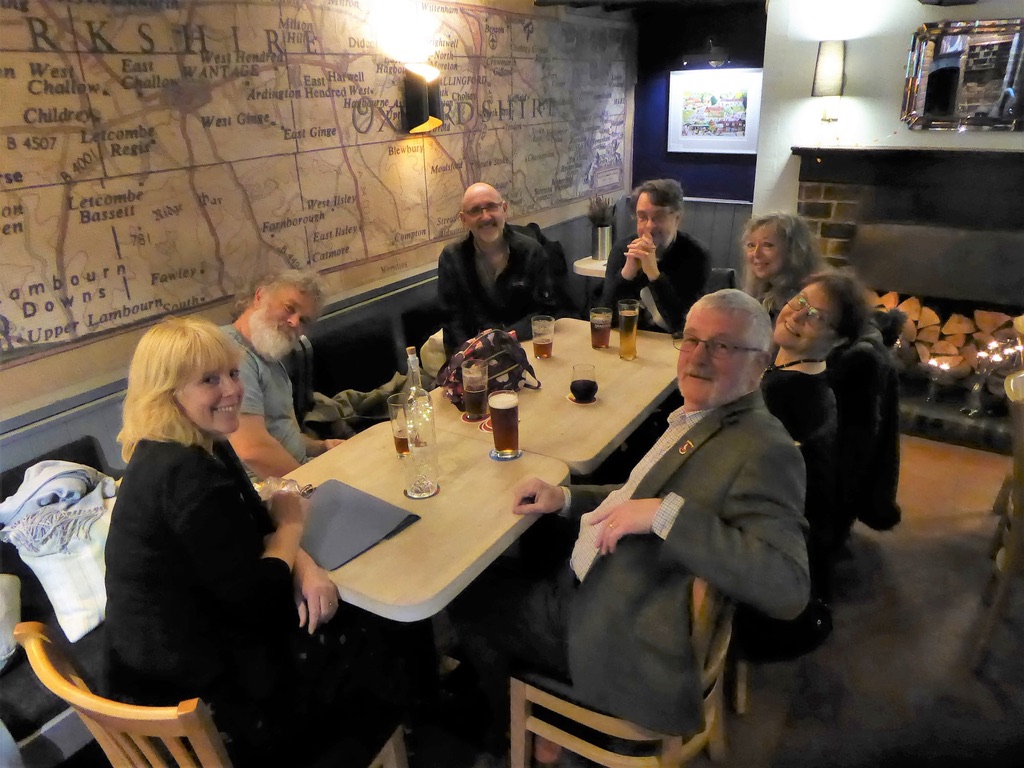
Tandemtreffen attendance is usually by way of invitation, as previous participants, or through introduction by regular participants. The meetings take place over the weekend of the Ascension (and ‘Father’s Day, or Vatertag’) in Germany which falls in May. I dare say some folk go to church on Ascension Day but most seem to celebrate Vatertag by loading up a small trolly with beer and a music system and wandering off into the countryside to dance to the tunes and empty the trolly – which can then be employed to transport the most inebriated back home.
The Tandemtreffen organisers (volunteers from within the group) start planning early and once a location for ‘base’ is decided will arrange with a hotel to host the group. The majority will take a room and half-board while one of two may use camper vans and join the group at breakfast in the hotel. Routes are divided into short, medium and long to cater for the varying abilities of the tandem teams but the rides usually meet up at lunchtime or at a coffee-stop during the day.
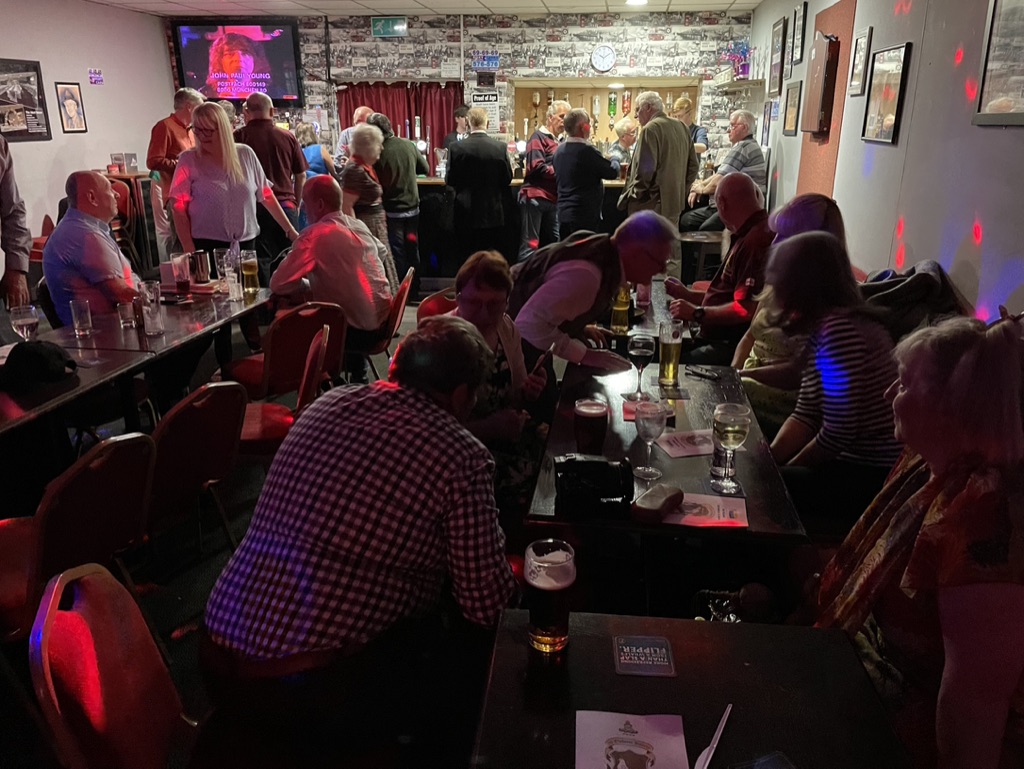
After the day’s ride, in the evening the group will meet in the bar or usually, an area set aside, to socialise ahead of dinner. After dinner we transfer to a meeting room or community area where the following day’s rides are discussed and then one or two presentations from individual teams about a previous tour they may have undertaken.
The rides always take in local places of interest and by the end of the weekend you’ll come away with a very good impression of what the area has to offer. On the final day – Sunday – those that have further to travel may set off for home but there’s usually a ride organised to a local attraction for those who want to tag along.
These weekend aren’t cheap by any means, as we travel from home in the UK. Ferry fares and intermediate overnight stays plus the cost of the weekend stay at the hotel and bar bills etc. all add up, but the enjoyment factor is huge and its great to meet up with teams that we have got to know over the years.
Sep 21
We left 2022 with me writing off my car. It took a few months to sort out the insurance to the point where I could replace it with one similar but by March I was back on the road.
Riding in the early months is a lot less frequent but we still managed the odd ride out on the Pino and when Karon’s car needed a service, I dropped it off in Newbury and used my Brompton to get back home.

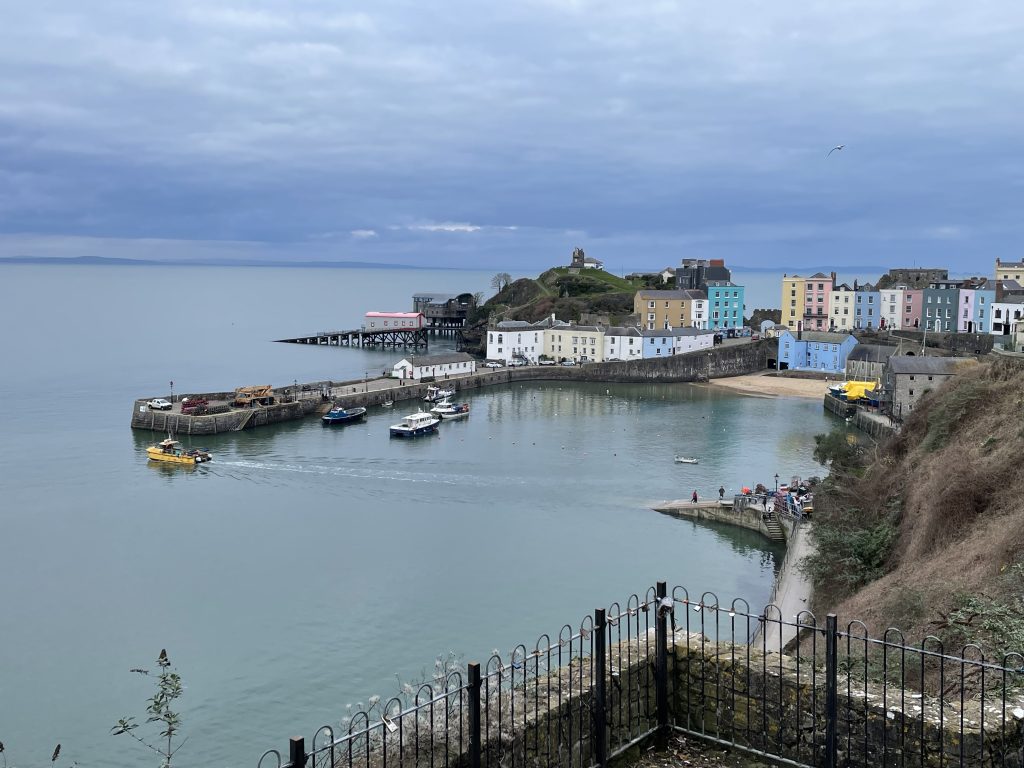
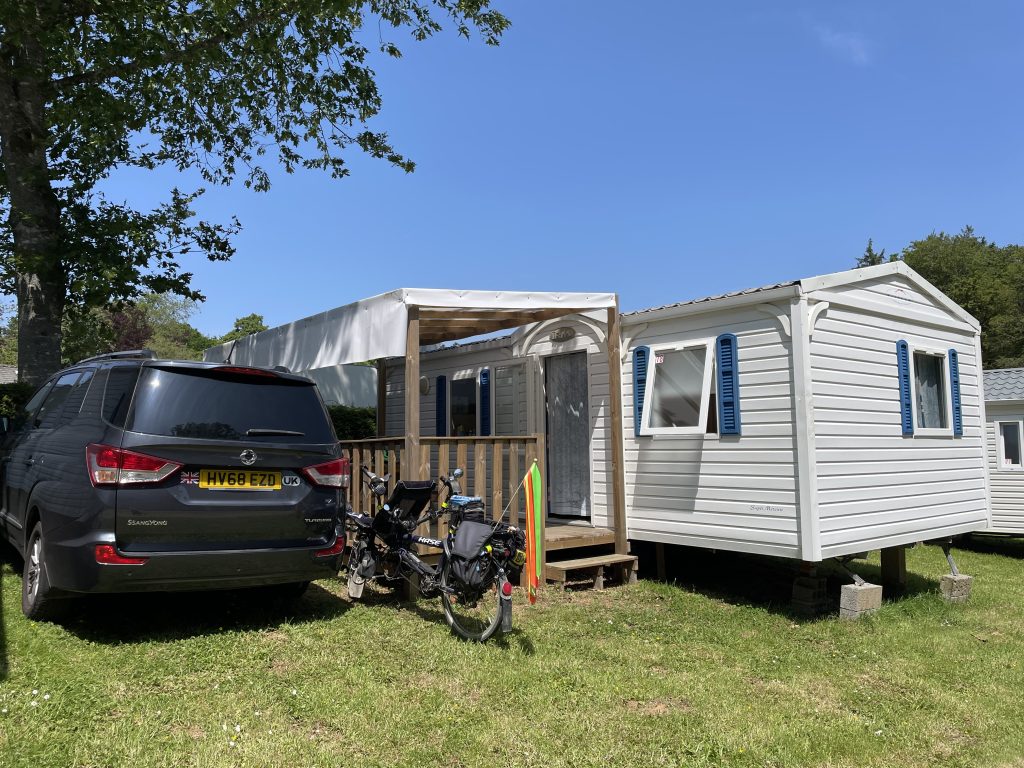
Early in March we went to spend a few days in Tenby, taking the Pino so, weather permitting, we could ride.

At Easter we drove up to Rutland for the Tandem Club Easter Rally and AGM there. The weather was ok for most of the weekend and we got a few rides in, staying in a lovely pub in Exton.


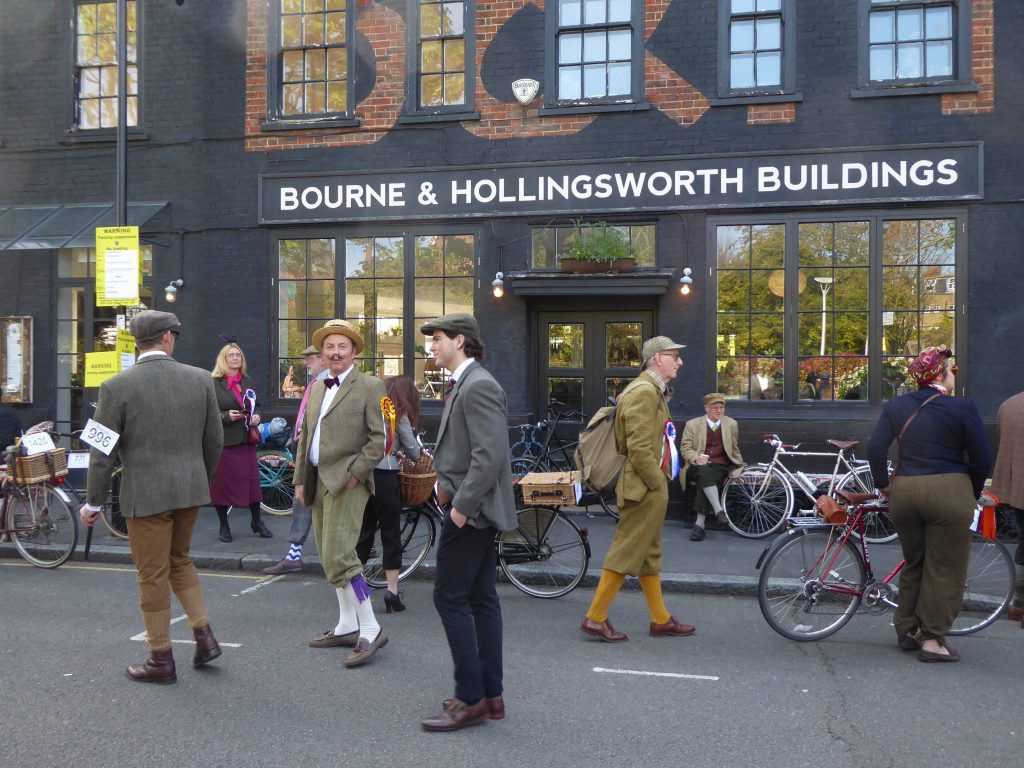
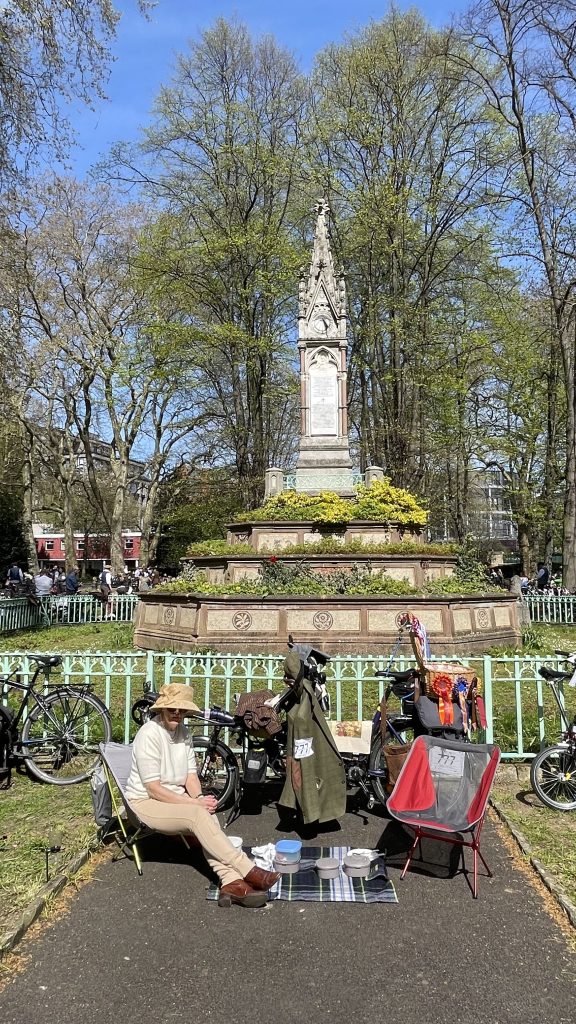
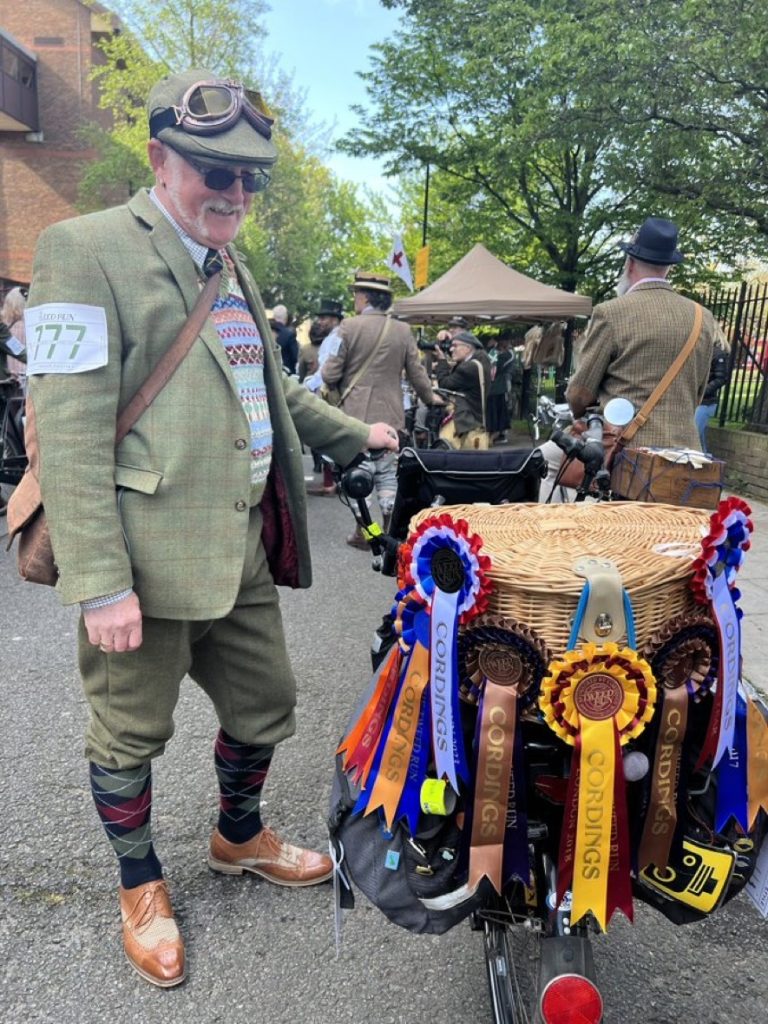
At the end of April we headed for London with the Pino and checked in to a Premier Inn in the Docklands area. Next day we set off early on the bike to attend the Tweed Run. It’s an expensive ‘Day’ out with tickets now £50 and a couple of nights in a hotel, but we think it’s worth it.

In May we headed for Germany, near Bielefeld for TandemTreffen ’23 which takes place over a long weekend. We all stayed in the same hotel and ate together at breakfast and in the evenings after which there were presentations and socialising. It’s a very enjoyable weekend.
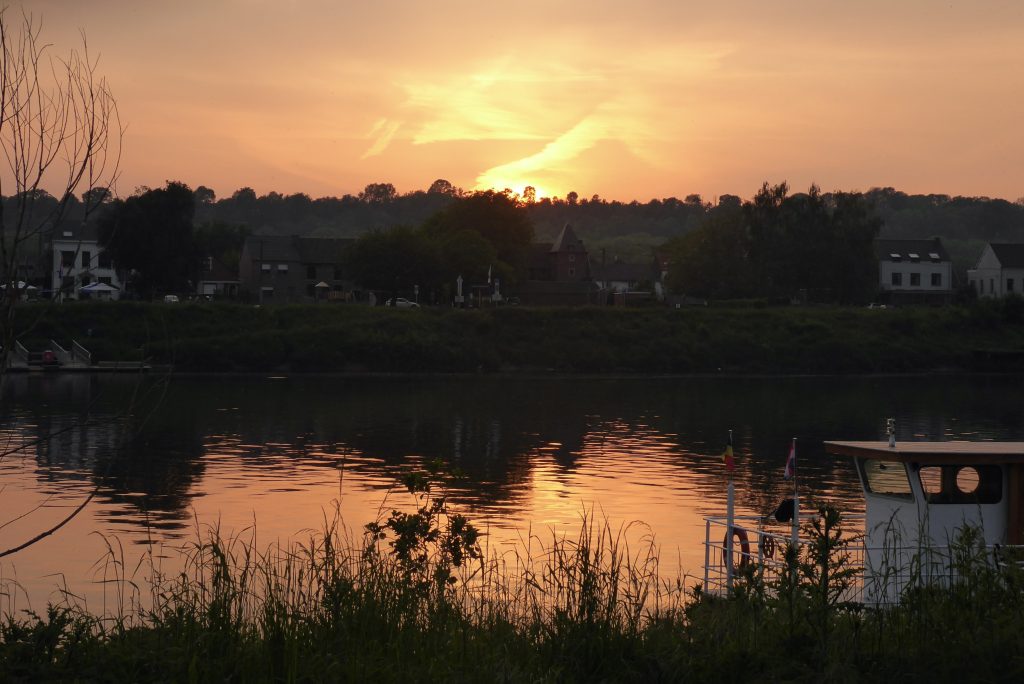
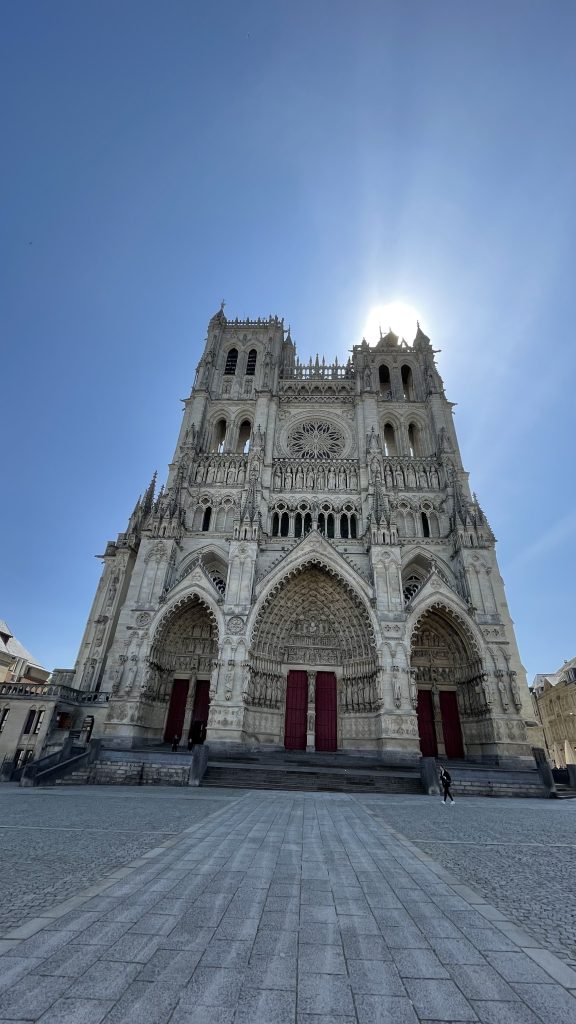
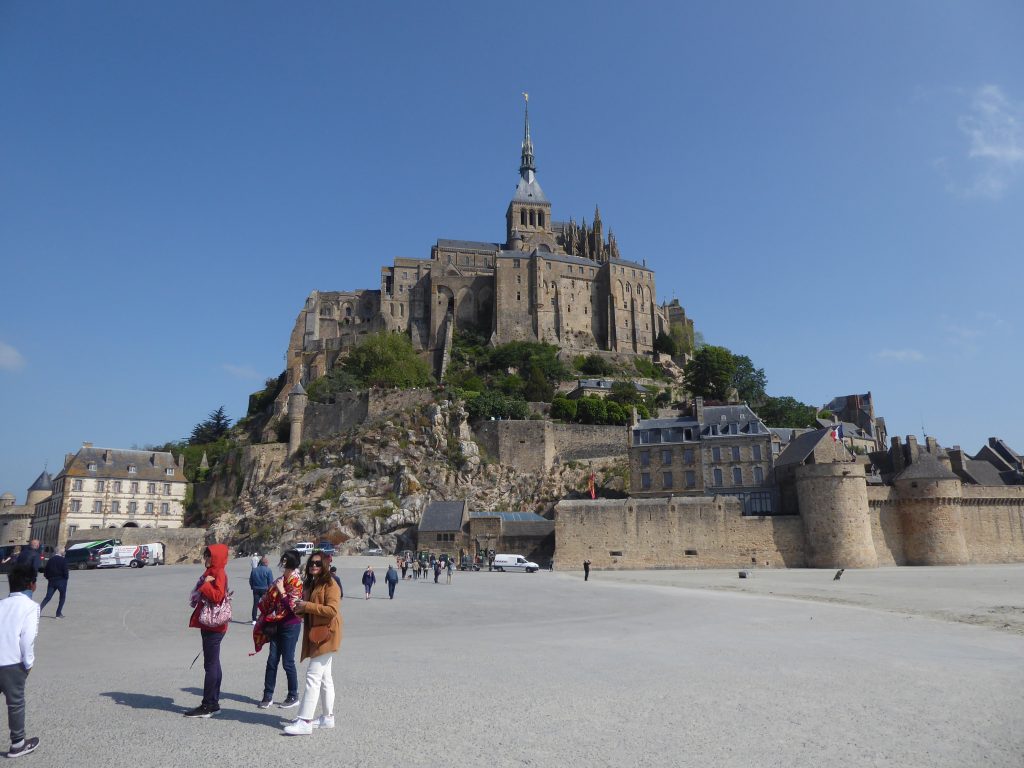
After TandemTreffen finished, there was only a week before the International Tandem Rally (ITR) in Scaër, Brittany so we drove there, stopping for two nights each at Eijsden on the Dutch/Belgique border, Amiens and Mont St. Michel.

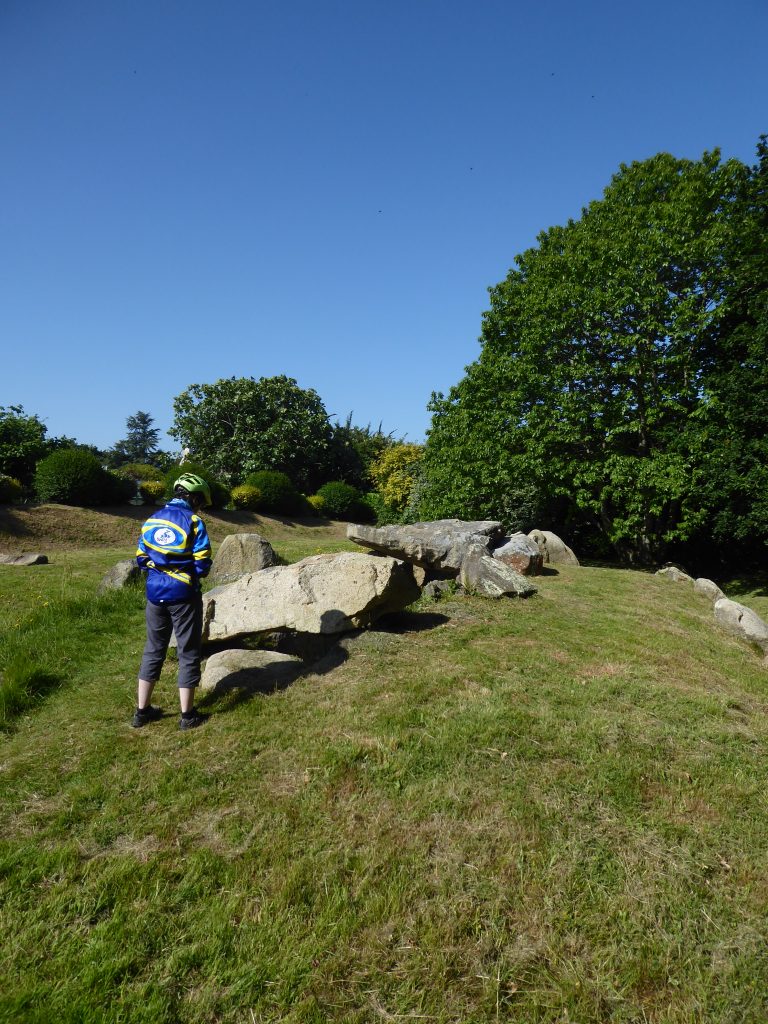
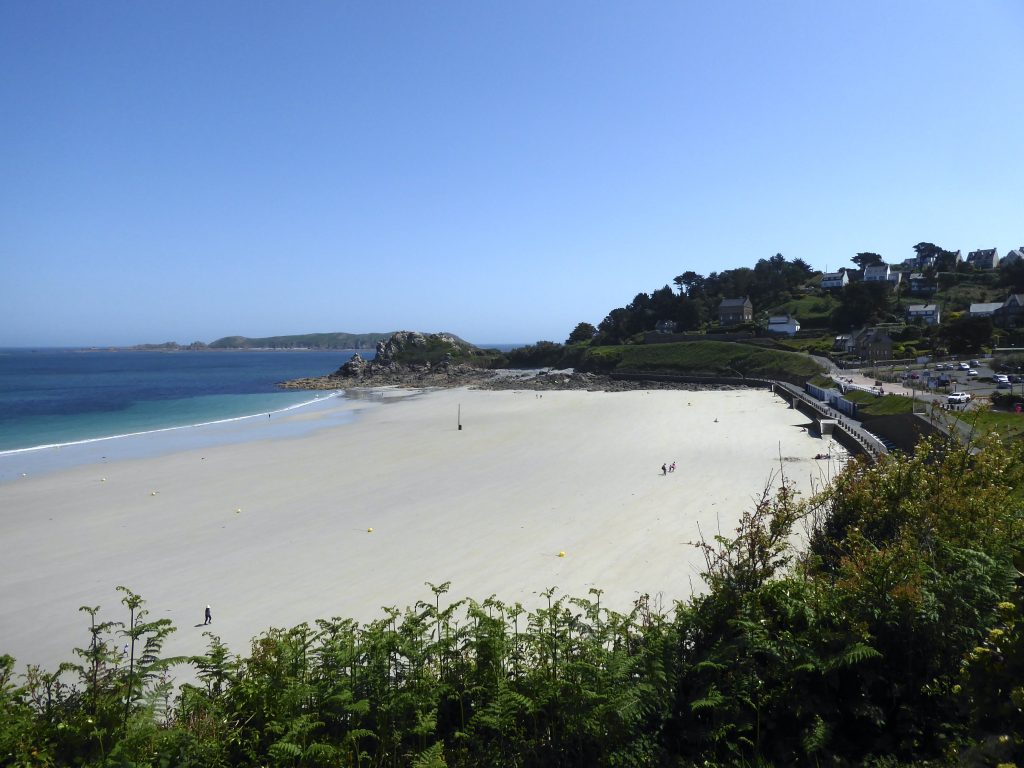
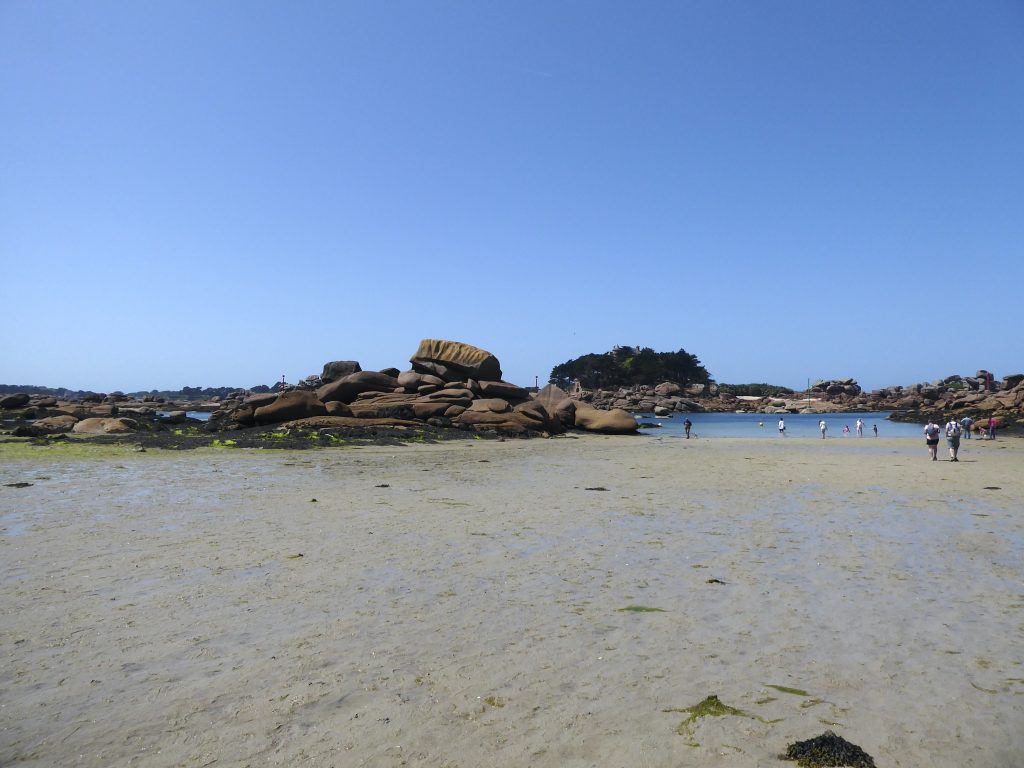
At the end of the ITR we had five days before our return ferry, so we drove to the North Brittany Coast – the pink granite coast – and spent a couple of days exploring along the coast on the Pino. This was so much better than relying on the car, as many of the little coastline lanes were one-way and car parks were limited or charged, but with the bike we could go wherever we wanted.
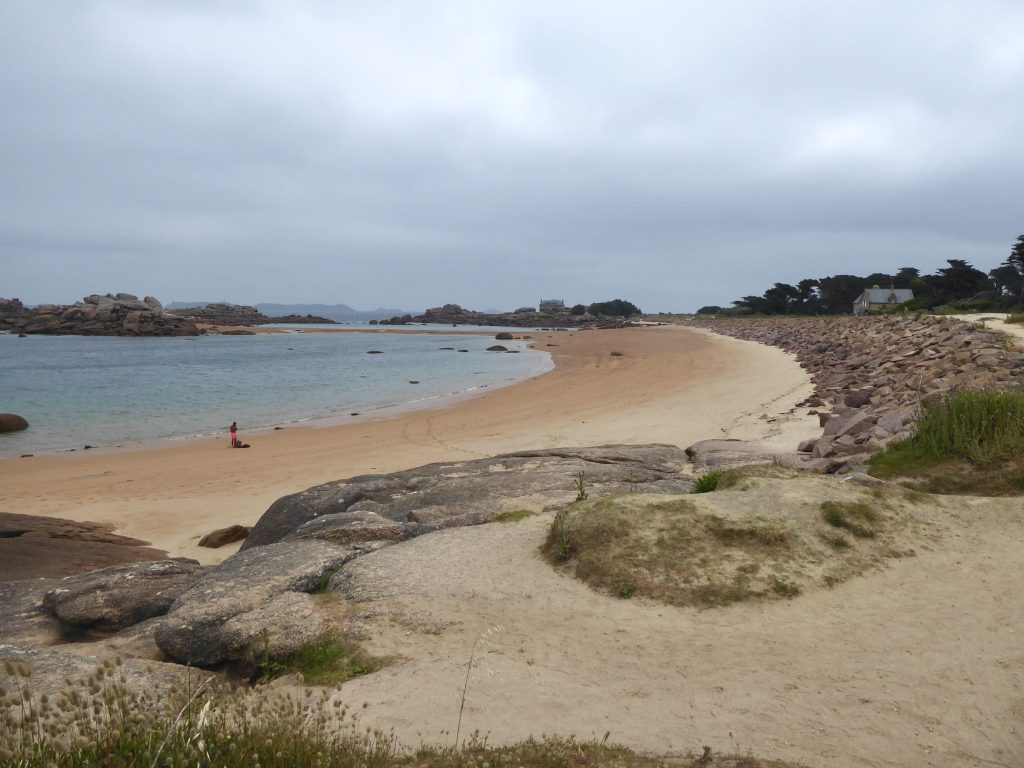
After a few days at Peros Guirac we headed for the town of Granville on the Cherbourg Peninsular. Our Hotel was right next to the beach but with no car park as such, we dropped off our bags then I parked up in a free area by the old port/harbour – a 10 minute walk away.
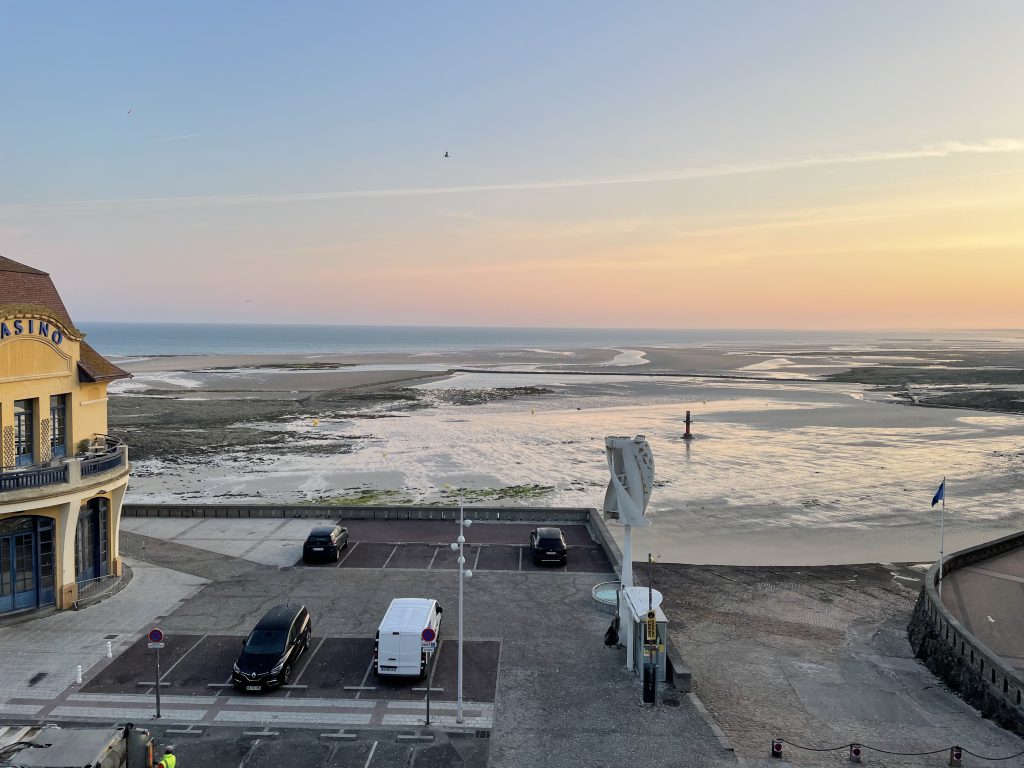
After a couple of nights in Granville we took a midday ferry back to Portsmouth. The next few days were spent sorting out all our washing etc. from being away for almost a month.

That brings us up-to-date for the year so far.
Sep 18
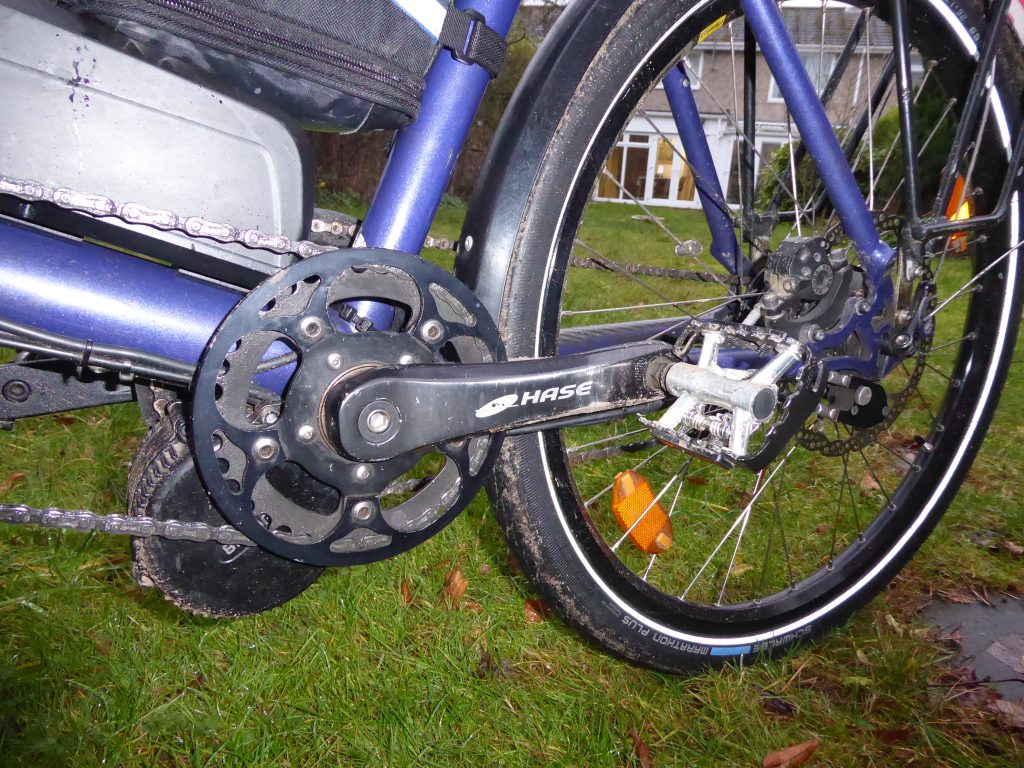
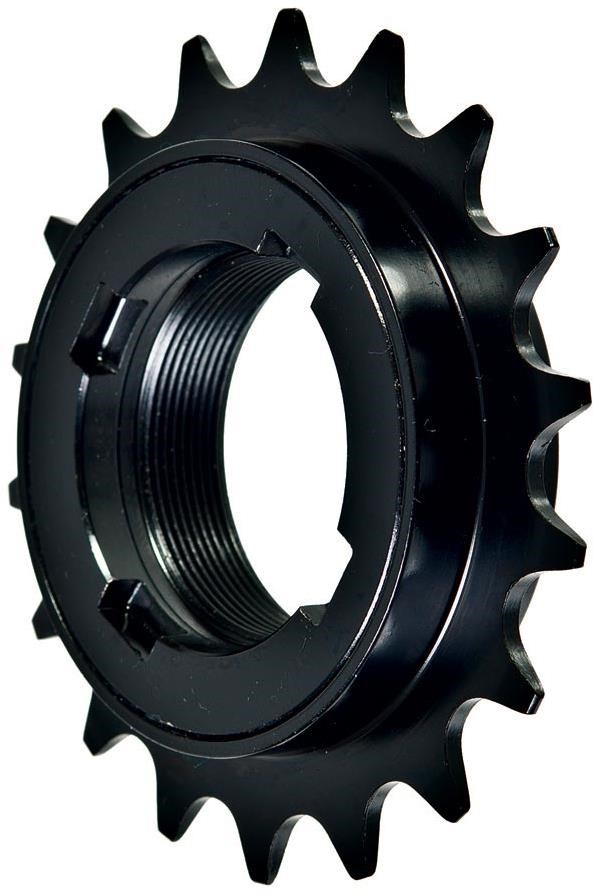
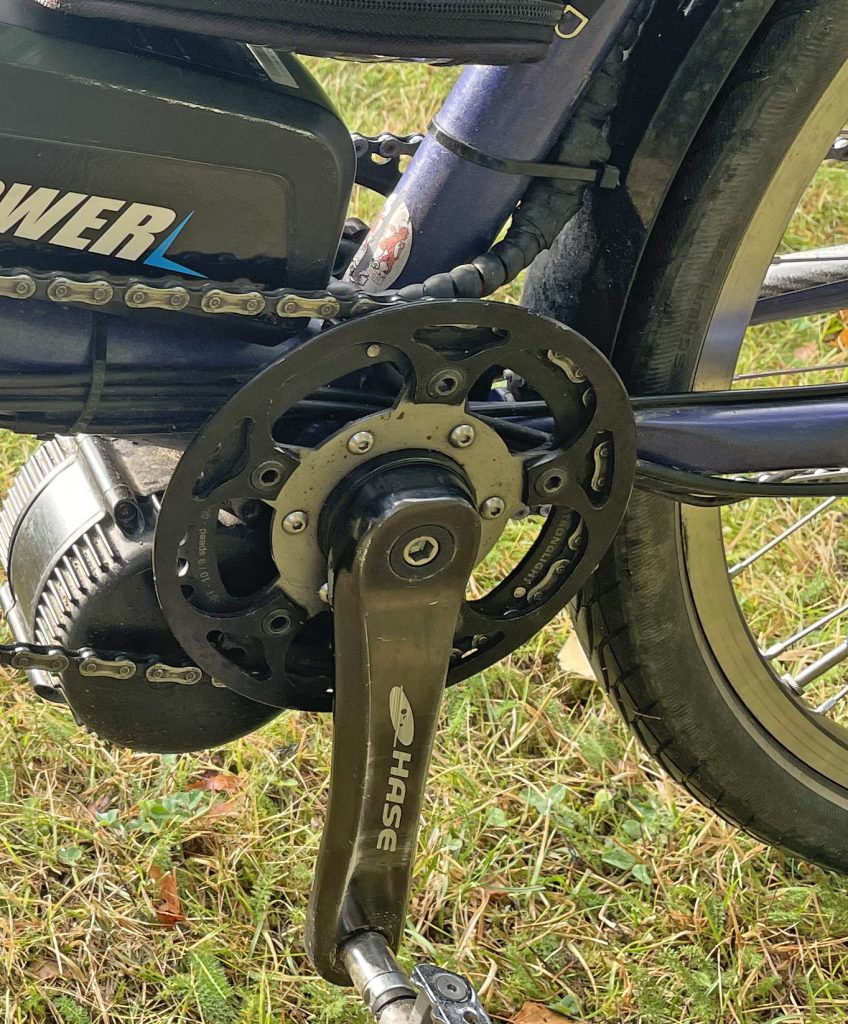
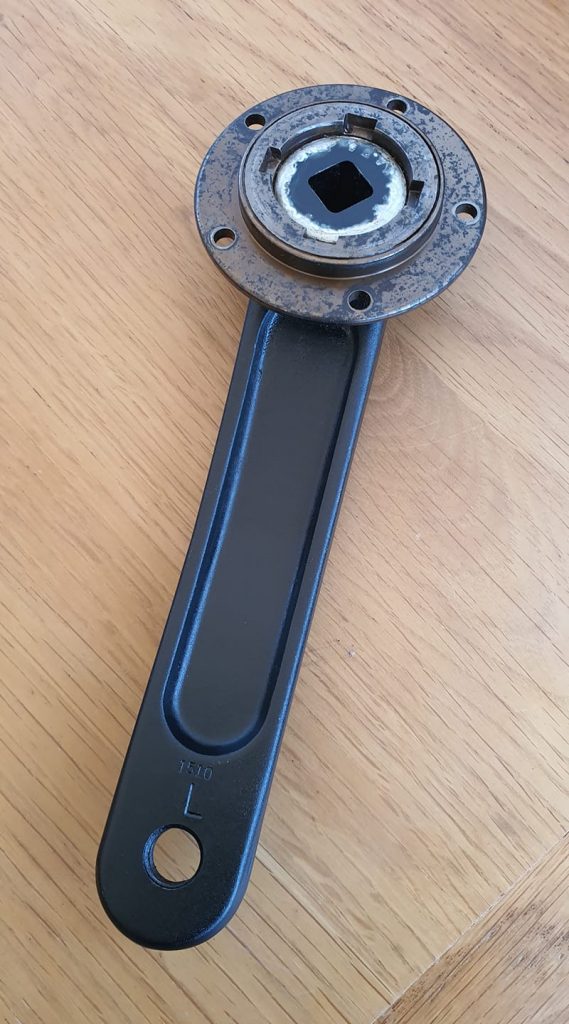
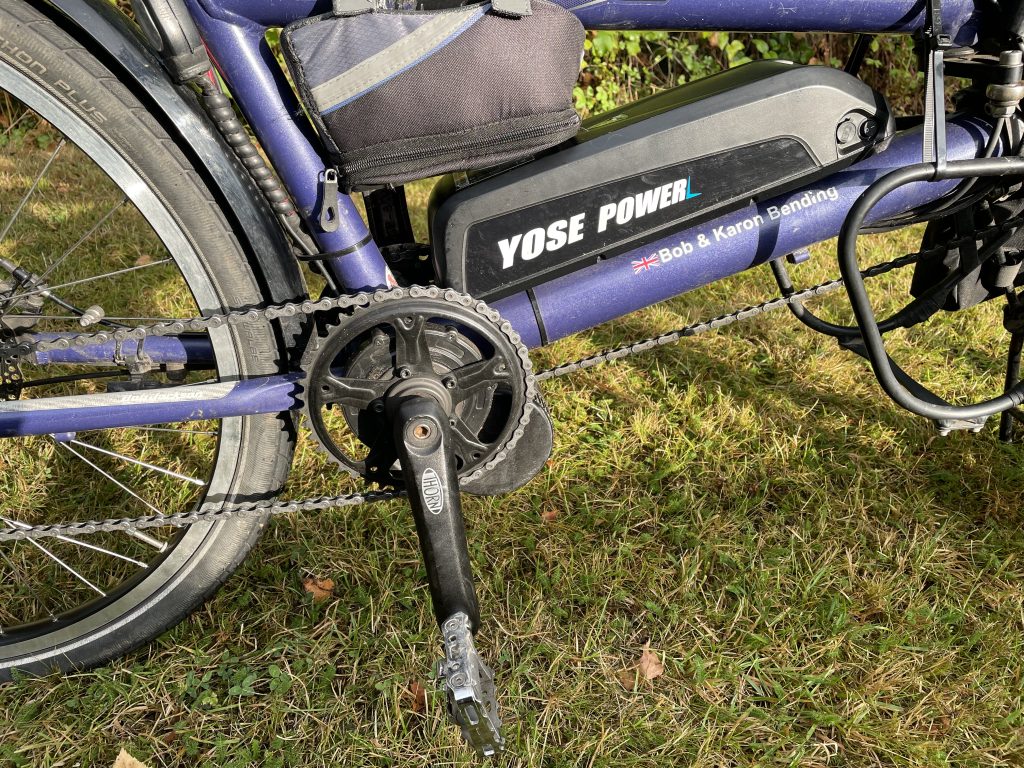
Our Pino is a 2011 model with square taper cranks.
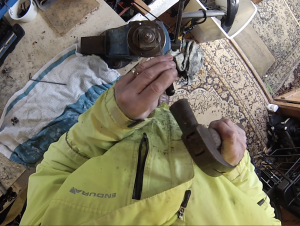
The freewheel is on the left side of the ‘Captains’ crankset. Ignore the motor slung under our Pino, removal of the cranks and freewheel is still the same. Before removing the crank, take off the pedal.
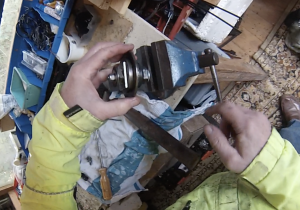
Removal of the cranks is similar to the video below (not mine). You’ll need a crank puller – the video below shows the tools and how to use them to remove the crank.
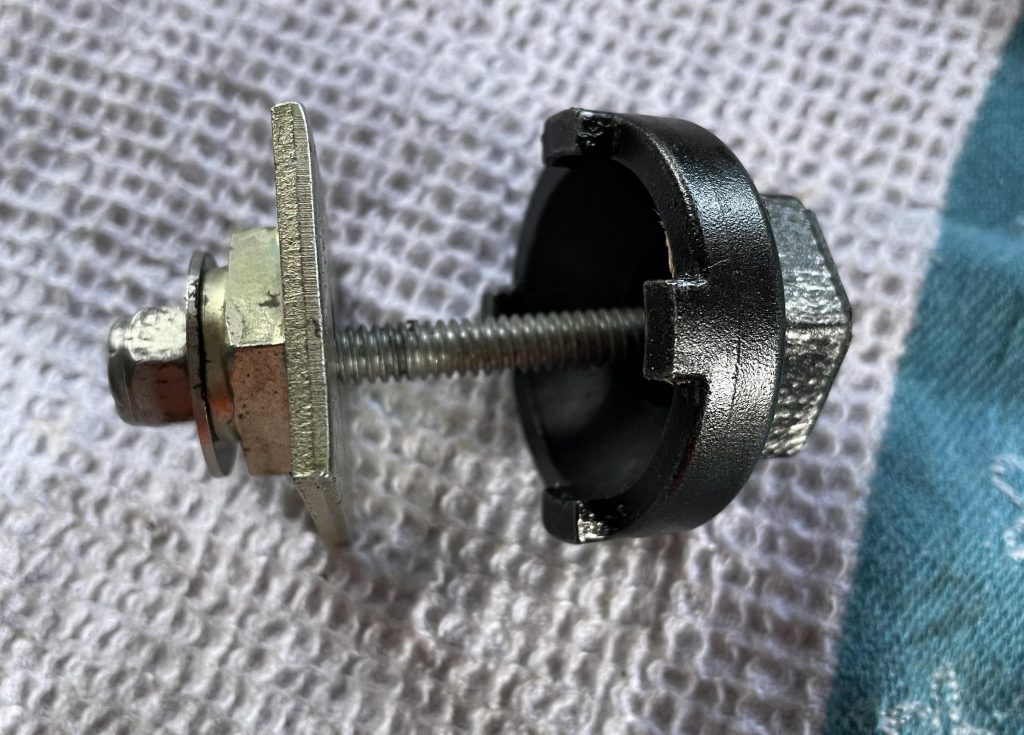
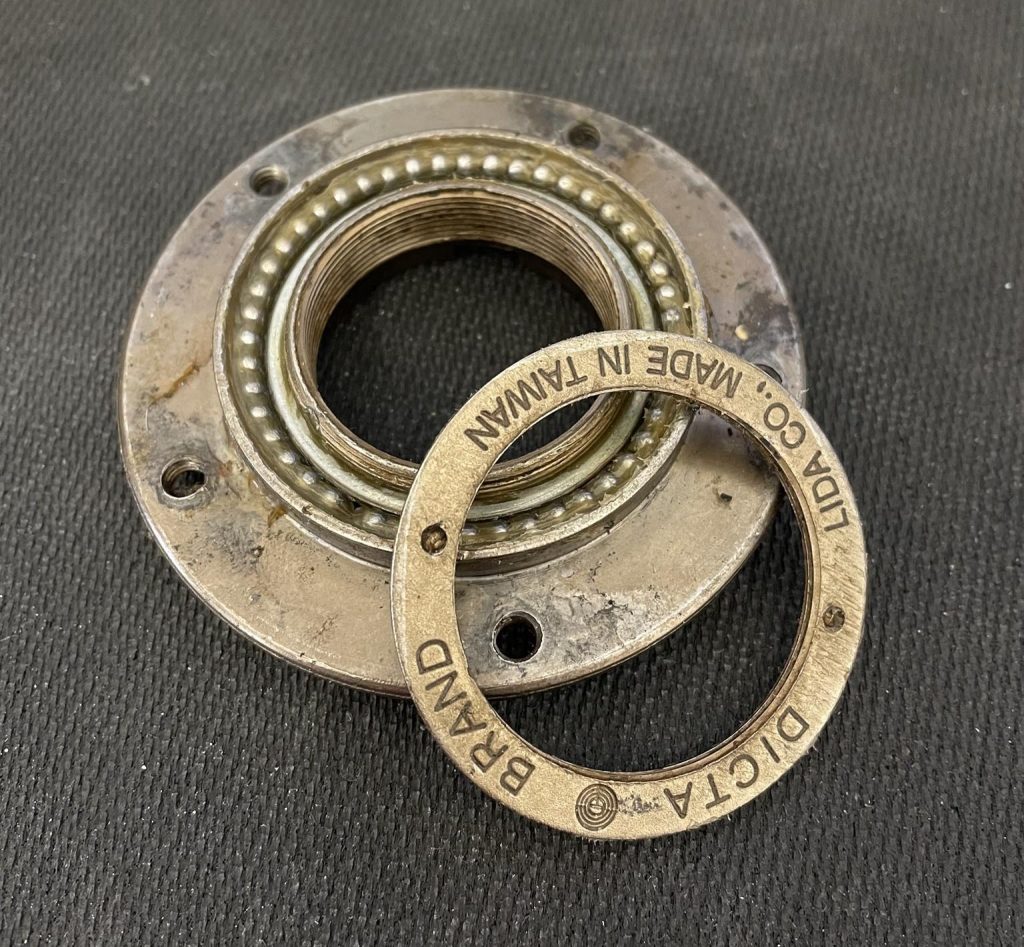
Once removed the inside of the crank and freewheel looks like this.
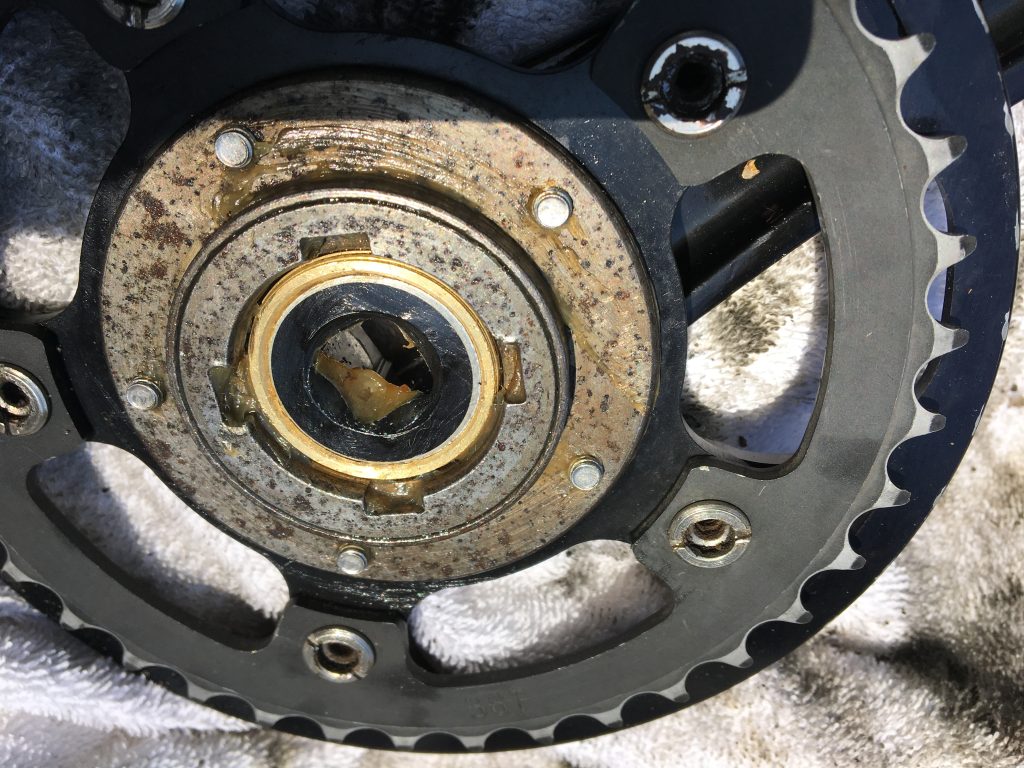
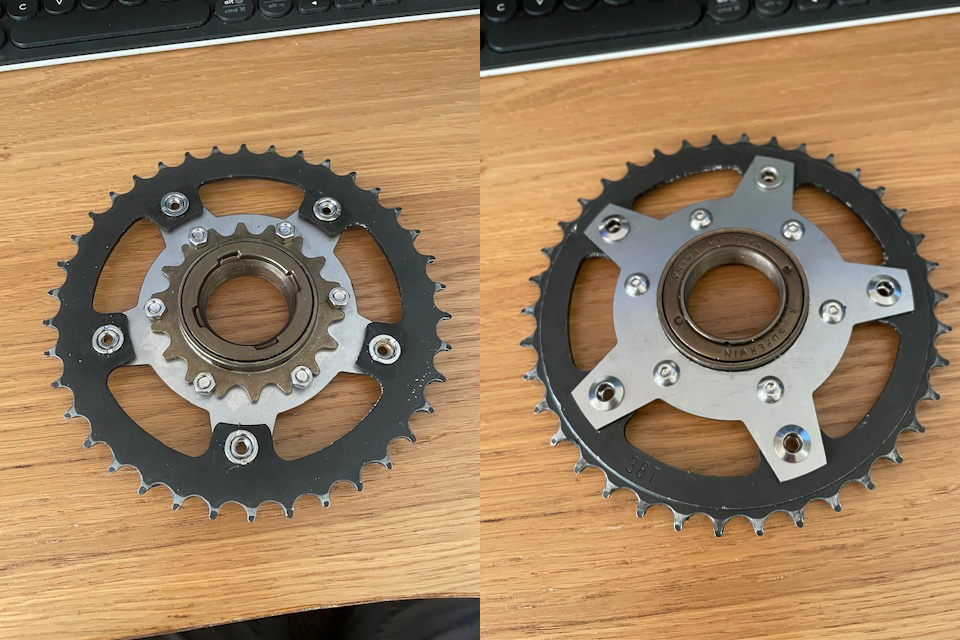
It’s best to remove the chainring at this stage by undoing all five chainring bolts. This will leave the spider attached to the freewheel. Although it’s not necessary, you can remove this too, by removing the five retaining bolts. The chainring spider will then come away from the crank assembly and it’ll look like this.
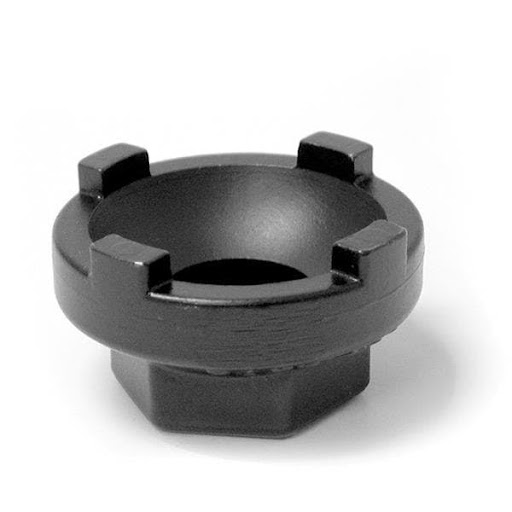
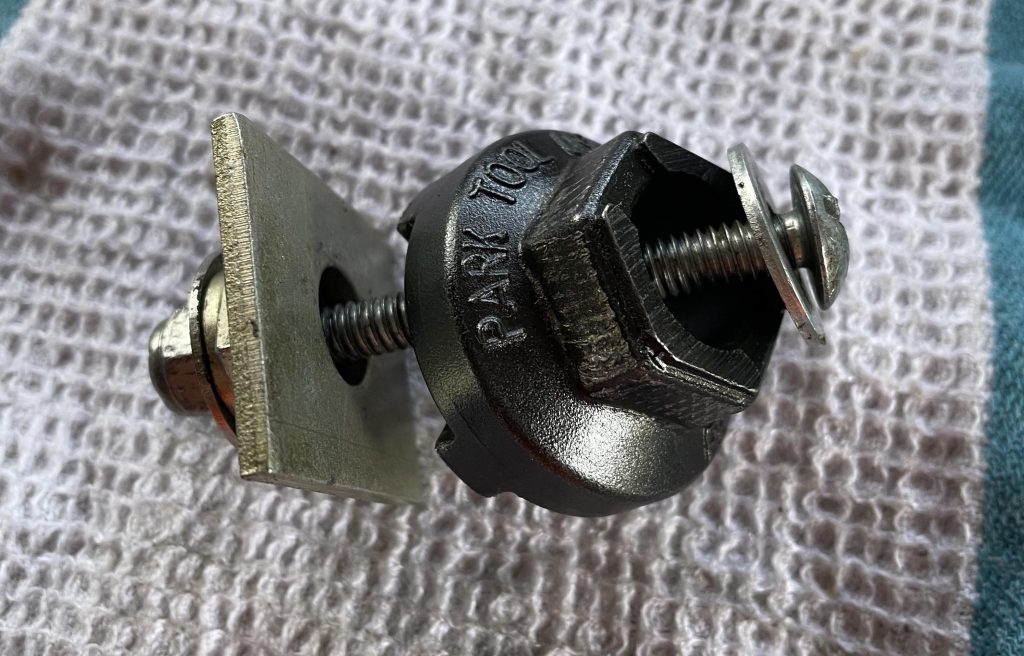
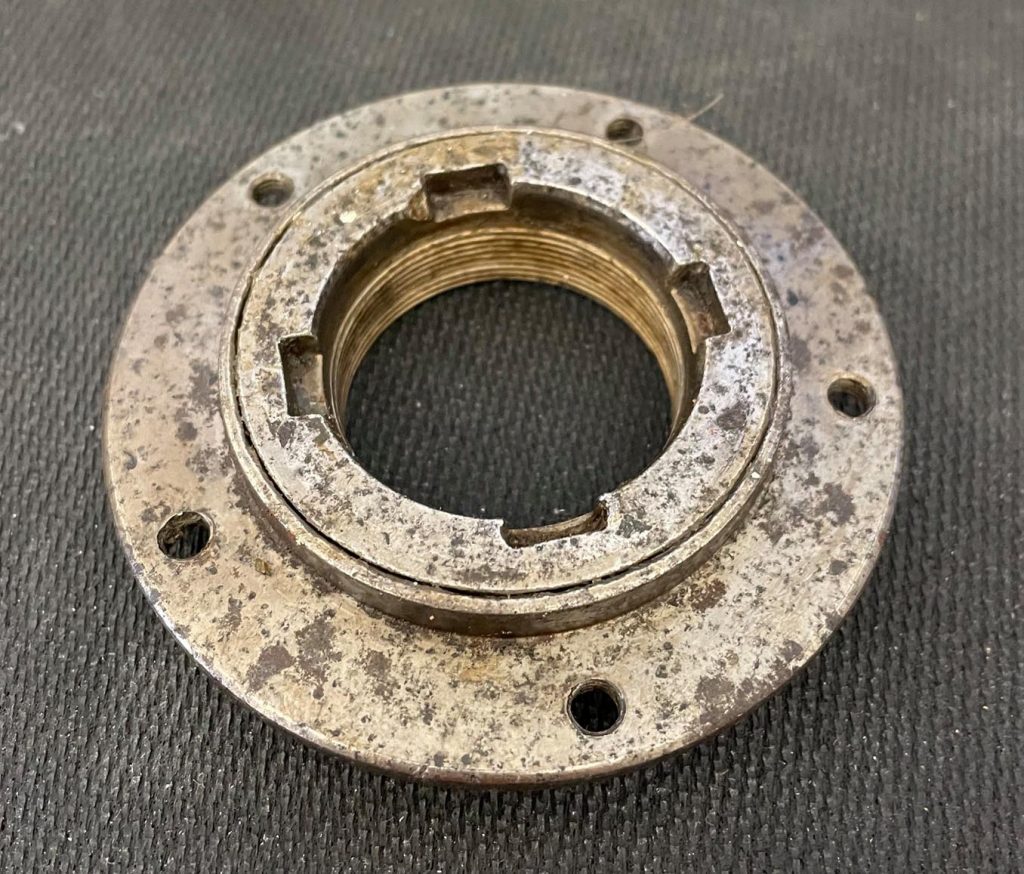
To you’ll need Park Tool FR-6 – available through bike shops, Amazon and eBay – and a clamp to hold it in place before placing the crank in a vice. You can make up a clamp using a long bolt, washers and a nut. It just needs to be finger tight to prevent the tool slipping out of the cut-outs on the freewheel.
Rotates anti-clockwise to loosen.
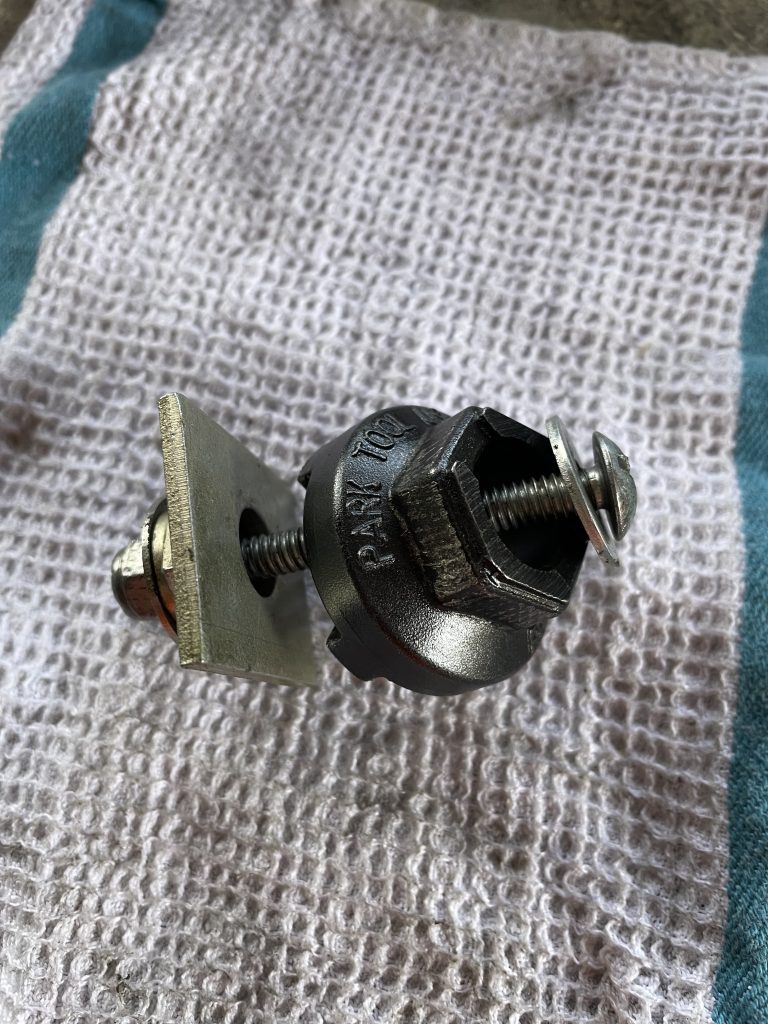
Placing the tool into the crank using the clamp to hold it in place…
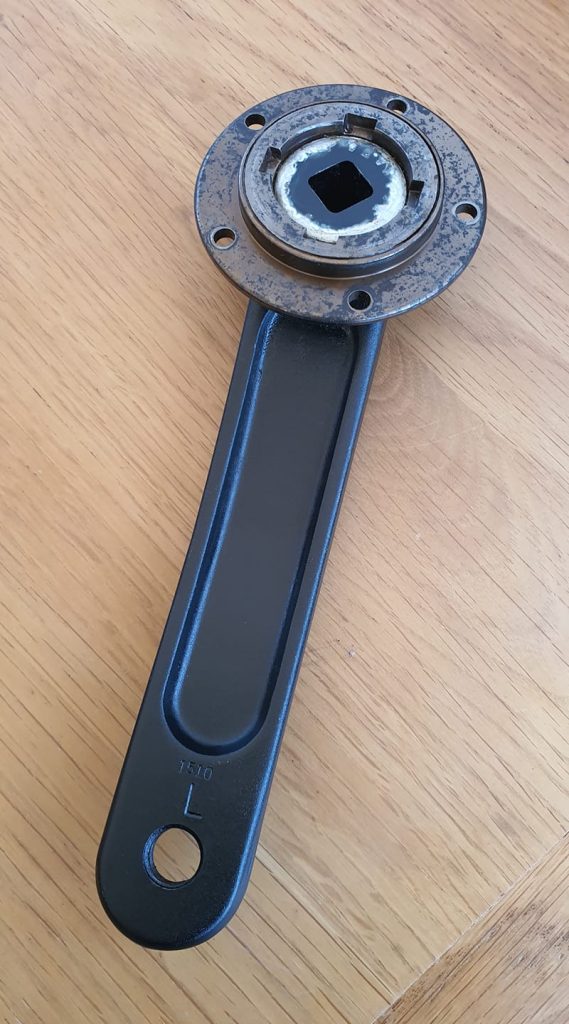
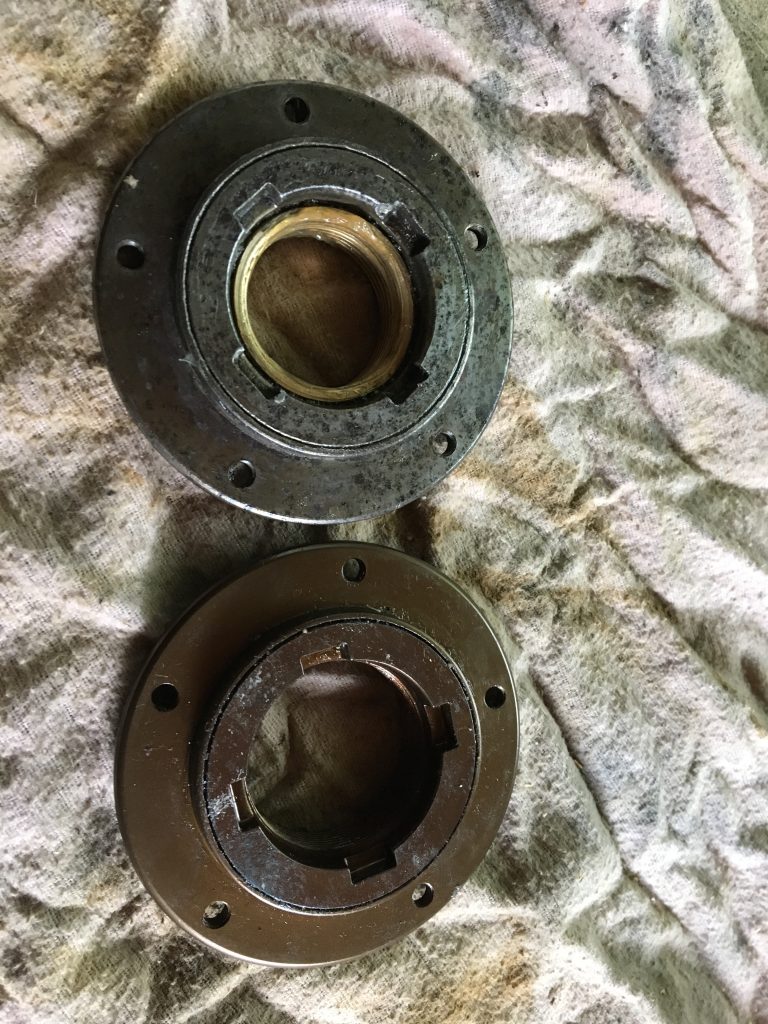
If the spider is still in place, you can now undo the five allen bolts and remove the spider from the freewheel. The image below shows two freewheels. The top one has the threaded sleeve that has come off the crank. If the sleeve stays on the crank, it will look like the bottom one.
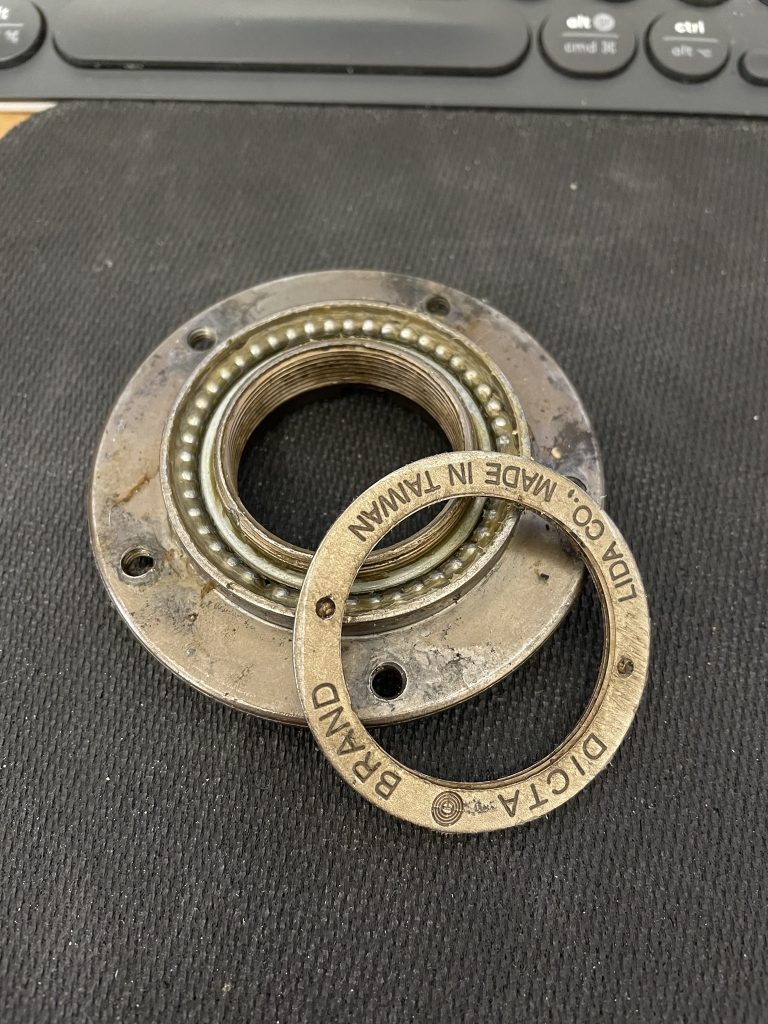
The freewheel can be dismantled to grease the bearing by turning the cover plate anti-clockwise.
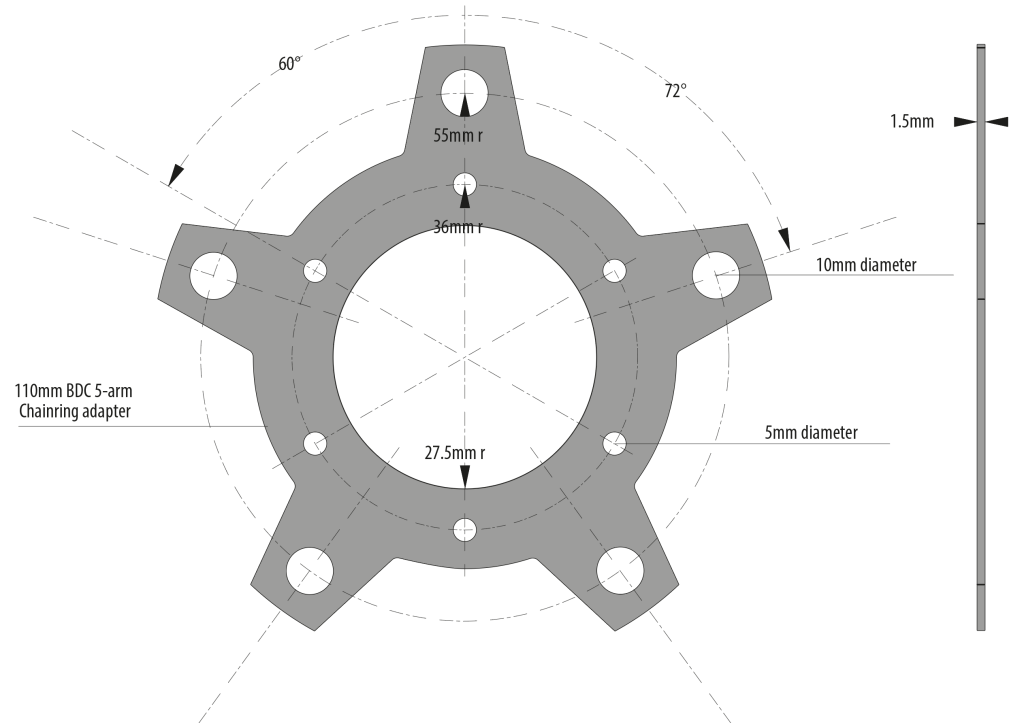
The stock freewheel has three pawls. Use a light grease to ensure the pawls can move freely and engage properly. Because of this, take-up is often a little slack. This, and that the Hase Freewheels are expensive led me to look at an alternative using a better quality freewheel. Unfortunately, I could not find any good quality flanged freewheels on the internet, so I decided to use a sprocketed freewheel and make an adapter plate to attach it to the spider and crank.
I wanted to use an 18T BMX freewheel sprocket – the Halo Clickster – as it has six pawls and is a better quality freewheel.
Jan 17
Like many, covid restrictions really put a bit of a damper on all our plans for the year and we spent the early part of spring riding locally when we could, just taking a flask and some biscuits out so we didn’t need to stop at any cafés etc. In April we managed to get Holland and Cas into the garden to sit and catch up. It was warm enough by then to sit outside. Holland worked in a shop all the way through the worst of the Covid, so was at risk and a risk to us but I’m happy to say that he never managed to catch it. Cas suffered both mentally and physically after being made redundant at the end of the furlough scheme, even though they had worked all the way through. It hit their self-esteem badly and the inactivity it led to meant they put on quite a bit of weight. Too much, considering their health issues. However, a long time friend who we’ve known since she was about 10 years old is now a fitness trainer and specialises in people who not confident, are pregnant or simply don’t want to/can’t go to a public gym for a variety of reasons. Cas gets ‘mates rates’ and Erin has benefitted too, as I think they spend as much time talking as they do exercising!
Also in April, I undertook a few charity rides, raising money for Postrate Cancer Research. It was prompted by a few of my old Army mates being diagnosed. As we were all ex-56 Battery colleagues, it was decided to ride/walk/run/swim distances of 56 units. I completed 3 x 56 mile rides, others swam 56 lengths of the pool or walked or ran 56 miles during the month. It got me out and I rode alone, so had some ‘me’ time to contemplate life, the universe and all else.
About this time I decided to sell my recumbent trike. I found it difficult to ride as I wished, as my pacemaker needs some upper body movement to know when I’m active and increase my heart rate accordingly. Sat in the recumbent chair, my legs were busy, but my upper body not so. I was constantly struggling as my heart rate just wasn’t fast enough. Yes the electric motor I had fitted helped, but it seemed pointless to rely on it, as riding a ‘normal’ bike I have far fewer episodes like that. Anyway, I sold it to a lady (ex-services) that now has long covid and has mobility problems, so I think the trike will be useful to her.
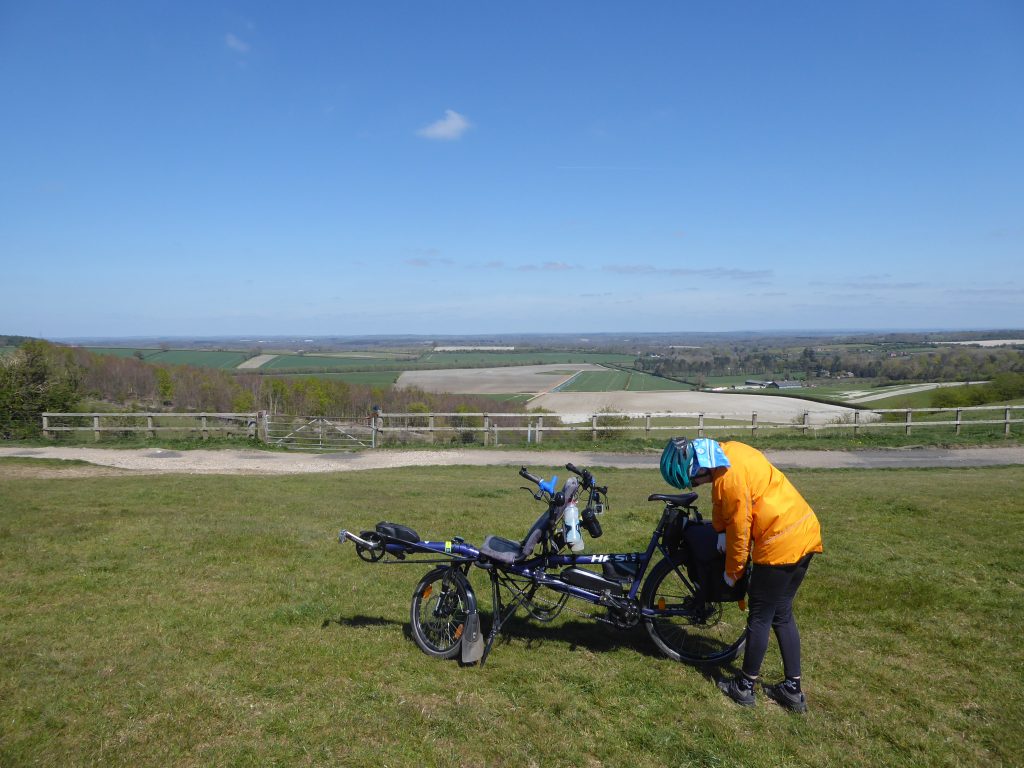
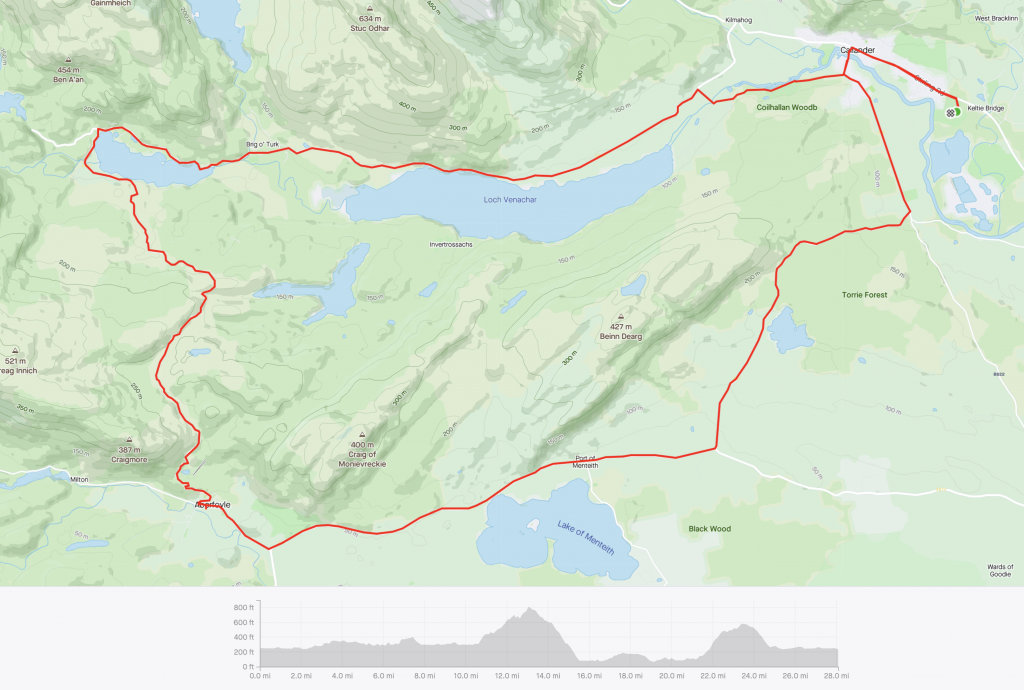
In June ‘21 we had our first trip away with the Tandem, driving to Callender in Scotland, staying on a holiday campsite (in a mobile home) and meeting up with another two couples to go out riding together. By this time restrictions had eased somewhat, so it was easier to stop for lunch and socialise in the evenings.
It was a lovely long weekend and the weather stayed kind. The scenery in the Trossachs was lovely and it was great to ride in new places with toatlly differnet landscape to our local lanes, which we now know every single inch of! Our friends are great Prosecco advocates, so there were plenty of stops for Prosecco picnics. In the evenings we took turns in entertaining the other couples and on our last night we all went out to dinner together to a local hotel.
On the way back home Karon and I stopped off to ride and bag some BCQs – a national cycle treasure hunt and we called in to see friends in Dumfries and Galloway. Later in June we took part in a 10-mile time trial in the New Forest – another fund raiser, this time for ME research. We started riding out with the Tandem Club and managed a get-together with long standing friends to celebrate birthdays and anniversaries.
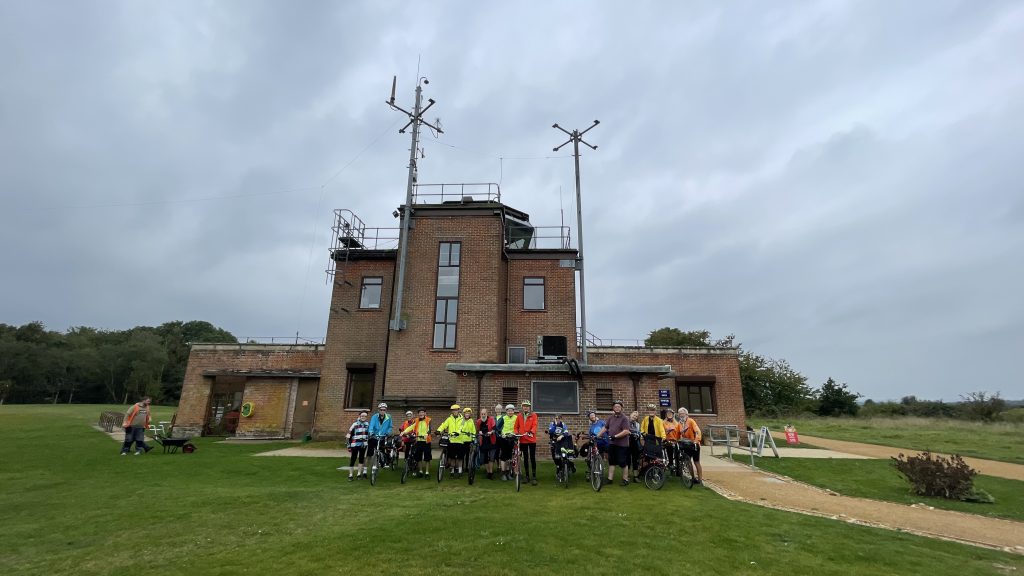
In August the Tandem Club laid on an impromptue rally on the outskirts of Nottingham. We stayed the week with some friends in the town. They had helped organise the event, so we just tagged along with them and never missed any of the activities etc. We were featured on the local BBC News website and they used one of my photos. Also in August we headed over to East Sussex and Kent to collect some more BCQs and complete the SE area of the UK. Once again it was good to be out in new pastures.

Normally in October I would have made my annual pilgrimage to Germany, back to Lippstadt where I was stationed all those years ago, but this year, I met up with just a few friends and their spouses to go on a walking tour in London. Our friends had organised the ‘Jack the Ripper’ tour, which was interesting and not too gory. Fascinating to see some of the old streets and architecture that has changed little since those times.
Just before New Year ‘22 we drove to Blewbury and met up with three cousins and their husbands/wives. We sat in the Red Lion and had lunch together and did some catching up. Family get-togethers are a rarety these days as most of the older generation that used to regularly get-together are no longer with us.
Covid prevented us from going to Spain early in 2022 for some winter sun, though it would have been nice to escape for a while, the hassle of travel at that time of restrictions was just not appealing.
We stayed local and it really was a repeat of the year before with us just riding locally on the better of the early spring days. However, in April we did manage to get away, up to Hull for a weekend, for an Army reunion. It was good to meet up with some of my (now) old colleagues from those days back in the 1970s but also sad to find out several had succumbed to covid or other ailments since we last met. Karon and I stayed in the area afterwards for a few days and went out riding… yes, to collect a few more BCQs.
In May we decided to take the plunge in continental travel again, and drove to the Saarlaand in Germany to attend a long-weekend tandem meeting we had been invited to. The place we stayed was very near the French and Luxembourg borders, so one of our rides passed through both countries. Some of the scenery was spectacular with steep hills overlooking the River Saar – very picturesque.
In June we went through the trauma of having a new kitchen fitted. It didn’t go particularly smoothly, but we got there in the end, and the new kitchen does look lovely.
Over the year we had several trips in to Newbury as Karon had a series of private dental appointments to try and save her teeth from the effects of her auto-immune disorder. It was an expensive course of treatment and not one we had really planned for in retirement, so our savings took a bit of a hit.
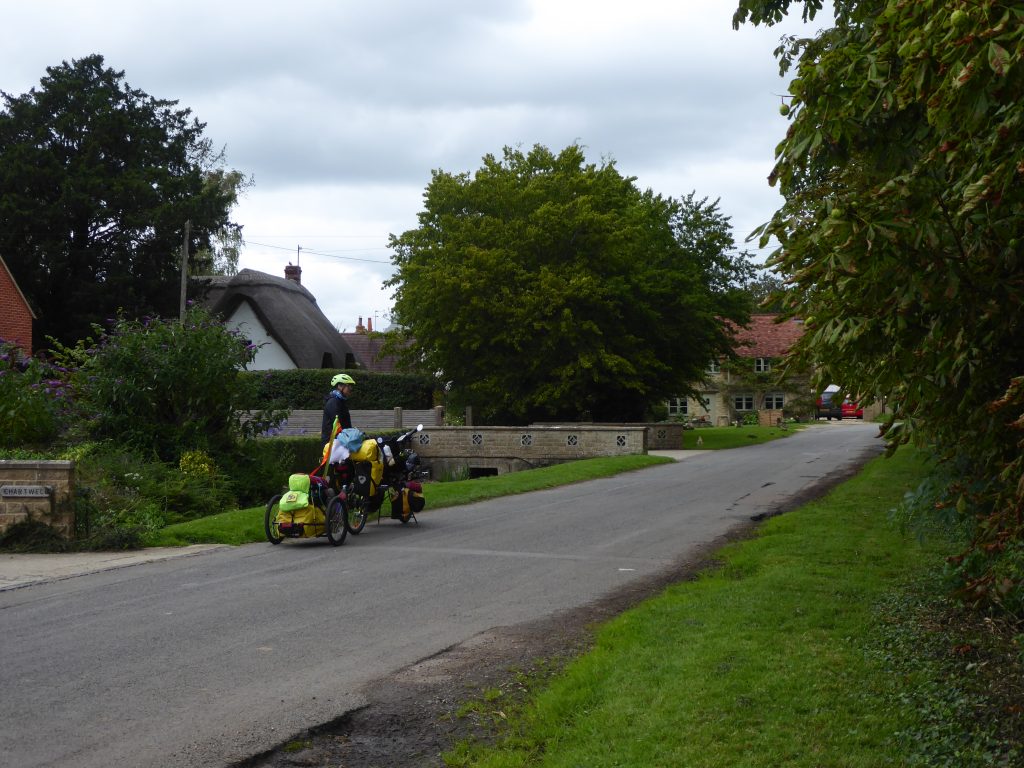
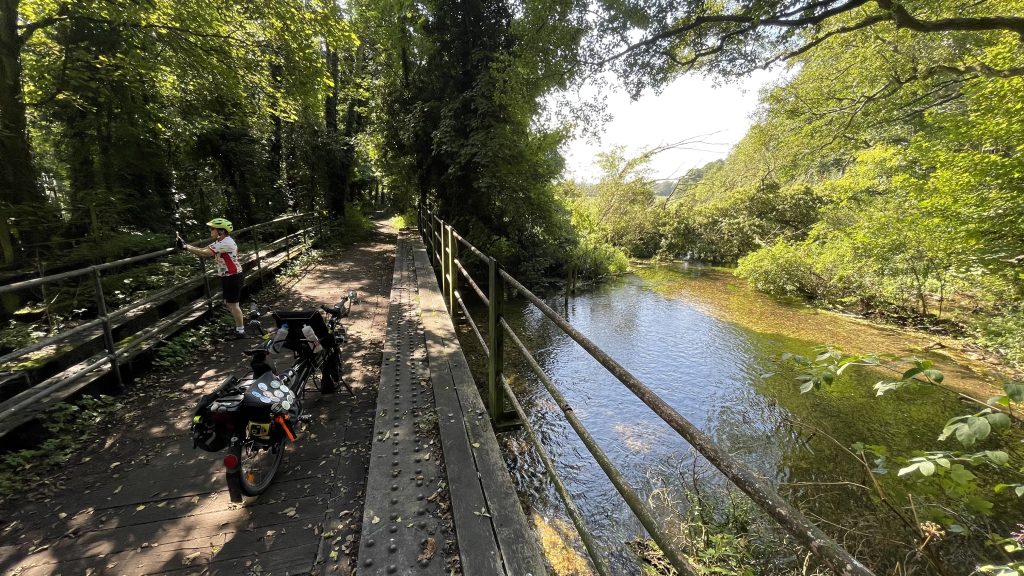
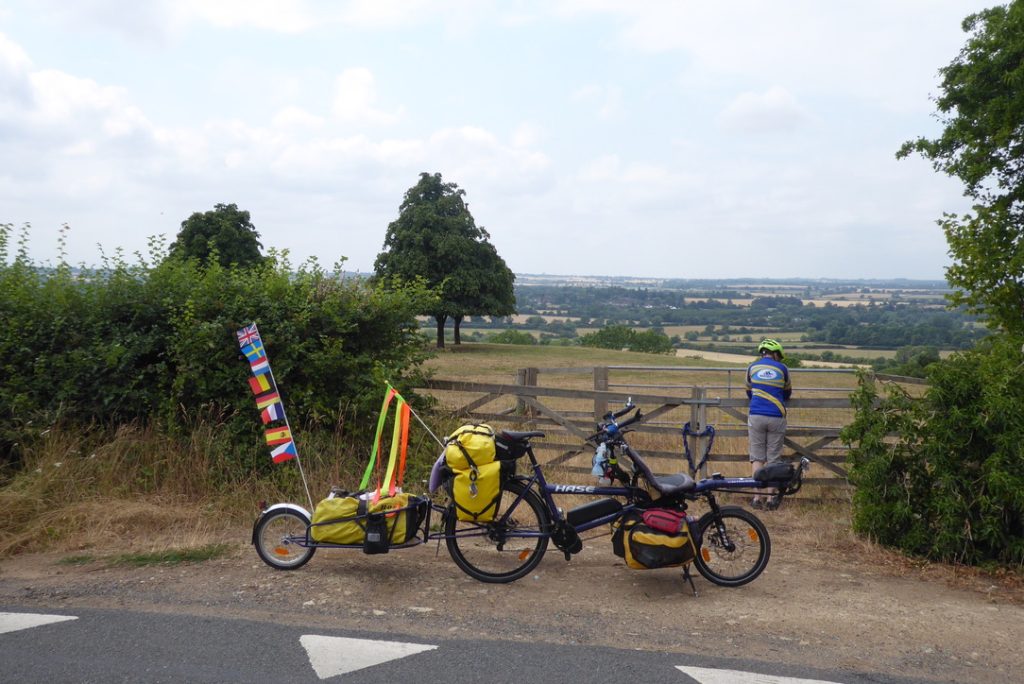
In July, we had another trip to Germany, but this time we cycled all the way – to the International Tandem Rally which was being held near Osnabrück. We used the trailer and cycled from home, first north towards Milton Keynes, then east for Harwich. It took us five days to get to Harwich and then we had an overnight sailing to the Hook of Holland. Four days to get across the Netherlands and just the one to reach the campsite where the rally was taking place. We stayed in a small holiday home on site and went out with friends each day to explore the surrounding countryside and visit nearby towns. At the end of the week, we packed up the bike and trailer and cycled home again, reaching home on the 16th of August after leaving on the 20th July, so nearly a month away. Once again (like when we cycled through France in 2019) it was very hot with a couple of heatwaves in that time.
In October we drove up to Scotland to visit friends and relatives, staying for just a week up there but managed to see some of Karon’s Aunties and Uncles, my sister and brother-in-law and some very good friends who live in Dumfries and Galloway. Unfortunately, I managed to pick up a bout of covid on the way back from Scotland. Luckily I was only bad for a couple of days and laid up for a week.
In November we attended an old Army friend’s wedding in Kent and had another good get-together.
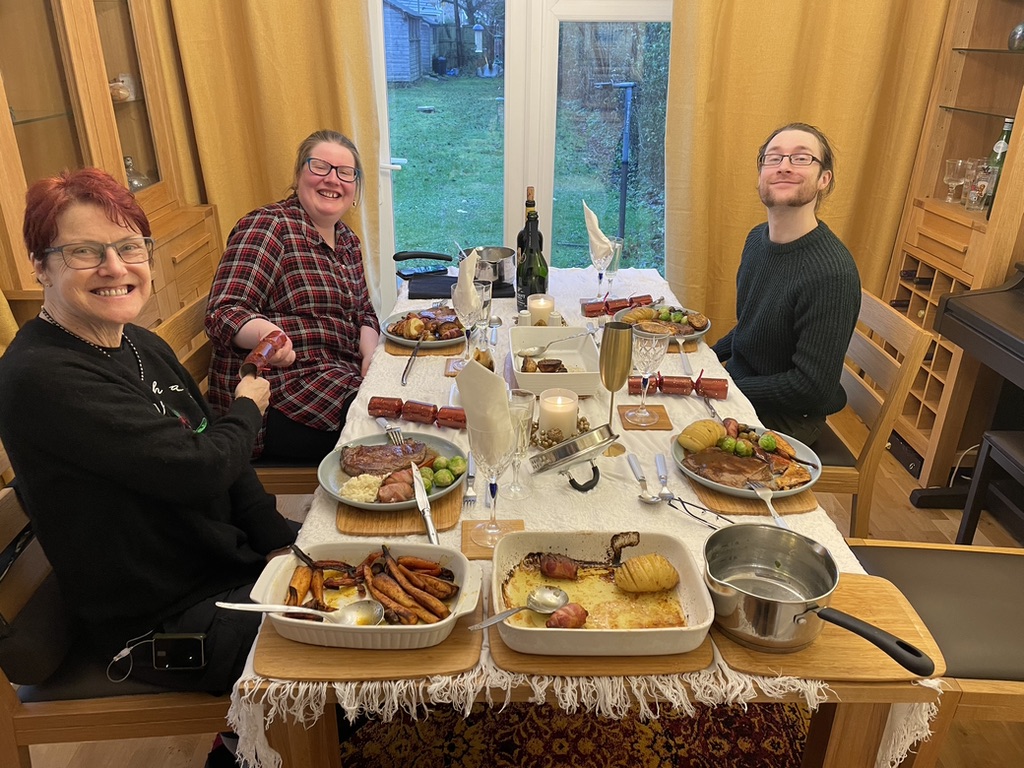
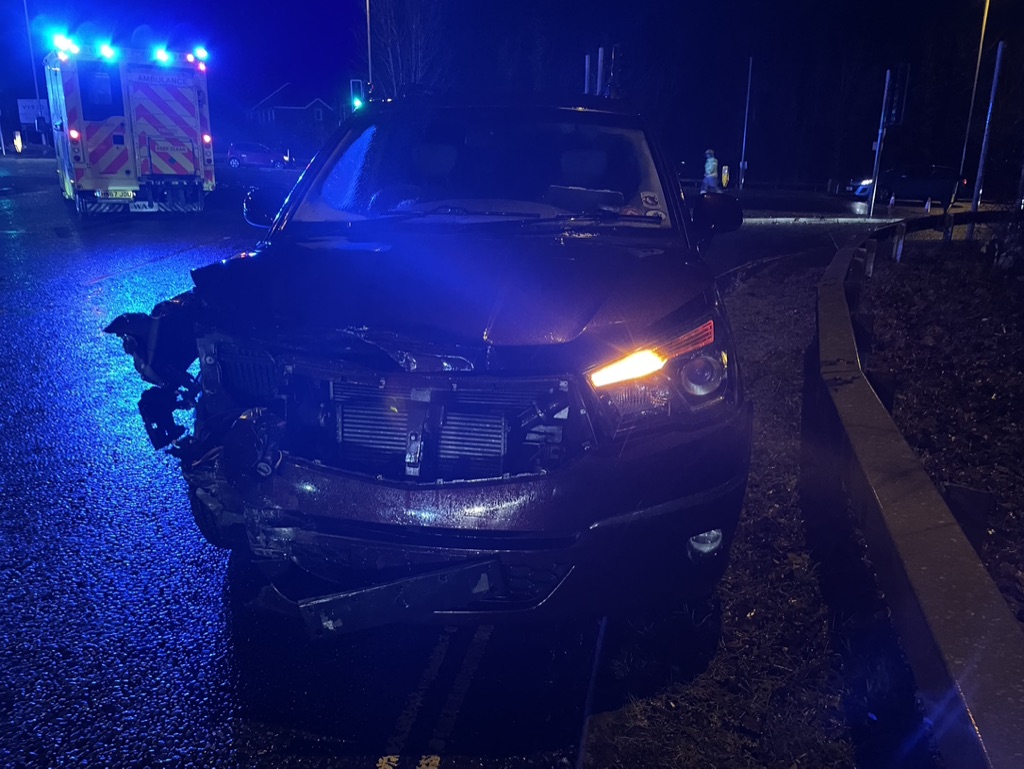
Christmas was fairly quiet for us, with Cas and Holland coming for the day. Cas stayed over and Holland walked home as he’s less than a mile away. 27th December Holland was not well – with severe neck cramps and spasms – and he asked me to drive him to A&E. It was dark and wet and innexplicably, I missed a red light, which resulted in a car crash. Though both Holland and myself were ok from the accident, the car is a write-off and the occupants of the other car had some injuries, but nothing life-threatening. Not a great way to end the year.
So, I am without a big car at the moment, which means no travel with the tandem. At least we had decided not to go to Spain again, so there are no up and coming trips in jeapordy. Hopefully everything will be sorted by mid-May when we are due to go back to Germany for the annual tandem meet their. We will stay on the continent after, as the International Tandem Rally is in Brittany this year, a week later. Then in August we have the National meeting in Stratord on Avon. We’ll cycle there from home and camp for the week.
That brings me up-to-date. Not a brilliant year but we have managed to get away and have added some good memories to our cache.
Oct 21
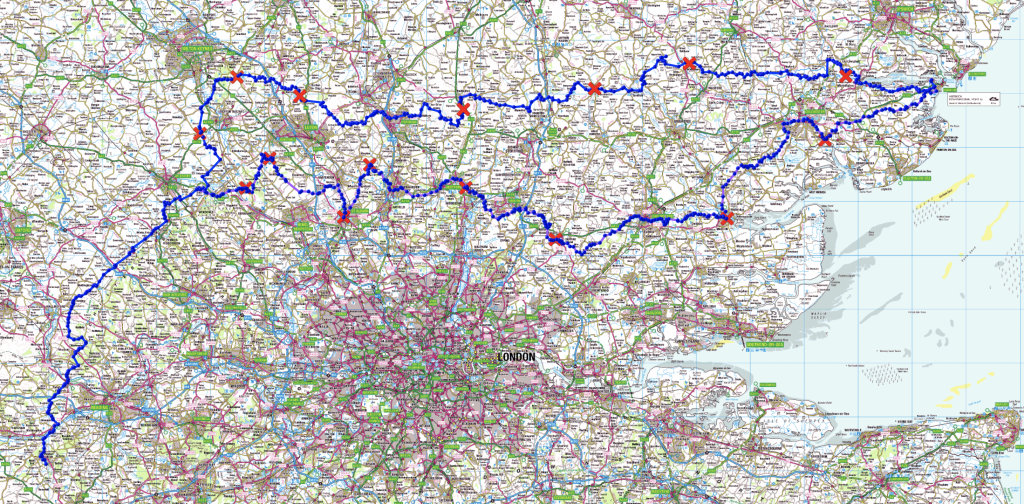
In all we covered just over 1,000 miles and were away from home for 28 days. To avoid cycling through London, the most direct route to Harwich from home, we headed north first, almost to Milton Keynes, then turned right and headed east, across the country. Along the way we collected BCQs (British Cycle Quest). We did the same on our return journey, but a little further south.
In The Netherlands we followed routes suggested by a Tandem Club member who lives there, and as we all know, local knowledge counts for a lot. Some days were too hot to be honest, but we only had two days rain, and on one of those we chose to take a rest – it was the day before we started heading home.
May 21
Watch an automatic Powerpoint presentation about our 2019 ride from home to Portsmouth then through France to the Mediterranean then on to Toulouse. This was created for a presentation in Germany, so the brief captions are in English and German.
Mar 14
It’s a few years since I last serviced the freewheel on the Pino, and it felt like it could do with some fresh grease in the bearings: Tools needed are the Park Tool FR-6 and 1″ socket or spanner to fit, a bolt and washers to clamp the tool in place, a vice, hammer and punch or drifter.
Locate the tool into the slots on the freewheel then clamp in place with a bolt. Place the crank into a covered vice then use a 1″ socket or spanner to loosen the freewheel anti-clockwise. An extension to the socket or spanner may be necessary for leverage.
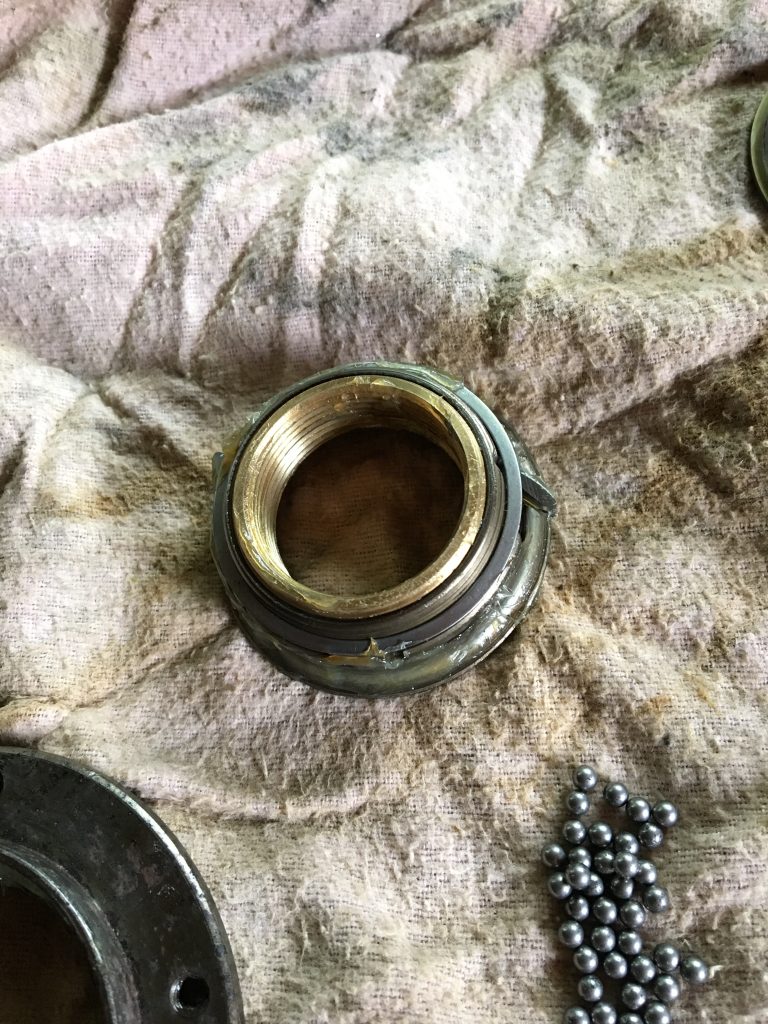
Once loosened the freewheel can be removed. This sits inside a threaded sleeve within the crank, and in this case that too came off. The sleeve can remain in the freewheel or be removed and replaced within the crank.
Once the freewheel is removed, replace the tool and clamp to the freewheel, then clamp the tool in a vice. This makes drifting the faceplate on the freewheel much easier.
Feb 21
The International Tandem Rally in 2022 in the first week in August, was near Tecklenburg, South West of Osnabrück in Germany. We thought it would be good to ride from home, using the Stena Line Ferry from Harwich to the Hook of Holland. Once in the Netherlands the going would be mostly flat but between us and Harwich and in Germany there would be a fair amount of climbing.
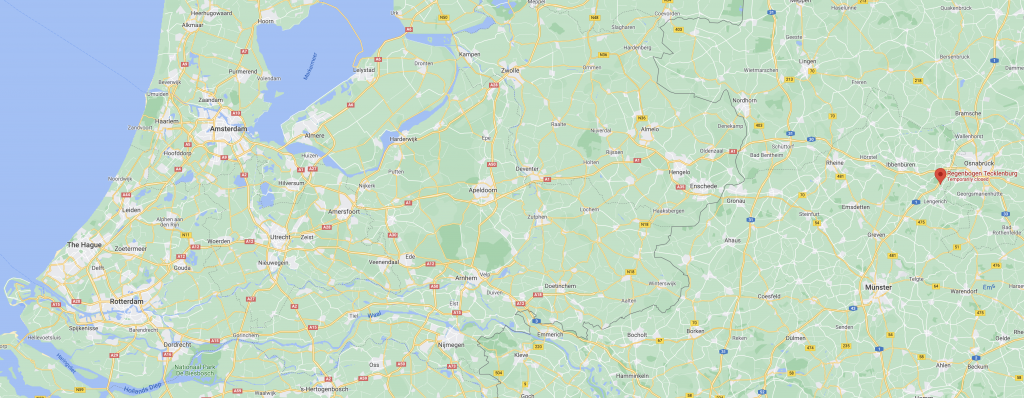
At the time, the 17.5Ah battery fitted to the Pino was good for around 30 miles with reasonable use on the unloaded tandem, but I was a bit anxious that hauling the loaded bike and trailer would reduce the range as the motor would be needed more, especially in hilly terrain. With this in mind I looked at either obtaining a second ‘reserve’ battery or another to add to the bike.
The type of connector in the mounting bracket on the current 36 volt 17.5Ah (630Wh) battery, then 3 years old, which I bought from China has been changed and I thought it unlikely to be able to buy a second identical ‘spare’ to match the existing bracket, so I looked at connecting a second battery.
The logical choice was a rack mounted battery. I wanted a system that would allow me to use just one or both. Two batteries for a shortish local ride would be overkill and unnecessary weight. However, on a longer ride, in much hillier terrain or on a fully loaded tour, the ability to have both batteries providing power would drastically increase our range. An advantage to using both batteries at the same time rather than one then the other, is that at maximum draw by the motor, each battery is only providing 50% of the power, so the batteries are not stressed nearly as much as a single battery providing all the power.
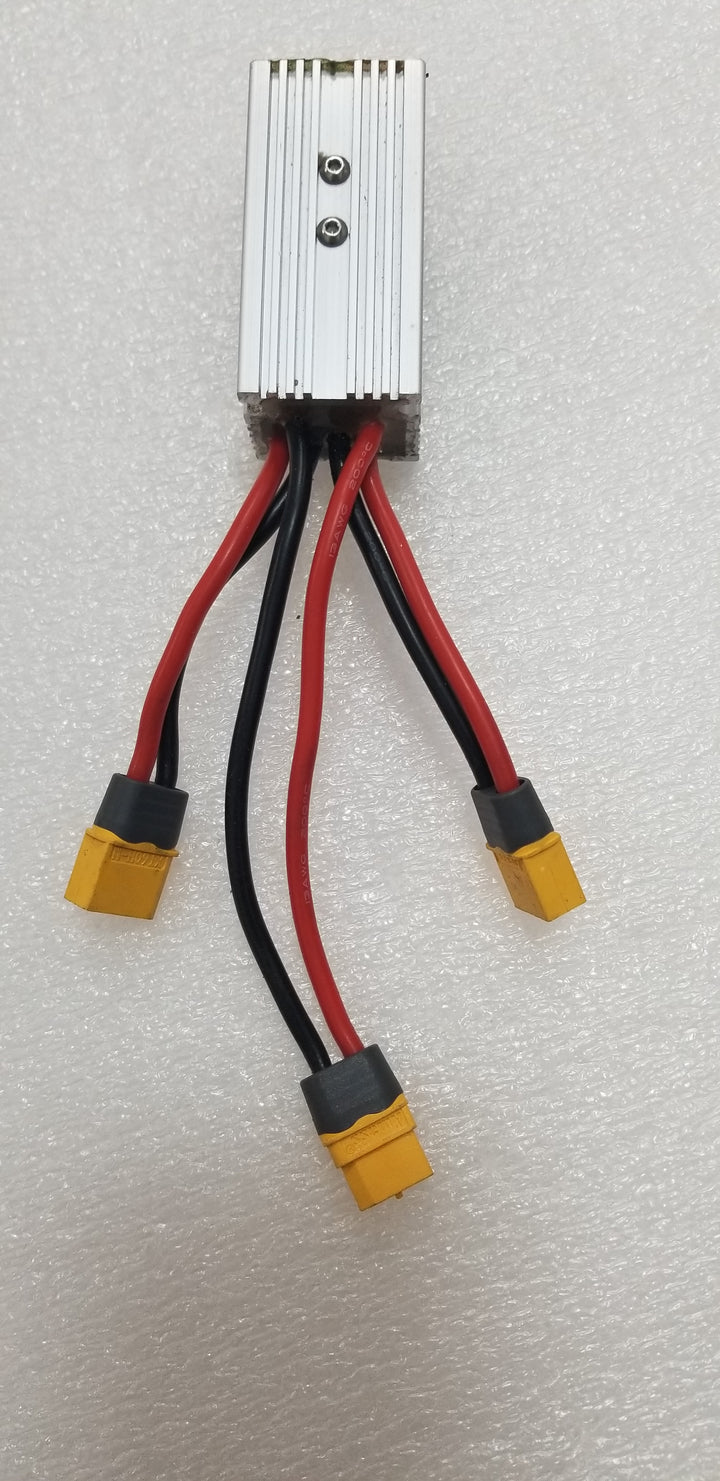
Looking for more information on the web, I came across ‘Area 13 e-bikes‘ and some useful videos on battery care and how to add a second battery to an e-bike. With the advice from this video I ordered the Dual Battery Parallel Connector. This would allow me to safely use the two 36 volt batteries of different capacity on the same system, or either battery individually. Something similar is available in the UK, but costs a lot more. Delivery from the ‘States took a little over a week. I ordered some XT90 connectors to match the ones on the Dual Battery Parallel Connector. Because the original battery did not have an isolating switch, I also bought an inline on/off switch so I could isolate the exposed connector on the down-tube battery bracket when we were using the bike without that battery fitted. Without the switch I am pretty sure the connector would be live and very prone to shorting out if it got wet.
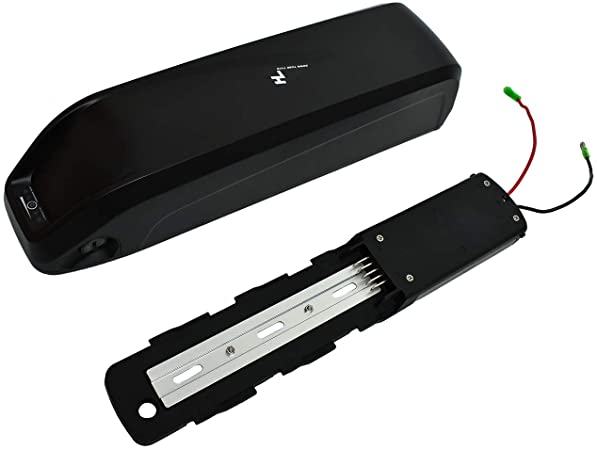
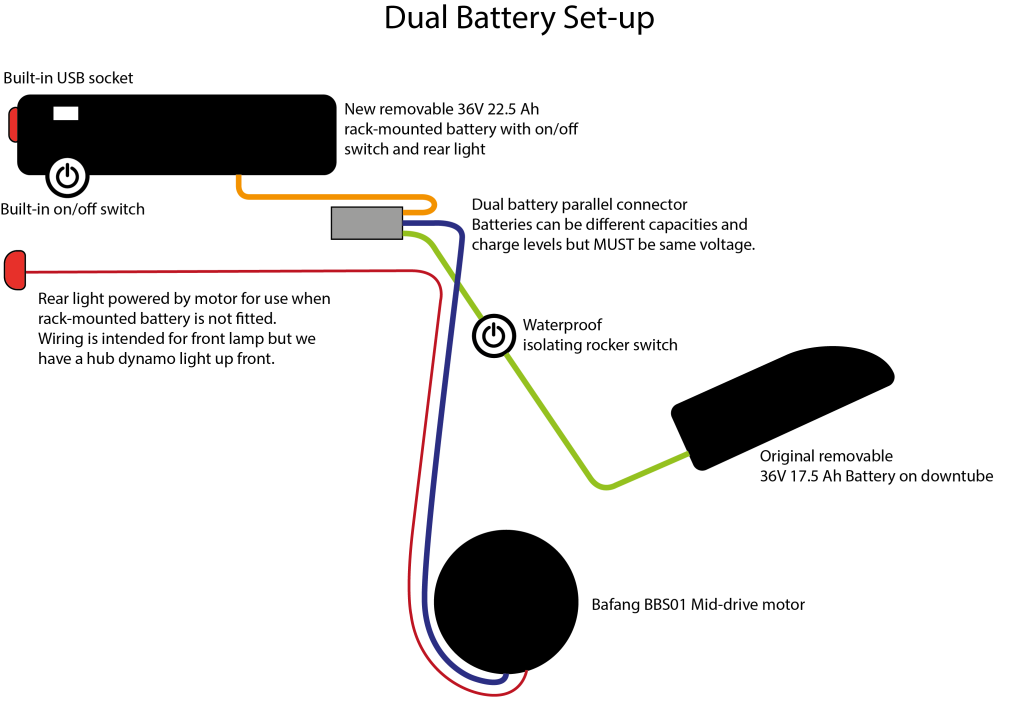

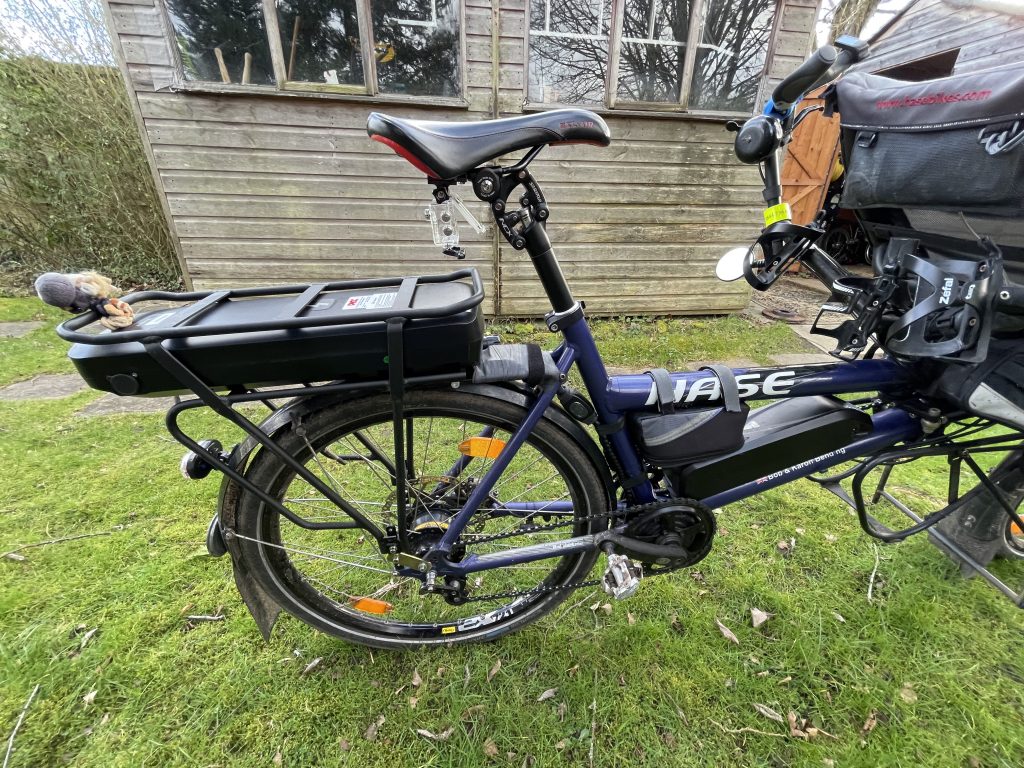
The beauty of this system is that either both batteries or just one can be used, without the other being on the bike. The large capacity rack mount battery weighs 5.8kg (12.7lb) and the down-tube battery weighs 3.5kg (7.7lb).
Jan 14
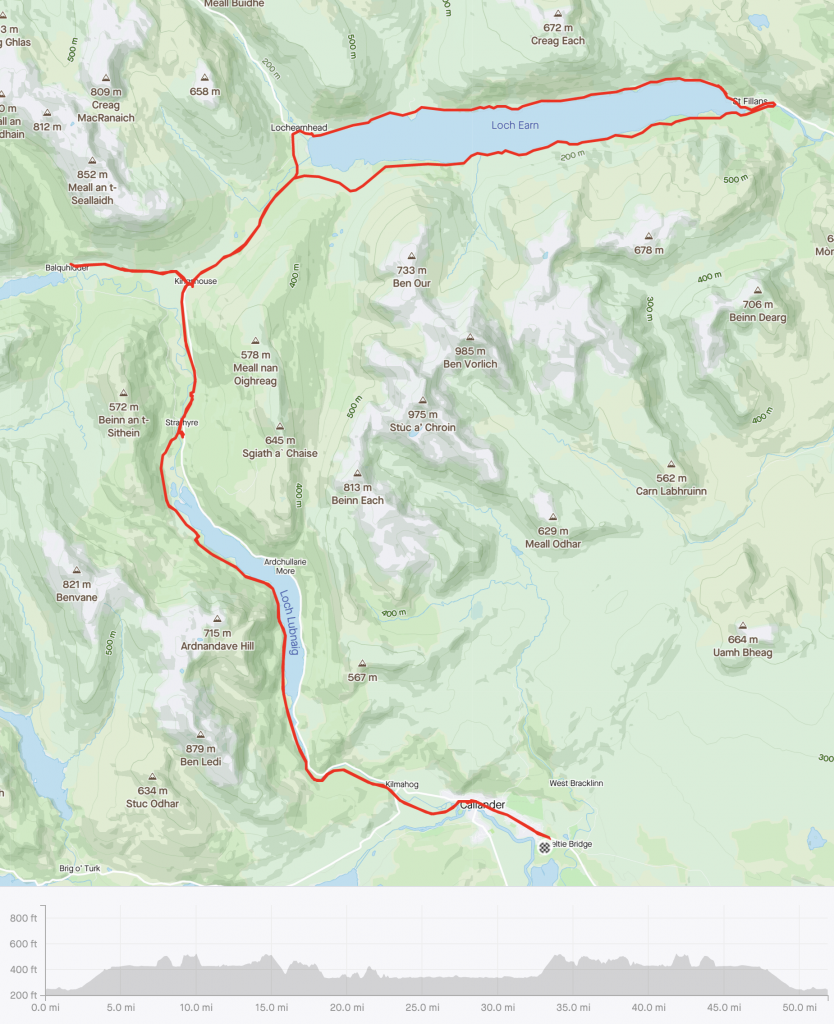
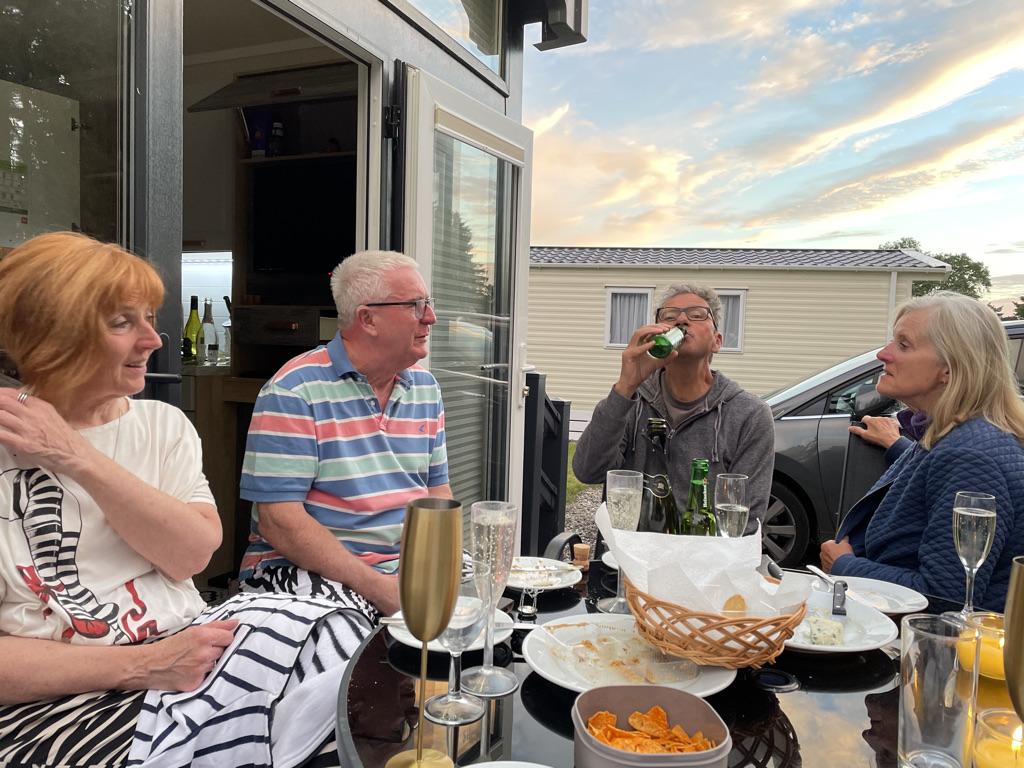
Late June 2021 we put the Pino in the car and headed for Callander on the edge of the Trossachs National Park. We arrived on Wednesday 23rd and so did Jane and John. Colin and Diane would be joining us Friday evening.
Thursday was our first ride and Jane and John had bought their Pino along too. Like us they had e-assist but their’s is the official version from Hase, with a Shimano Steps system. For this first ride the weather was good and we decided to head West, out along the south side of Loch Venacher, much of it along tracks beside the Loch. At the far end we continued around Loch Achray then headed for the ferry terminal and café at the end of Loch Katrine.
After lunch in the café we took the road back along the Northern shores of the Loch to arrive back at Callander. In the evening John and Jane came over to our chalet for nibbles and drinks.
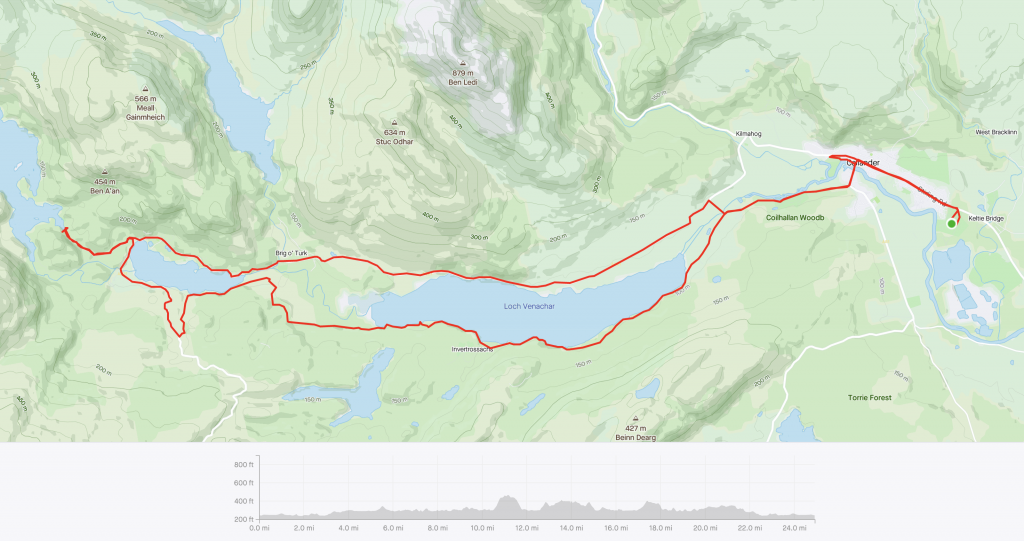
On our second day we again headed West, retracing the return leg of the previous day, but once past Loch Achray we turned South and climbed Duke’s Pass. The long, flowing and winding descent was definitely the highlight of the day! (3:35 in the video)
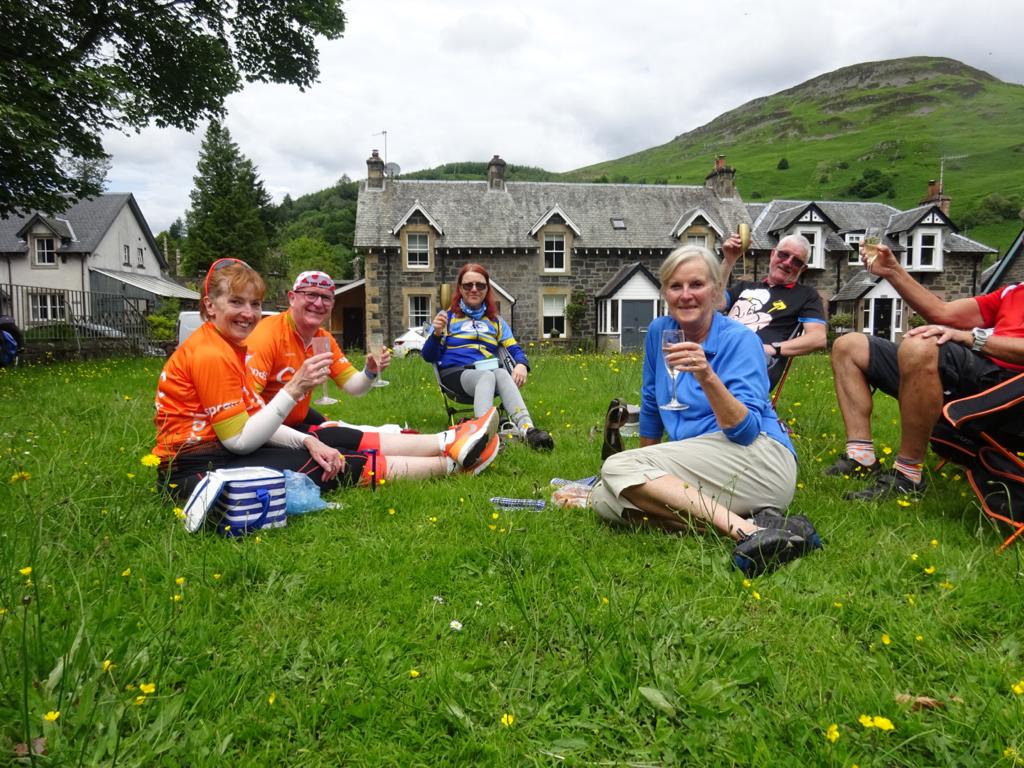
In Aberfoyle we stopped at the first café we spotted for lunch then carried on, past the only ‘Lake’ in Scotland, the Lake of Menteith. Back in Callander, after some food, we enjoyed drinks and nibbles in our chalet again, but this time we were joined by Colin and Diane who had arrived late that afternoon.
Day 3’s ride was led by Colin and Diane. This time we headed north alongside Loch Lubnaig, following the course of an old rail track for the most part. We stopped off at the Broch Café near Strathyre for coffee and cake then continued towards Lochearnhead. Here we picked up the trail that runs up Glen Ogle, crossing the Glen Ogle Viaduct. A stint on the A827 delivered us to Killin where we parked up behind the Falls of Dochart Inn to sit outside the Falls of Dochart Smokehouse and enjoy a lunch of smoked salmon washed down with some very nice bubbly.
Karon and I took our leave briefly, to head through the town to collect a BCQ, leaving the others to explore the falls of Dochart. I can’t say I enjoyed the climb out of Killin, as we retraced our outward leg back up to Glen Ogle. Once there, the remaining route was mostly downhill which was a relief!
In the evening we all headed into Callander town for a meal together in the Bistro Restaurant at the Roman Camp Hotel.
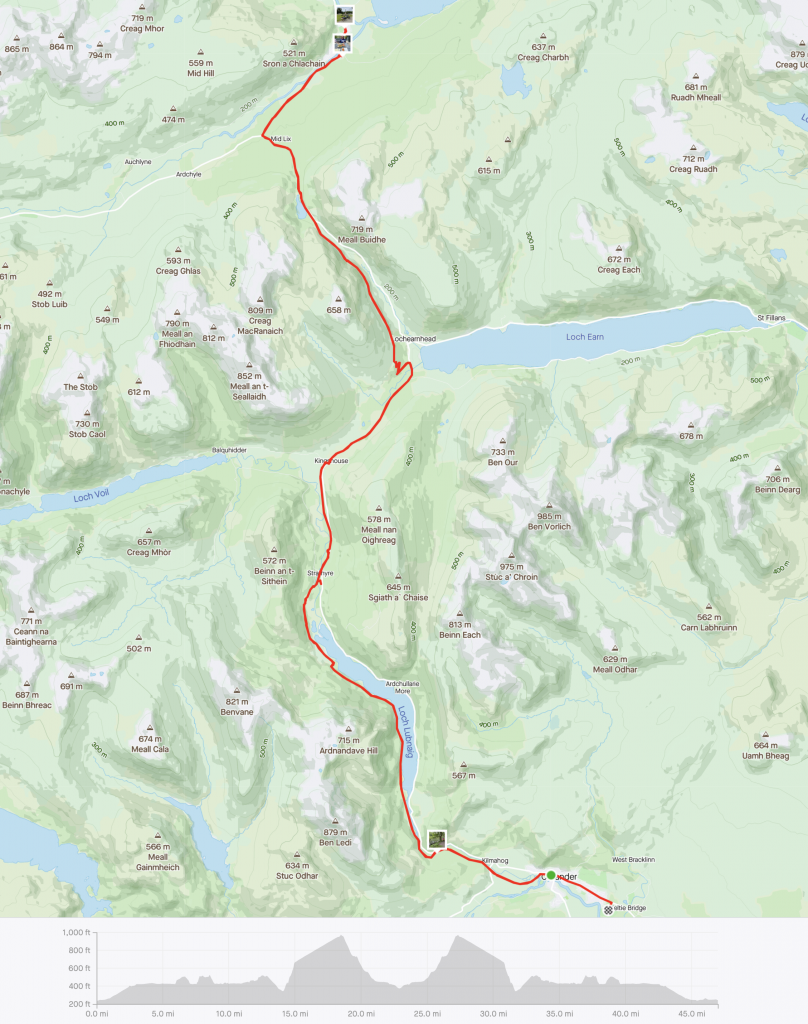
Day 4 saw us retrace the first part of the previous day’s ride as far as Loch Earn, where we turned off to follow the Southern shore of the Loch. At St Fillans, at the far end of the Loch we stopped for a picnic ‘Prosecco’ lunch. Back on the bikes we continued along the north shore as far as Briar Cottage where we stopped for more Prosecco in a Lochside garden, hosted by friends of Colin and Di.
On the way back Karon and I took a detour to bag another BCQ while the others waited for us at Kinghouse…in the pub there. Our last day ended with us all sat on the decking of Colin and Di’s chalet enjoying nibbles and copious amounts of more prosecco!