The Pino stoker’s freewheel removal
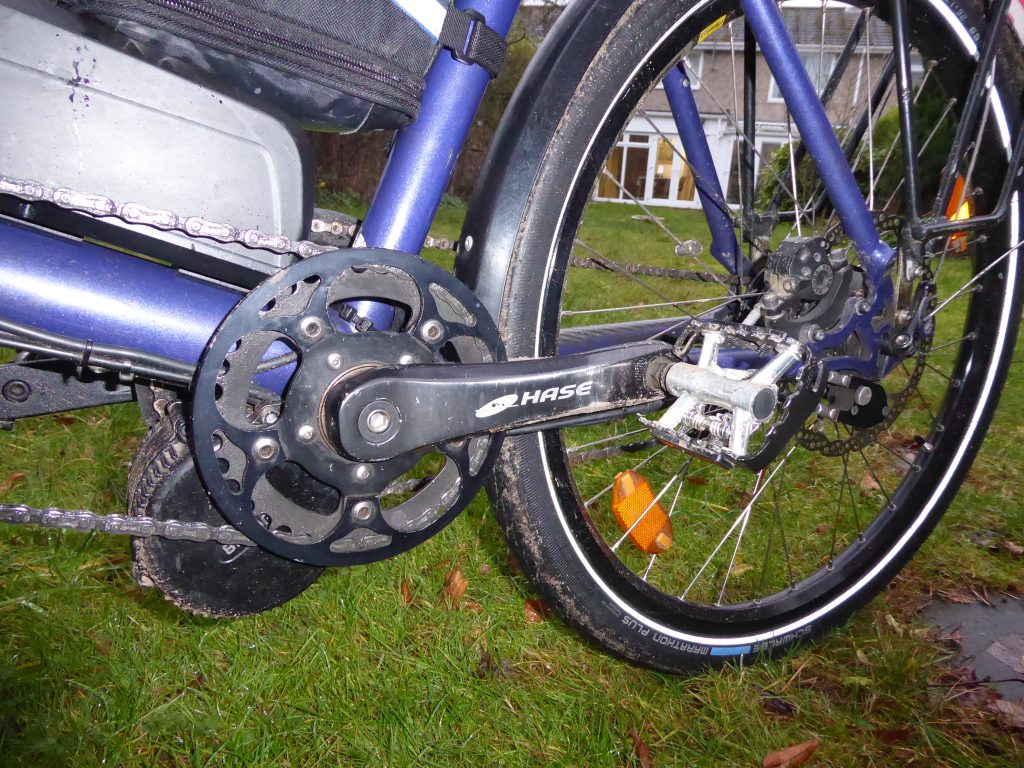
Our Pino is a 2011 model with square taper cranks.
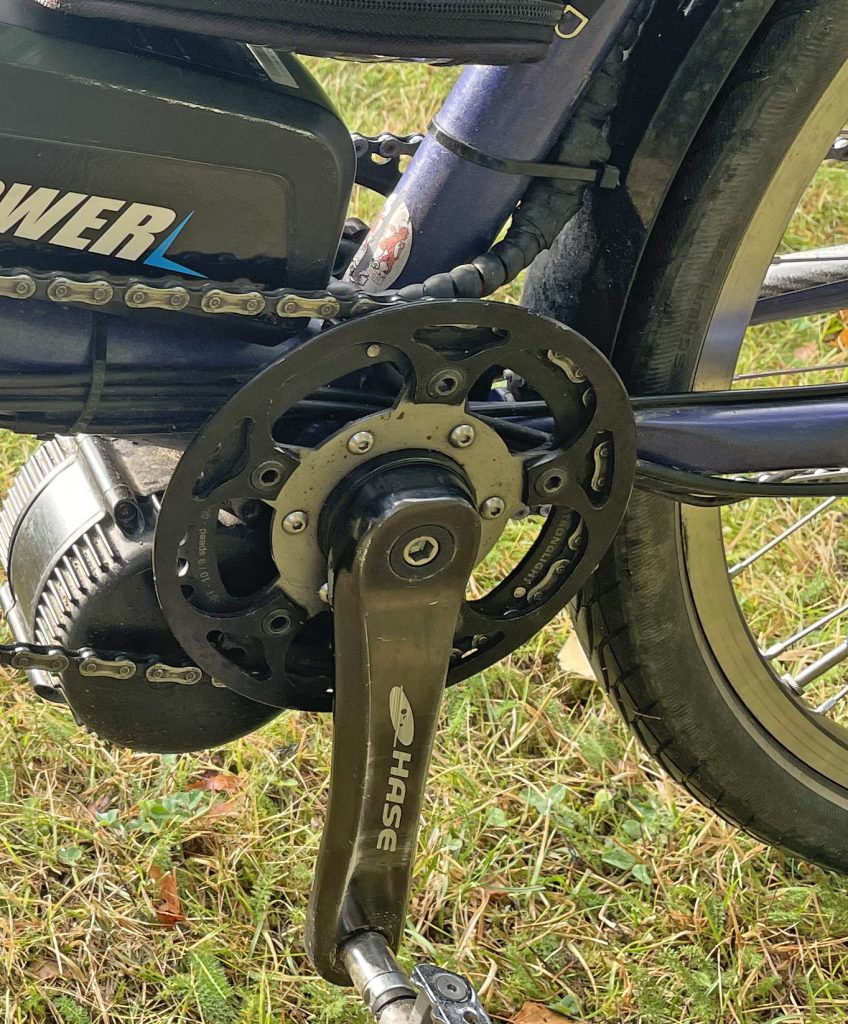
The freewheel is on the left side of the ‘Captains’ crankset. Ignore the motor slung under our Pino, removal of the cranks and freewheel is still the same. Before removing the crank, take off the pedal.
Removal of the cranks is similar to the video below (not mine). You’ll need a crank puller – the video below shows the tools and how to use them to remove the crank.
Once removed the inside of the crank and freewheel looks like this.
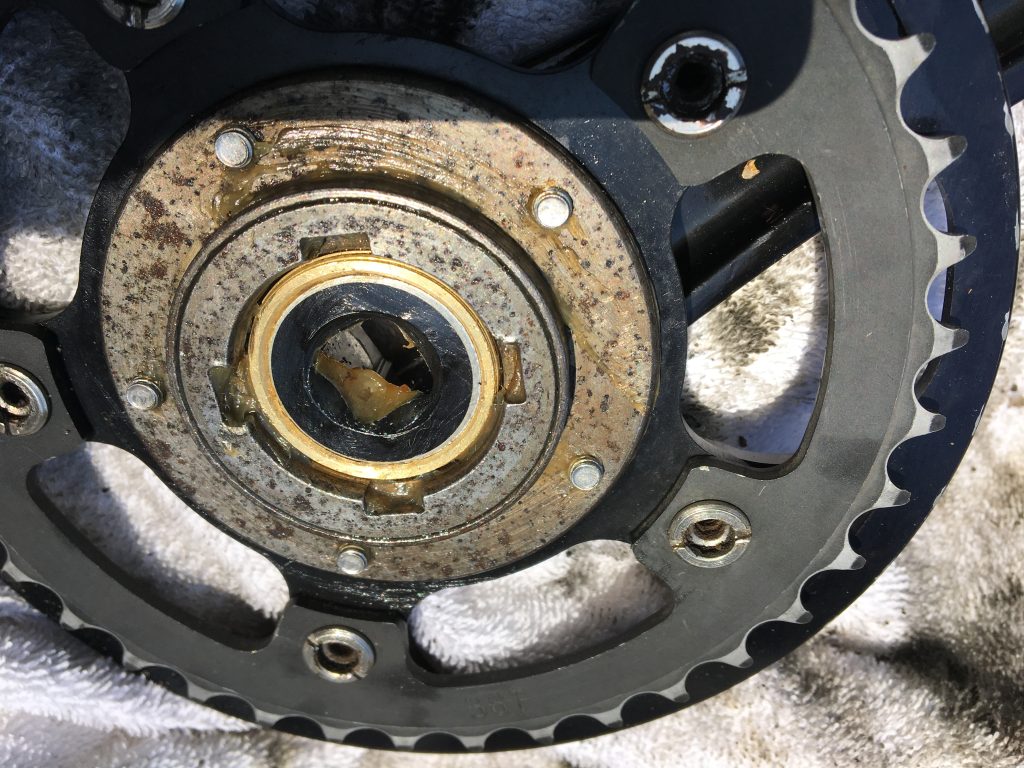
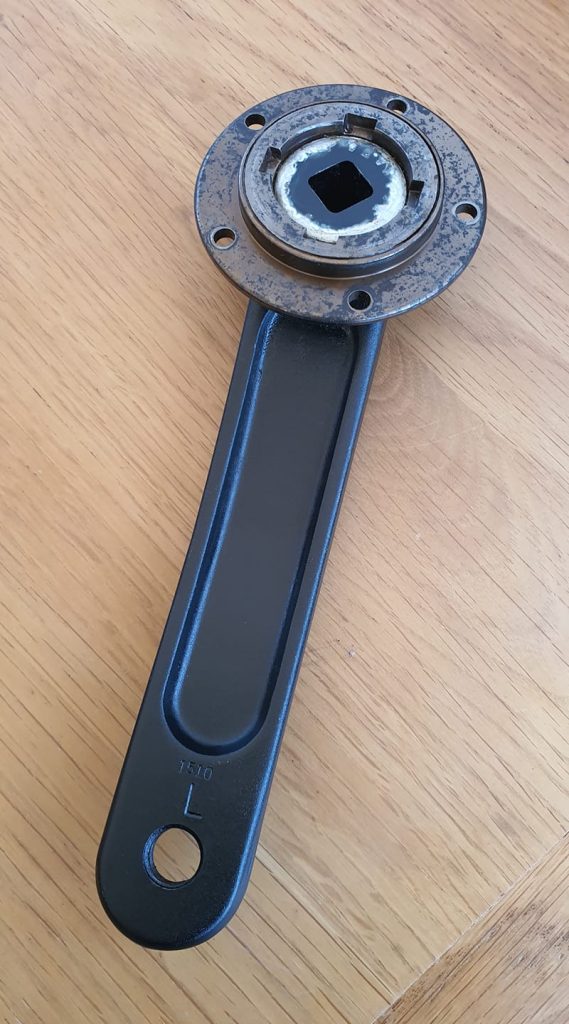
It’s best to remove the chainring at this stage by undoing all five chainring bolts. This will leave the spider attached to the freewheel. Although it’s not necessary, you can remove this too, by removing the five retaining bolts. The chainring spider will then come away from the crank assembly and it’ll look like this.
To you’ll need Park Tool FR-6 – available through bike shops, Amazon and eBay – and a clamp to hold it in place before placing the crank in a vice. You can make up a clamp using a long bolt, washers and a nut. It just needs to be finger tight to prevent the tool slipping out of the cut-outs on the freewheel.
Rotates anti-clockwise to loosen.
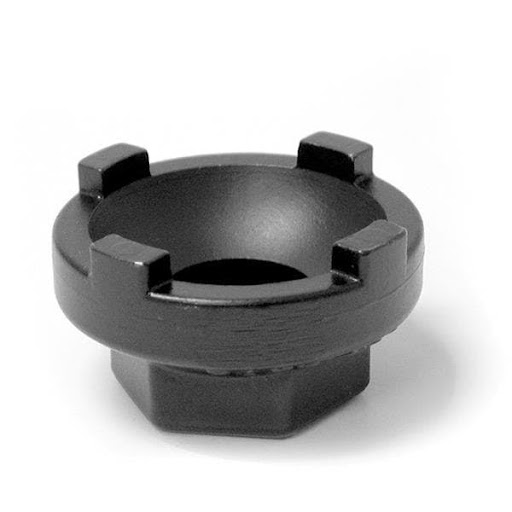
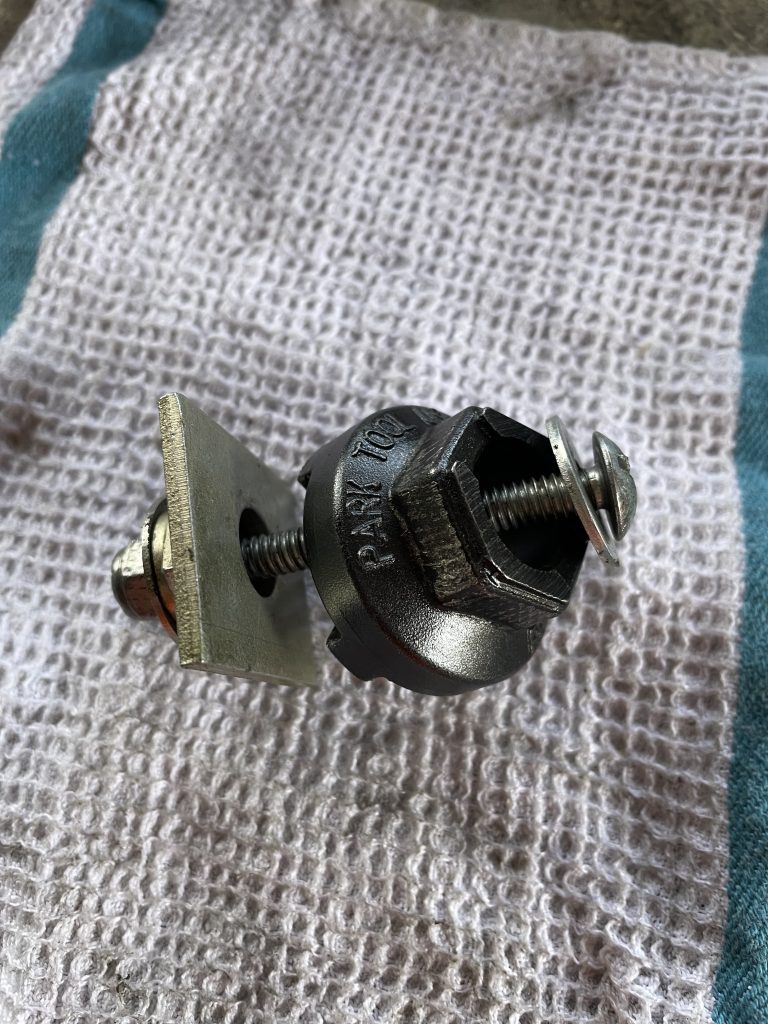
Placing the tool into the crank using the clamp to hold it in place…
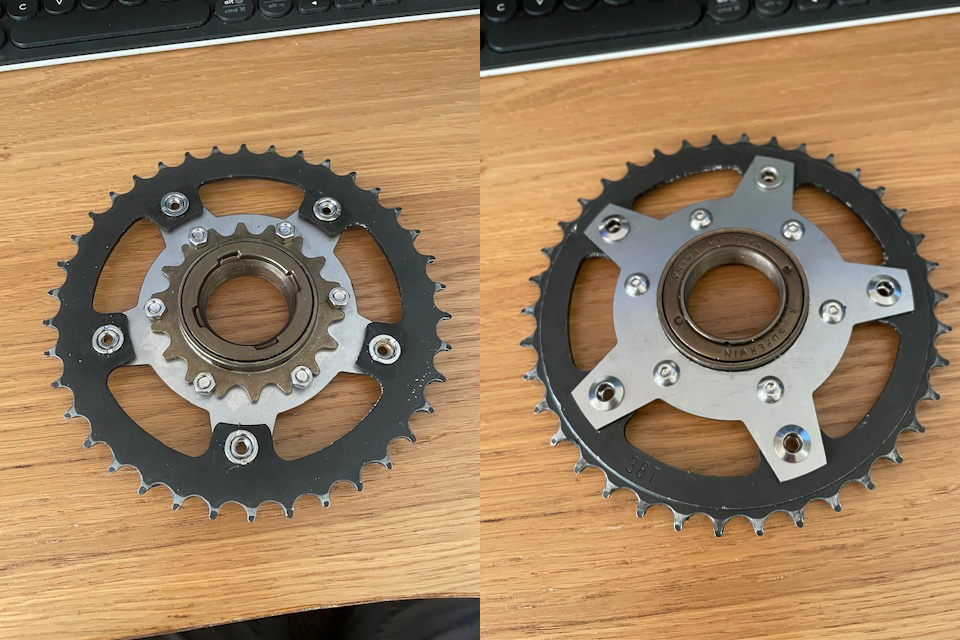
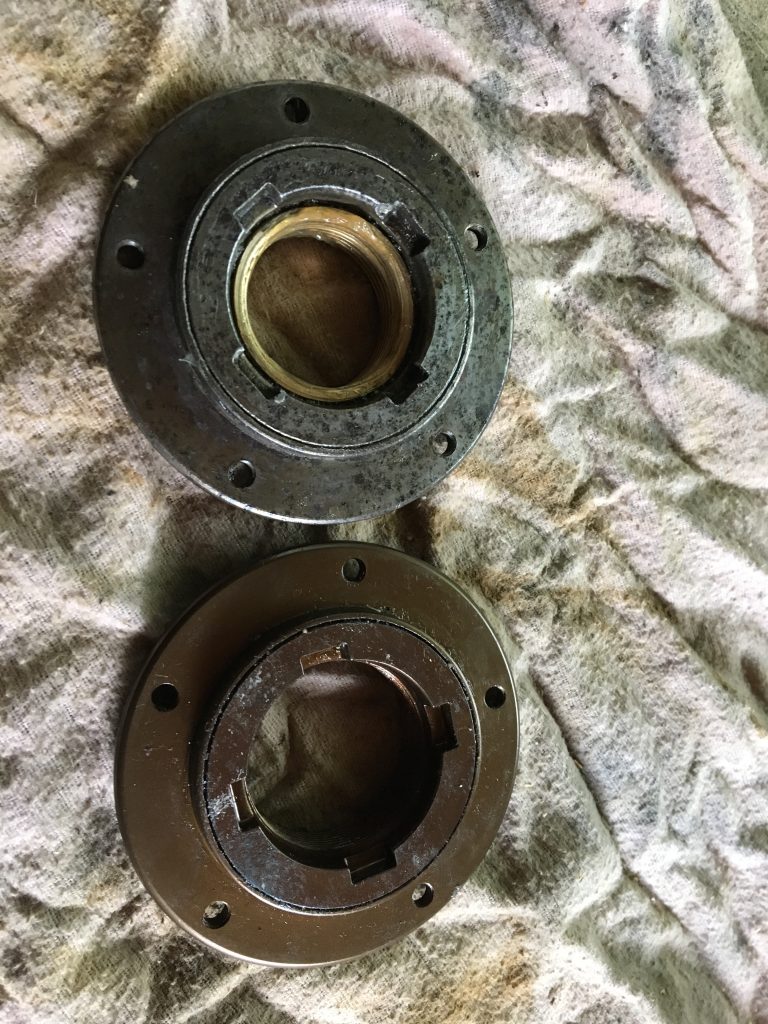
If the spider is still in place, you can now undo the five allen bolts and remove the spider from the freewheel. The image below shows two freewheels. The top one has the threaded sleeve that has come off the crank. If the sleeve stays on the crank, it will look like the bottom one.
The freewheel can be dismantled to grease the bearing by turning the cover plate anti-clockwise.
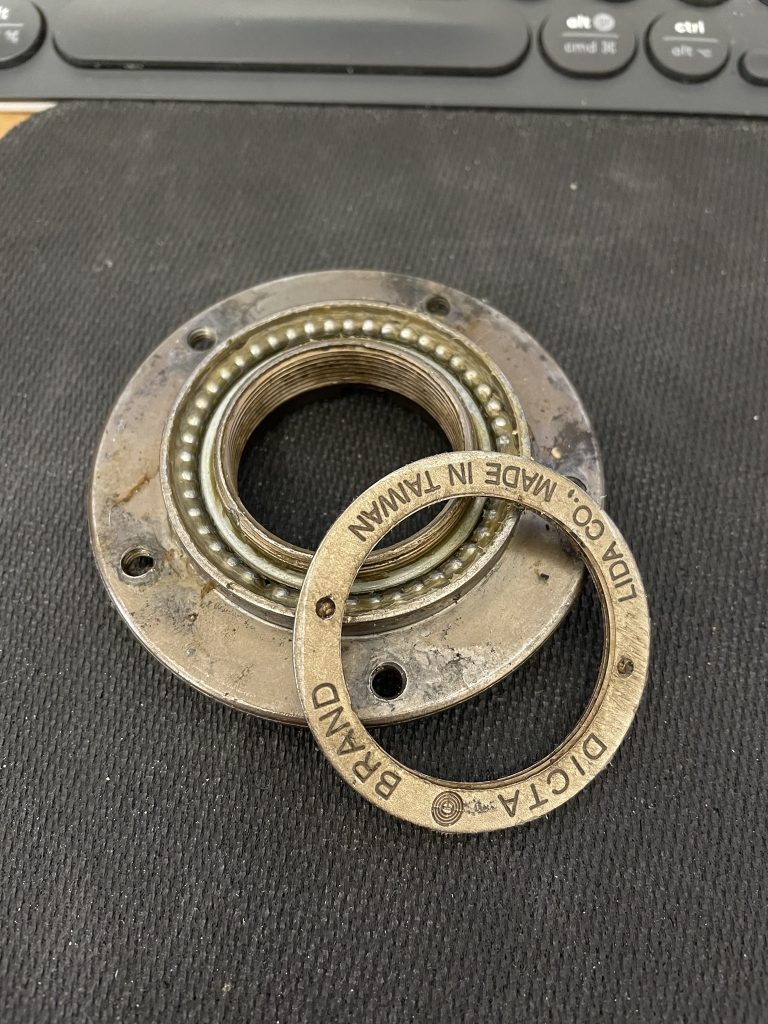
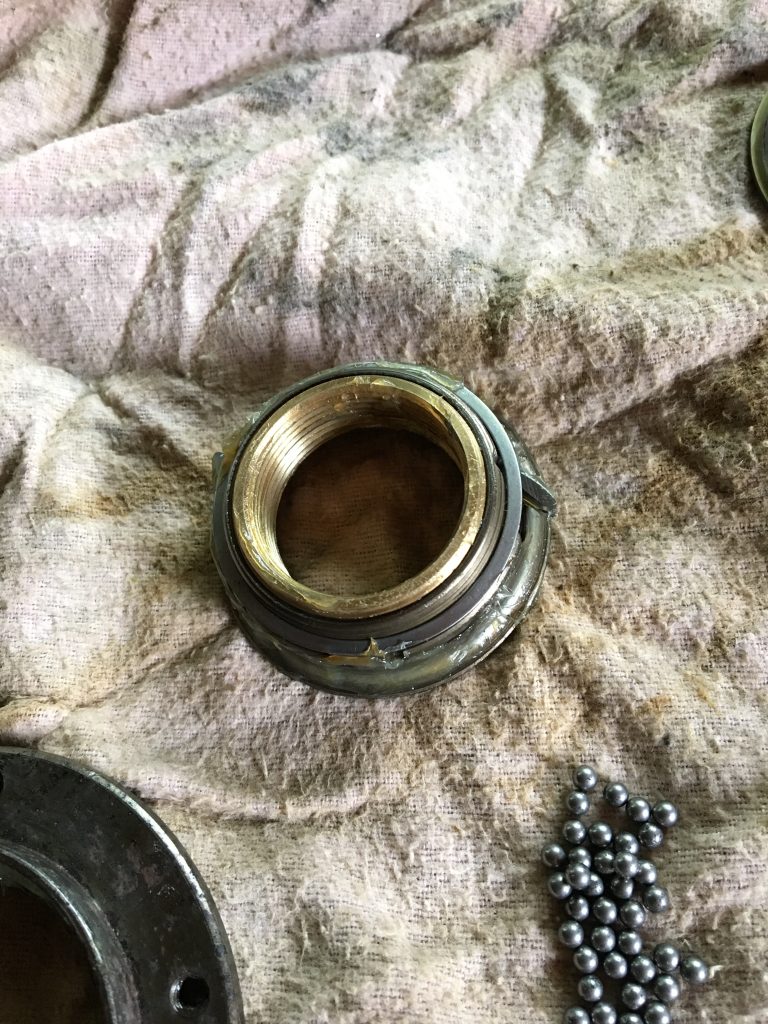
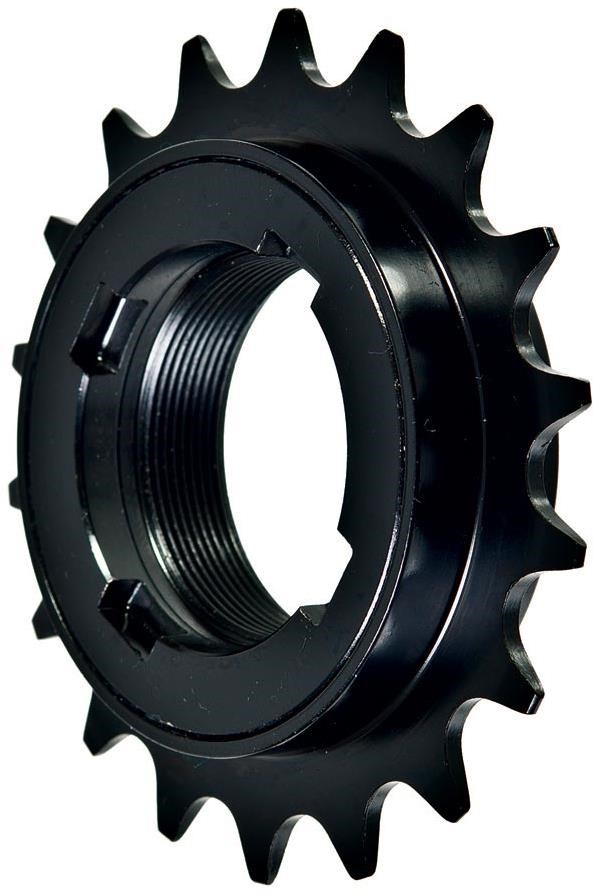
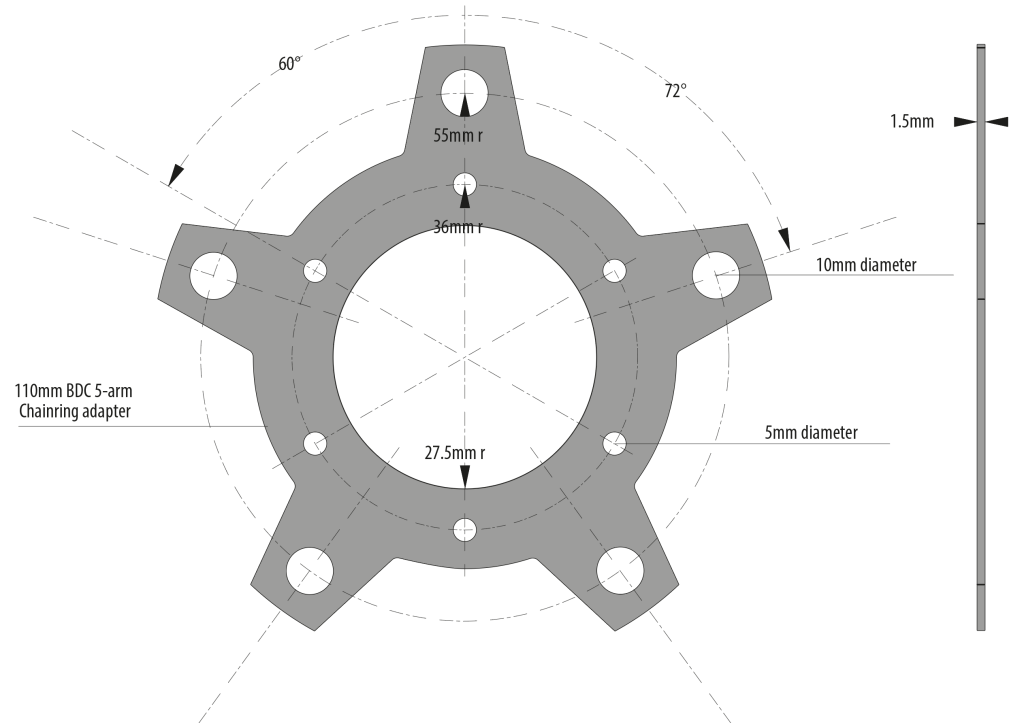
The stock freewheel has three pawls. Use a light grease to ensure the pawls can move freely and engage properly. Because of this, take-up is often a little slack. This, and that the Hase Freewheels are expensive led me to look at an alternative using a better quality freewheel. Unfortunately, I could not find any good quality flanged freewheels on the internet, so I decided to use a sprocketed freewheel and make an adapter plate to attach it to the spider and crank.
I wanted to use an 18T BMX freewheel sprocket – the Halo Clickster – as it has six pawls and is a better quality freewheel.