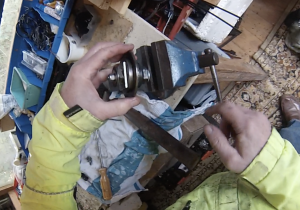
It’s a few years since I last serviced the freewheel on the Pino, and it felt like it could do with some fresh grease in the bearings: Tools needed are the Park Tool FR-6 and 1″ socket or spanner to fit, a bolt and washers to clamp the tool in place, a vice, hammer and punch or drifter.
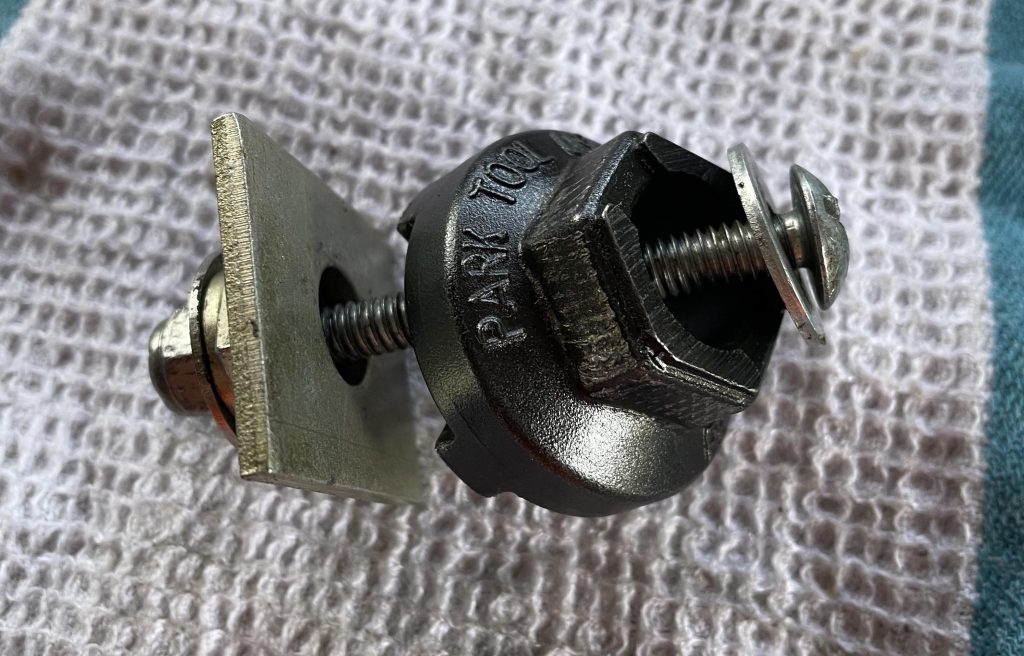
Locate the tool into the slots on the freewheel then clamp in place with a bolt. Place the crank into a covered vice then use a 1″ socket or spanner to loosen the freewheel anti-clockwise. An extension to the socket or spanner may be necessary for leverage.
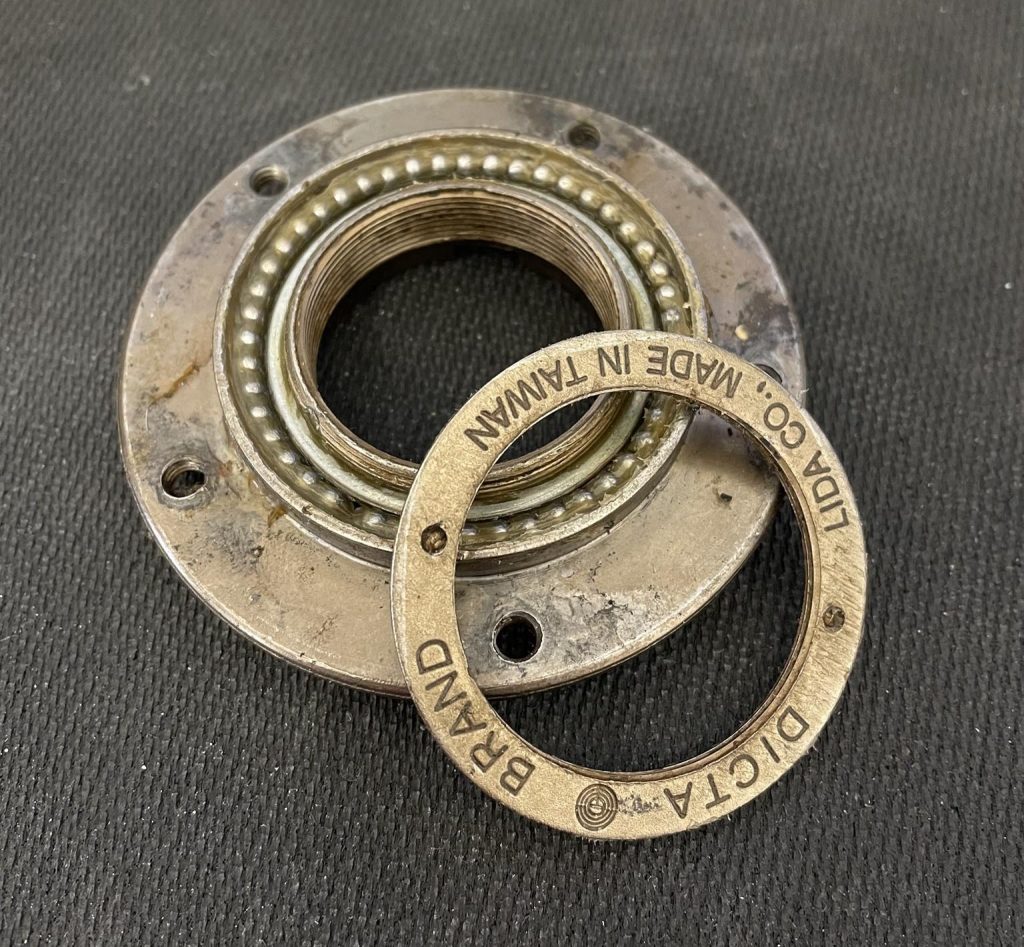
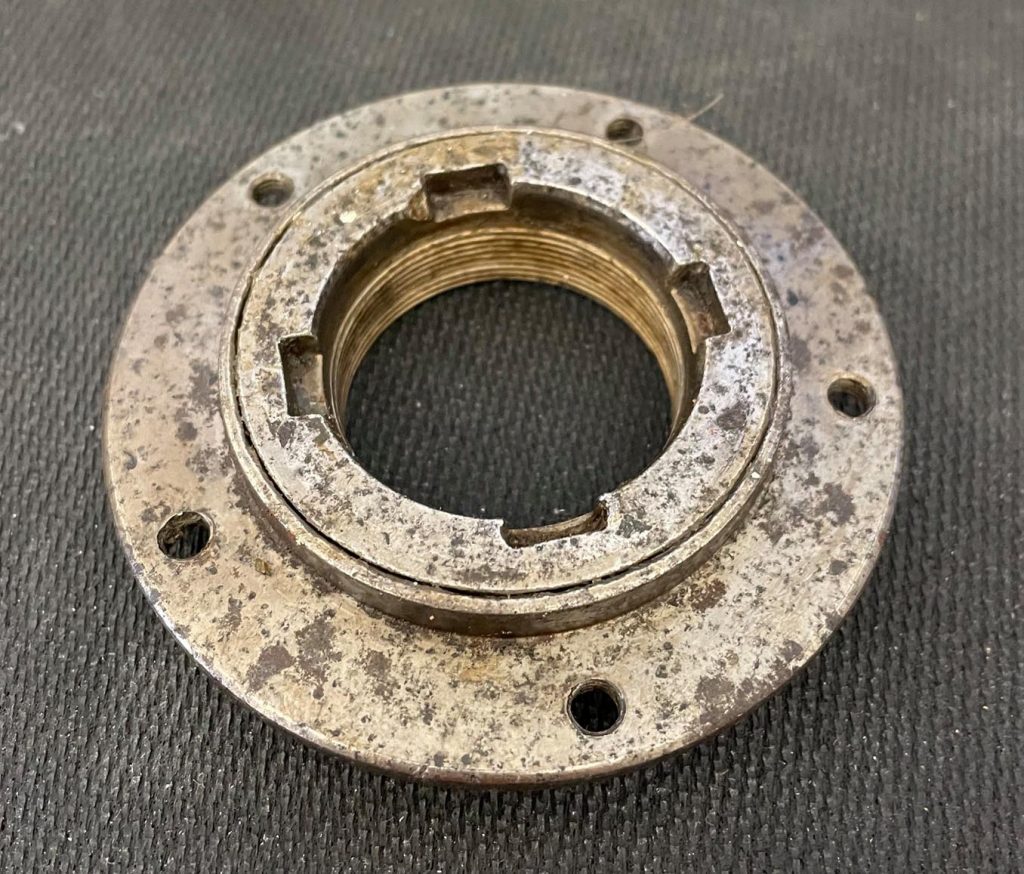
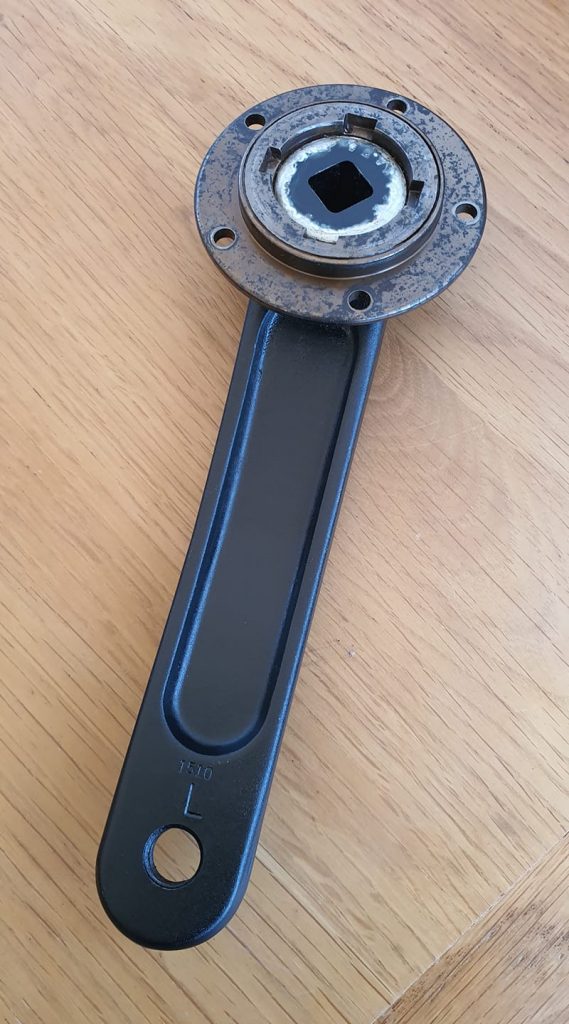
Once loosened the freewheel can be removed. This sits inside a threaded sleeve within the crank, and in this case that too came off. The sleeve can remain in the freewheel or be removed and replaced within the crank.
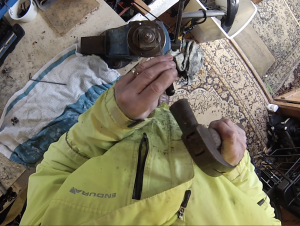
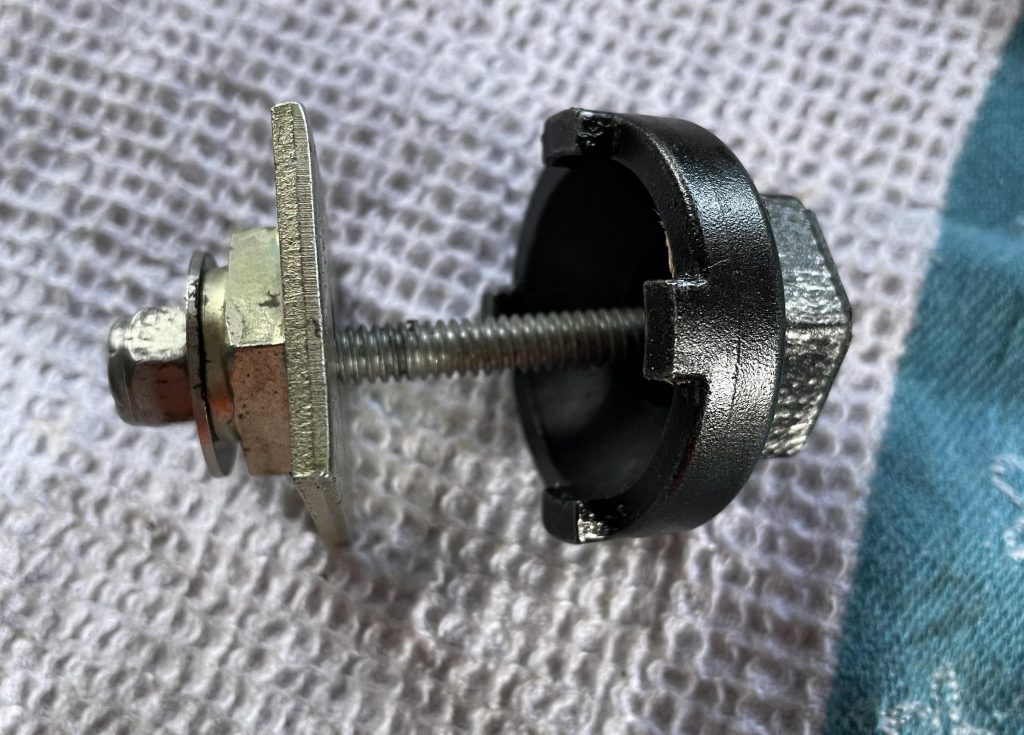
Once the freewheel is removed, replace the tool and clamp to the freewheel, then clamp the tool in a vice. This makes drifting the faceplate on the freewheel much easier.