In January 2017 I set about electrifying my HPV Scorpion FS20 recumbent trike. Trikes are great fun to ride, and comfortable too. A lower profile and recumbent position mean they are more aerodynamic, but the downside is their weight. For me, it makes any climb hard going, even pretty innocuous lumps can take some effort. Of course, you can grind away in an ultra-low gear and, with three wheels to keep you upright, you can go as slow as you need to.
After looking at the options of a wheel drive or crank drive, I opted for a crank drive. Wheel drive kits tend to be cheaper than crank drives, but I find the crank drive a more elegant solution. And, If I ever wanted to sell the trike, I could remove the kit, revert the trike and fit the kit to a different bike, regardless of wheel-size. A crank drive will only have a single chainring, but my trike had that already, so it meant I could retain all 27 gears – a 3-speed rear hub gear with a 9-speed cassette fitted.
A Bafang seemed to be the obvious choice. Buying from China, where they are made, is a lot cheaper than sourcing one in the UK or Europe – there are plenty of providers on Amazon but the disadvantage is delivery times are much longer. As I was a bit sceptical about buying direct, I ordered a kit including a 15Ah battery from Woosh Bikes in the UK.
The Bafang kit is very comprehensive and easy to install, thanks to the fool-proof connectors. Instructions are not really needed, which is probably a good thing, as there weren’t any. For those that are doubtful, there are plenty of videos on Youtube about how to install a Bafang…on an upright.
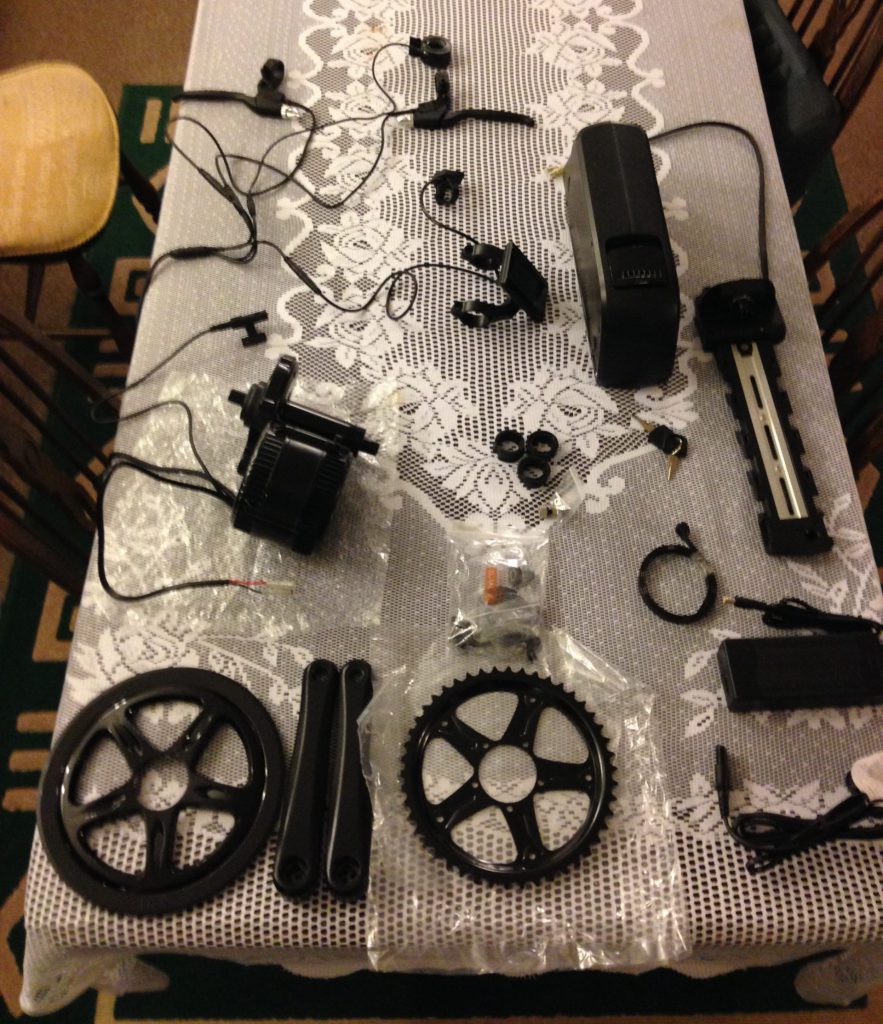
The 250W Bafang crank drive kit laid out. Closest are the chainring cover, cranks and charger. Behind, the motor, spacers, battery with mounting bracket and locking key. Ay the back the thumb throttle, brake levers with sensors and the speed sensor are all connected to the display which has the control buttons permanently wired into it. Excuse the table cloth – I like to keep my workbench looking nice 😉The old BB – a bugger to get out!
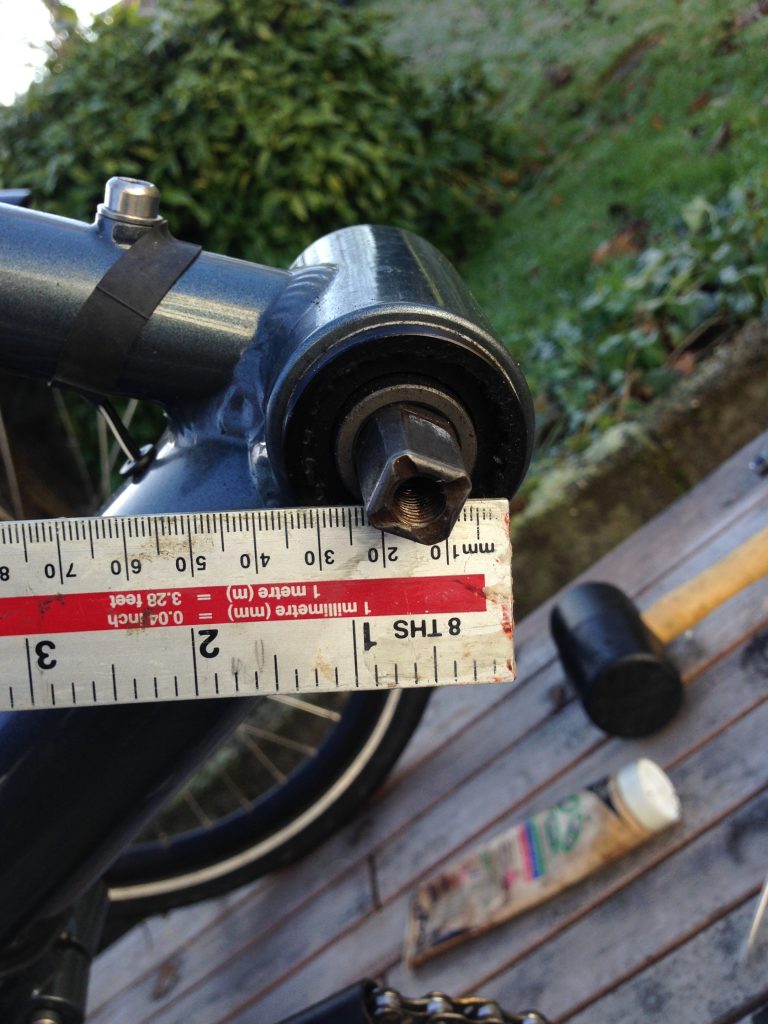
First job was the remove the current bottom bracket from the trike. And there I hit the only real problem I had. Even with the right tools, I could not loosen it, so took the bike up the road to my local bike shop, where they dealt with it straight away.
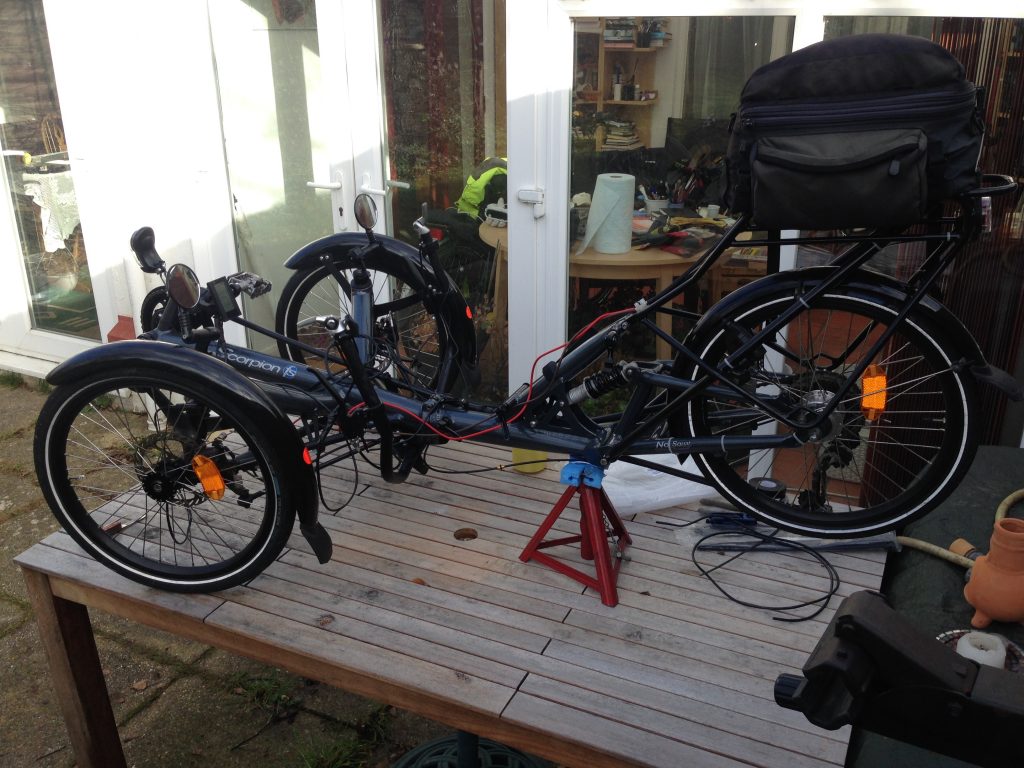
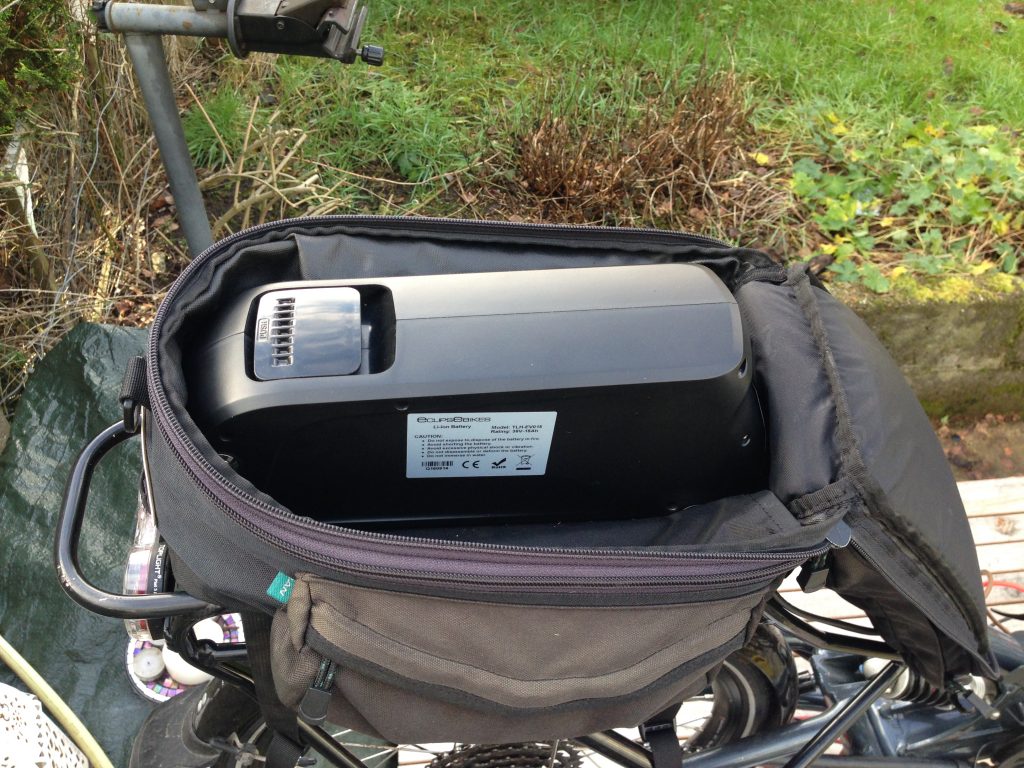
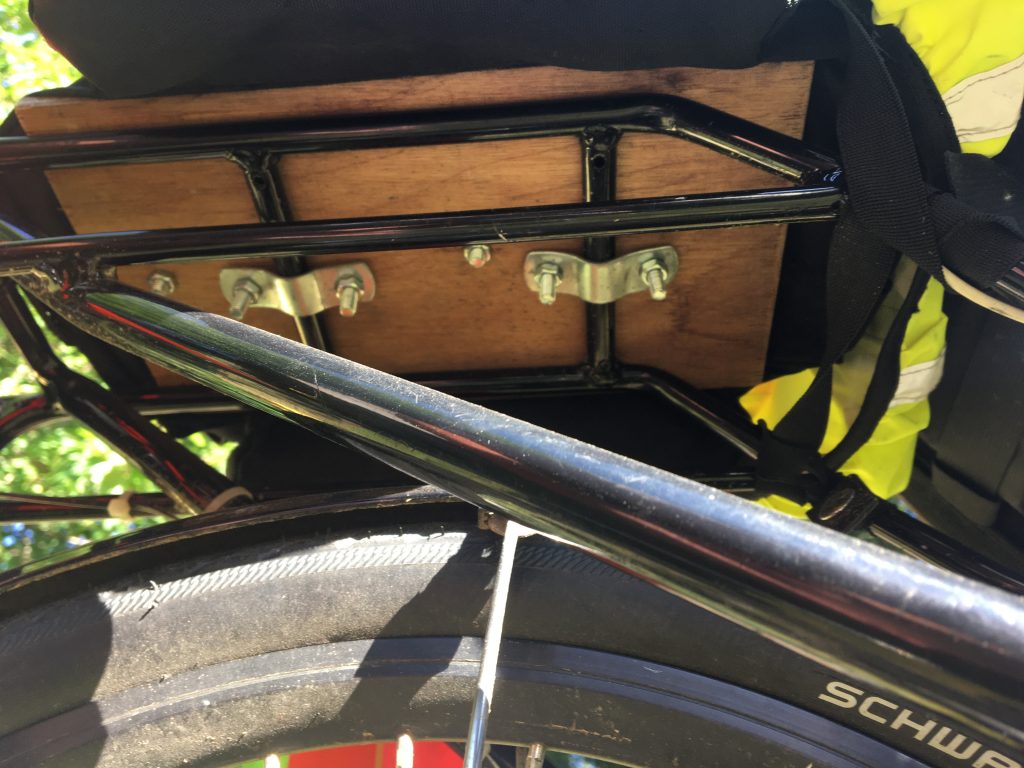
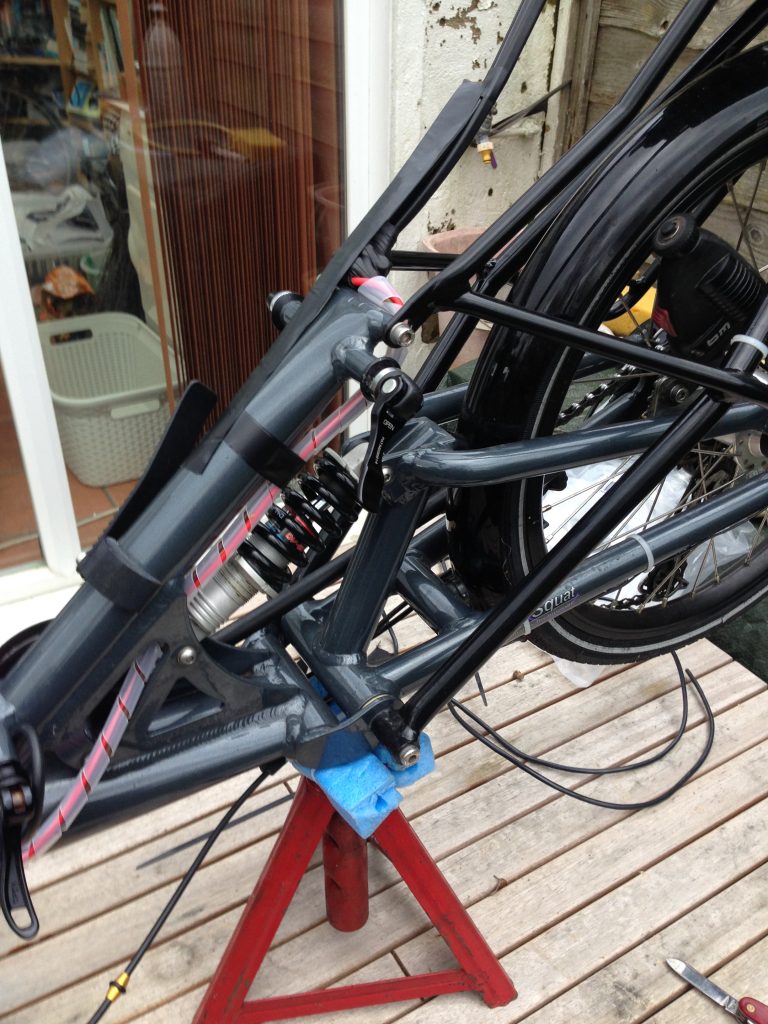
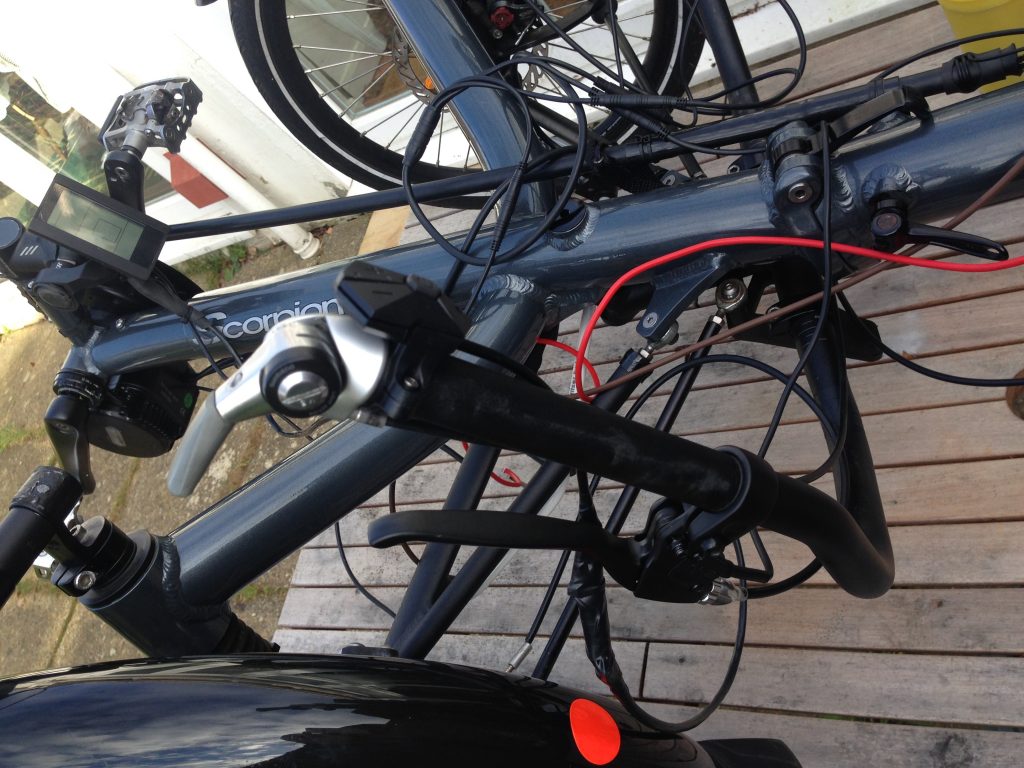
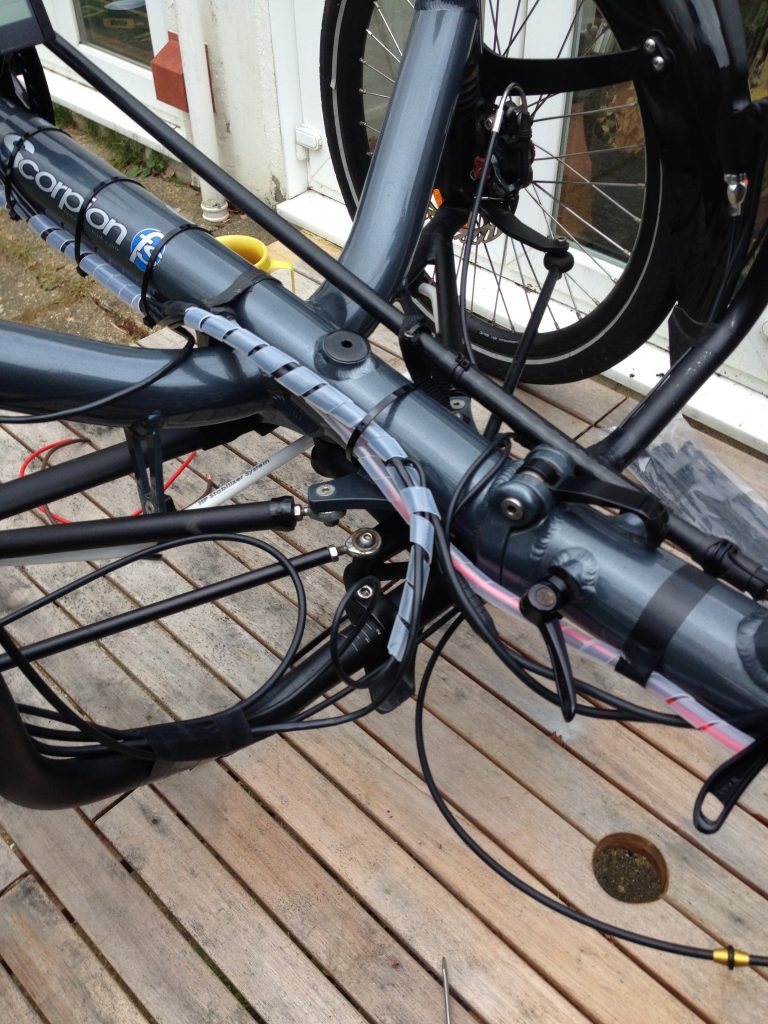
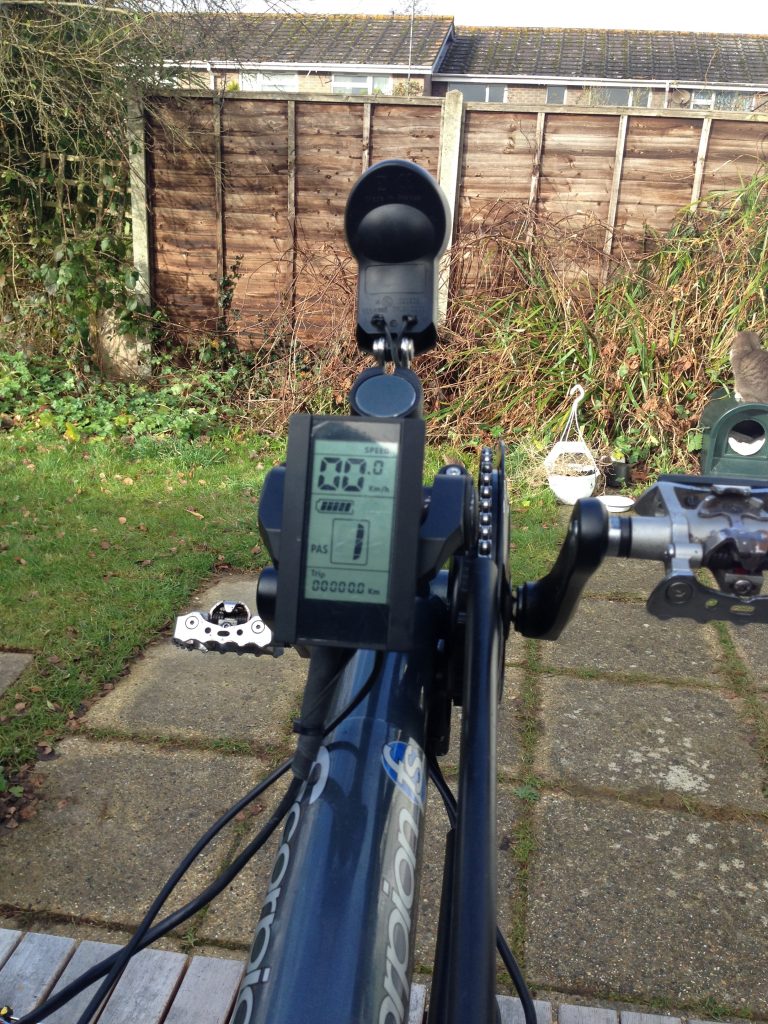
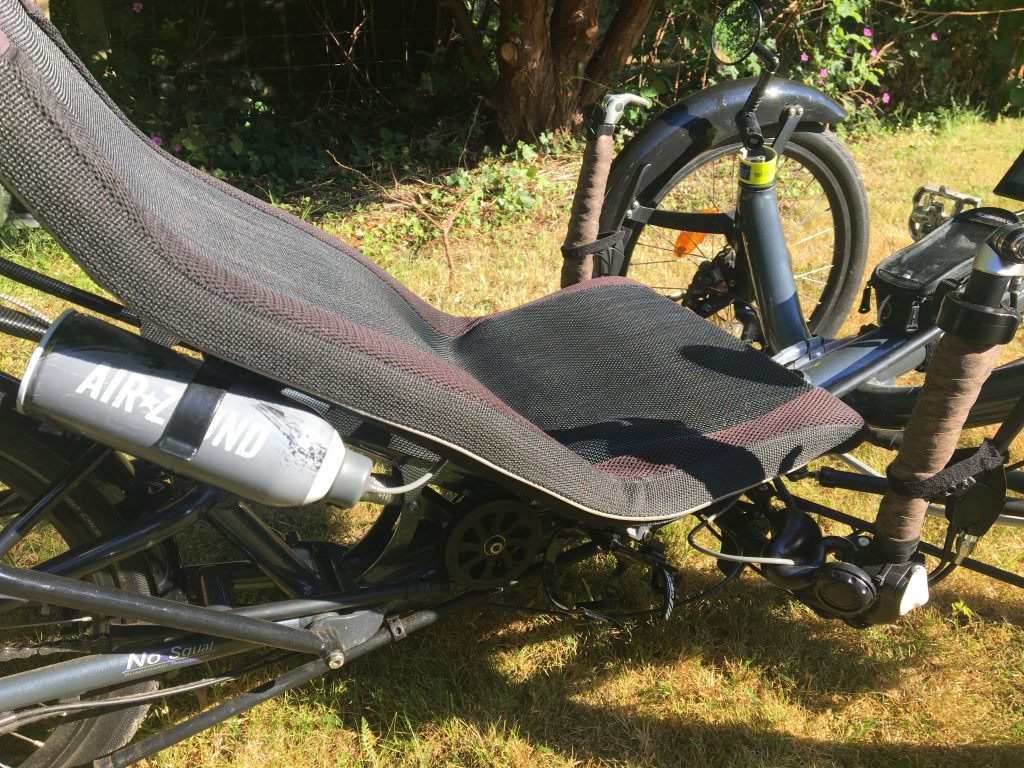
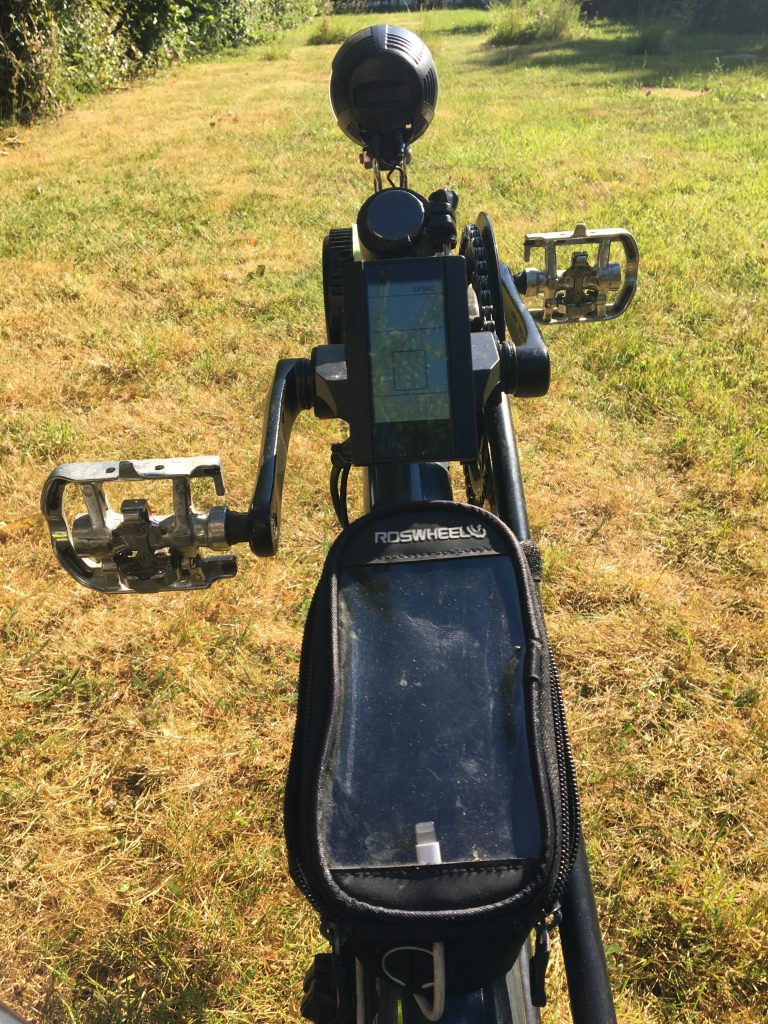
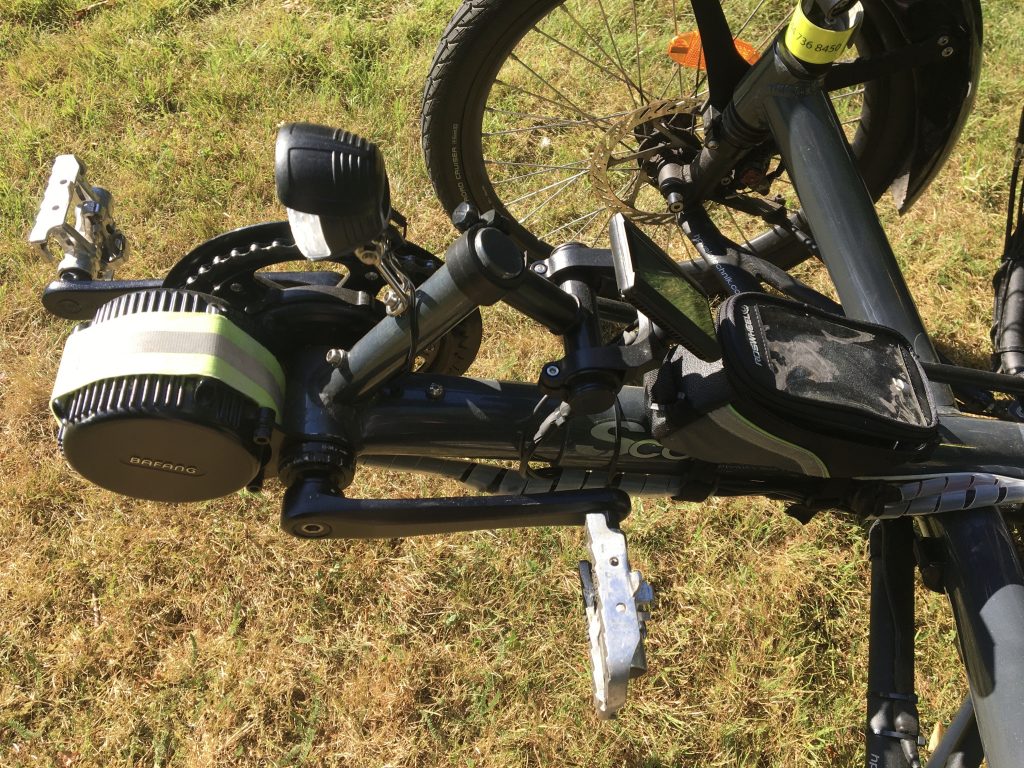
To make working on the trike easier, I made use of our garden table and an axle stand. NOTE: If you want to be able to fold the trike after fitting, make sure there’s enough slack in the cabling to allow for the fold.Once the trike’s bottom bracket is removed, the motor with bottom bracket attached slides in from the drive-side. There’s a retaining bracket to stop the motor rotating within the bb shell and a lockring. Then the chainring and cranks can be fitted. The motor is a 250W one – the lowest power Bafang make, but the only one legal in the UK. Also to be legal you should not have a throttle that can drive the bike without pedalling, and the power must cut out at speeds above 25kmh/15.5mph.I wanted the battery hidden, mounted on the rear rack, so I fixed the battery mounting bracket through the bottom of a rack-bag, using a piece of plywood to the rack to fix the retaining screws into. The bag is supple enough to allow me to slide the battery off it’s mounting bracket and remove for charging and storage. There’s room down either side of the battery for some bits, like tubes and a waterproof etc. This battery has a USB socket, so I ran a 2 metre Apple iPhone charging lead from the bag to the front of the trike along with the power supply.The underside of the rack, showing the wooden mounting ‘plate’ fitting.As the kit is designed for conventional uprights, the wiring to the battery needed extending.The left hand steerer. The control button cable also needed extending, as I wanted the display mounted centrally near the front of the boom. Fortunately, the trike had cable operated brakes, so I could use the levers that came with the kit. They have sensors in to cut the power when either or both brakes are applied. If you have hydraulic brakes, you’ll need to buy brake sensors to fix to the hydraulic brake levers.I mounted the thumb throttle on the right-hand steerer. On the mudguard mount, on the left wheel is the speed sensor. Similar to a trip computer fitting, with a magnet fitted to one of the spokes, this small item needs to work perfectly. If the magnet or sensor move, and stop working, the motor will only provide power for a couple of minutes, then it will shut-down. I have since moved the sensor to the small bracket on the steering arm close to the reflector.There is quite a bit of wiring to keep tidy but a lot is hidden by the seat once fitted. I used lengths of cable management to keep the cables together. I got mine from Maplin, but there’s plenty on Amazon.Once it was all connected, I tested the unit before tidying all the wiring. To fix the display I used on old stem mounted onto the gear stump with a section of unused handlebar I cut down but have since put a lighter handlebar accessory mount in its place.Lots of zip-ties – but they do the job.Everything in place, I used bar-tape over the cables and wires to finish off the bars.
On my first ride out, the motor rotated within the bb shell, even though I thought I had it tight. That pulled on the cable and pulled the main connector apart, and I lost drive. It didn’t take long to sort out.
Since putting it together I’ve ridden several hundred miles without any real issues, though the connection (my extender) to the speed sensor became erratic because it had worked loose, so I soldered the joins rather than just wrapping them… something I should have done in the first place. For the larger cable extension I used plastic-housed screw connectors and wrapped all the connections in waterproof tape.
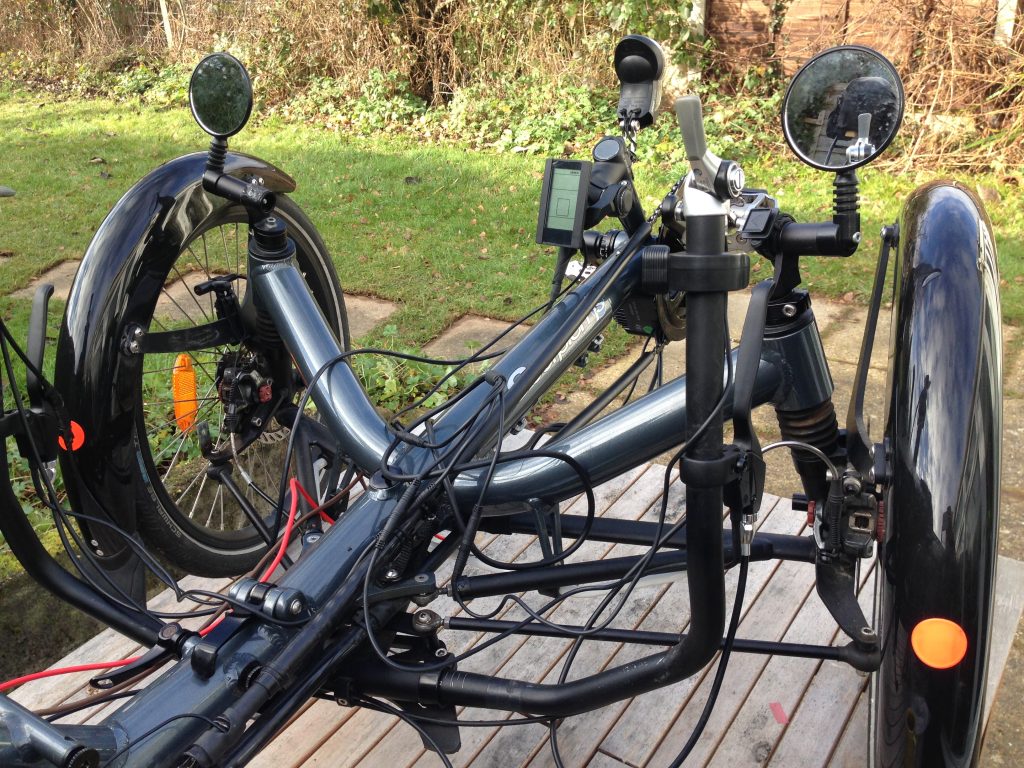
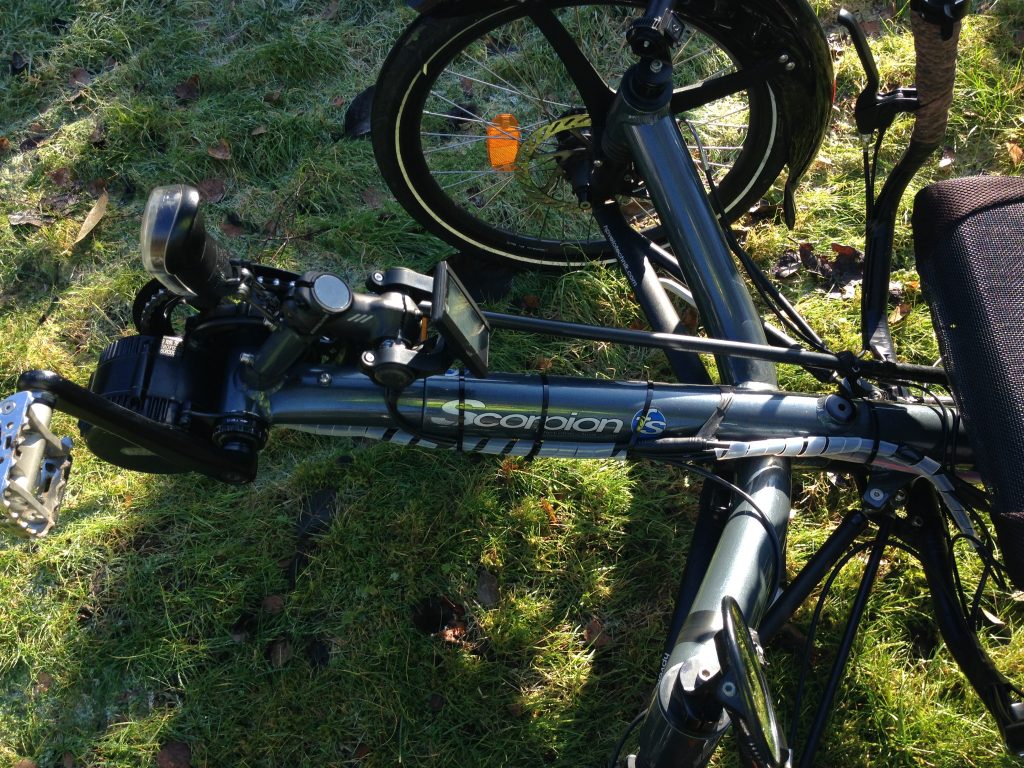
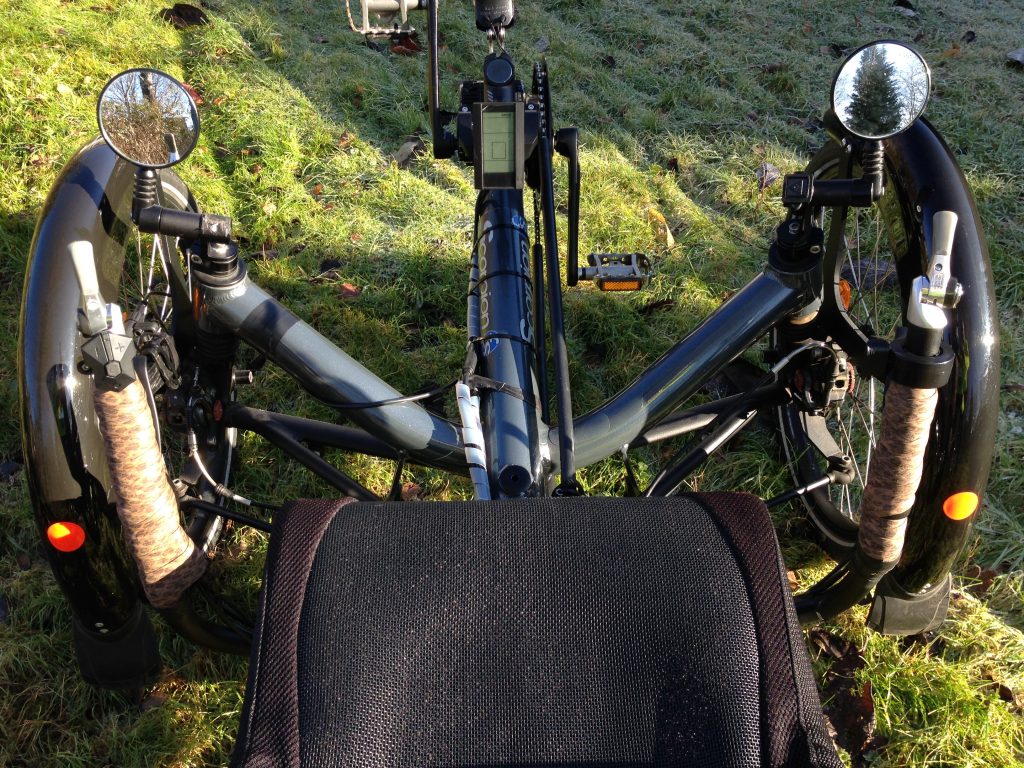
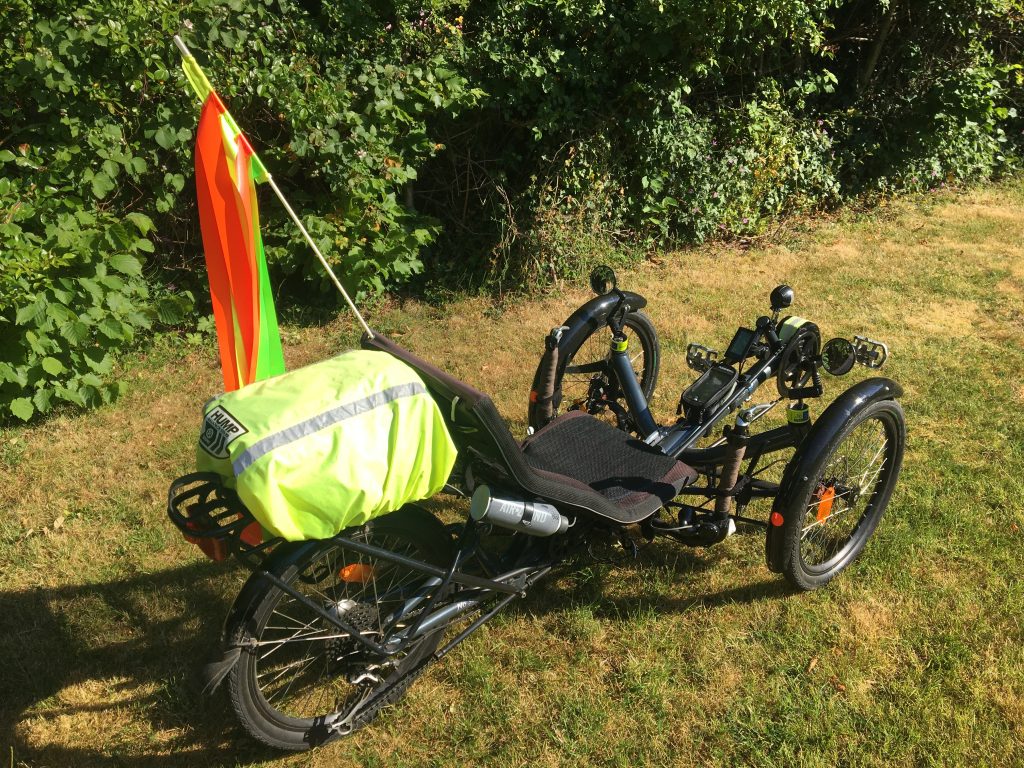
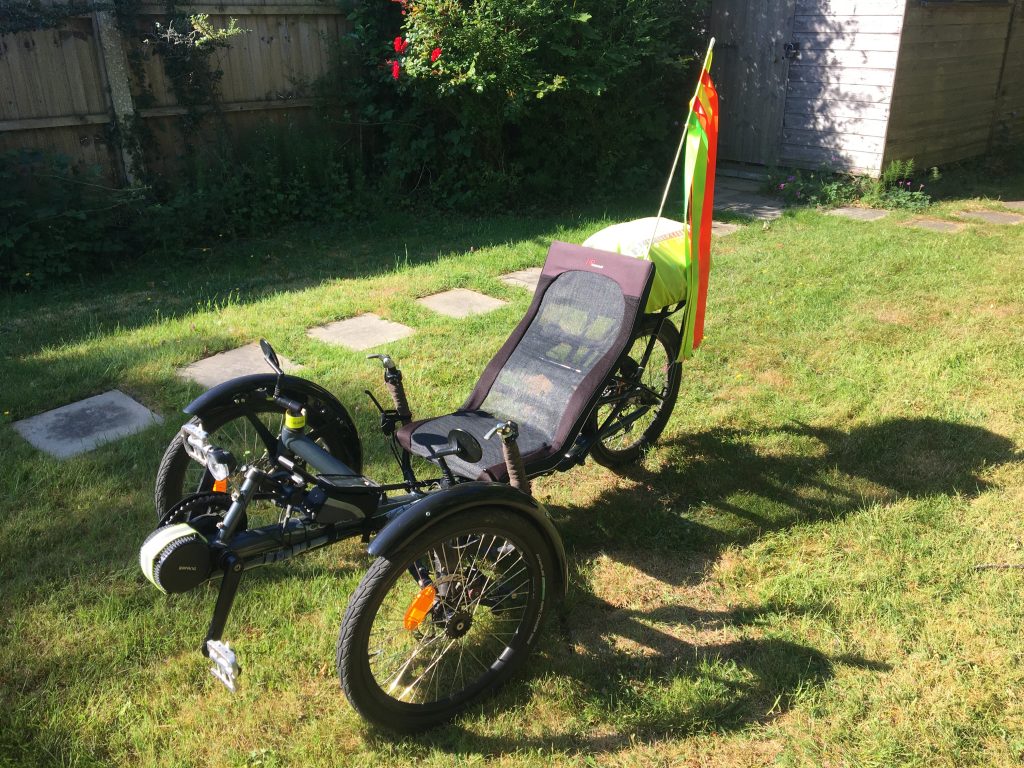
The trike in its form as at June 2020. I added an Airzound airhorn as I had one lying unused in the shed, but I also kept the bell for friendlier encounters, as the Airzound is loud and aggressive. Generally drivers give me a lot more space and consideration on the trike compared to any of our uprights.The Airzound is mounted to one of the seat tubes and the air tube has enough slack to flex with the steering.I mounted a small frame-bag on the boom to house my iPhone when riding, which is kept charged by a cable back to the USB socket on the battery.The arrangement at the front, with a plastic bar accessory mount holding the display. The headlight is connected to a bottle dynamo on the back wheel and the cable runs inside frame and boom.The flag is home-made. I bought some lengths of bright ribbon through Amazon and stitched them to a small plastic flag (also from Amazon) that is meant for kiddies bikes.