
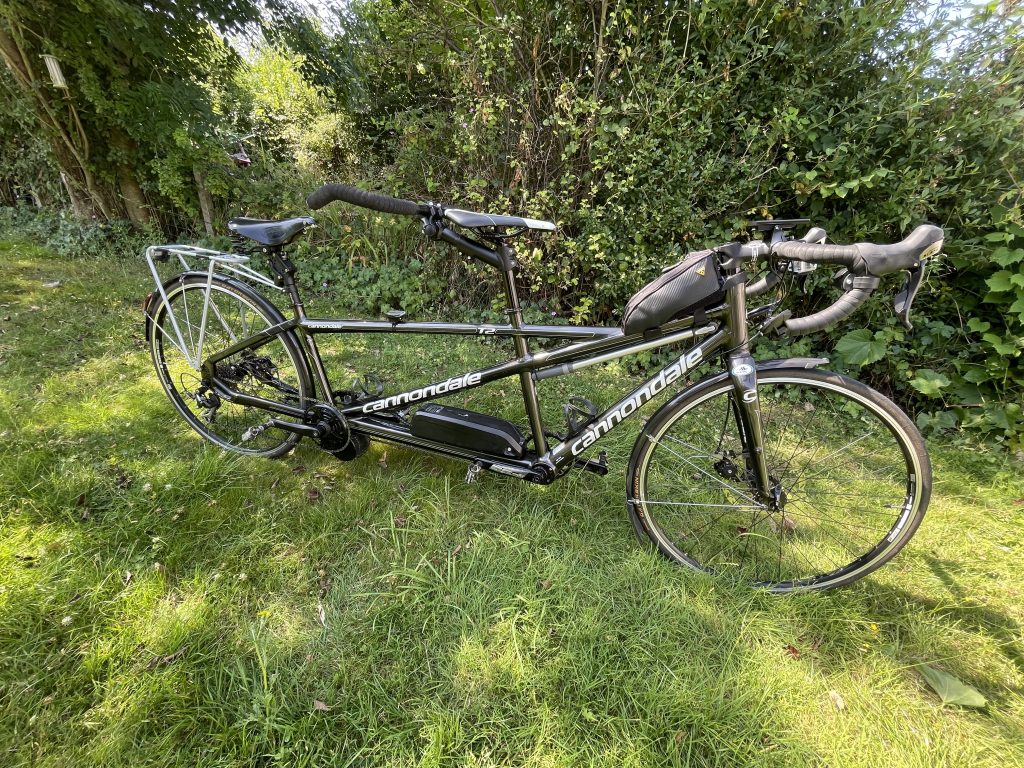
Back in 2024, Karon had commented that we rarely rode the Cannondale anymore and I had to agree. While it was fine on the flat, we struggled on the hills and it was putting us off taking it out. I had a ‘spare’ Bafang BBS01 250W motor in the shed and an old 36V battery that still had reasonable capacity, so I decided to see if I could fit it on to the ‘Dale.
Useful videos
Some good points on this one and it talks about alternative chainrings.
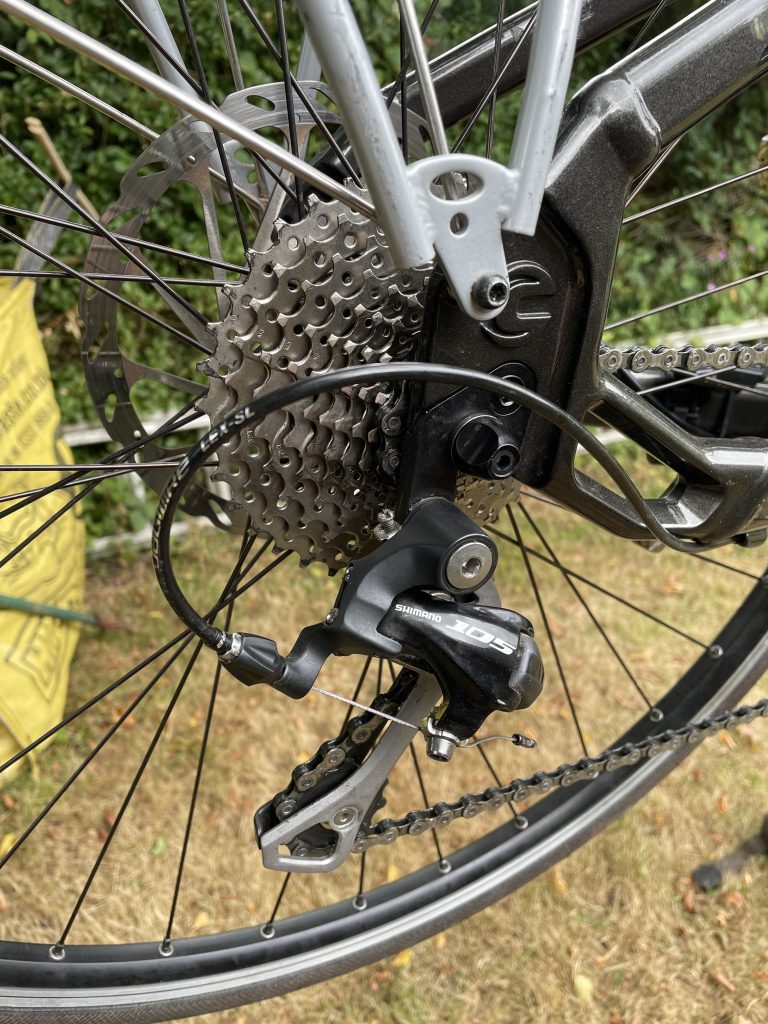
Points to note fitting a BBS01/2 – Note that the supplied brake levers with sensors are only suitable for hybrids and MTBs with cable brakes, not road bikes with drop bars. Sensors to fit non-standard or hydraulic levers can be bought separately. Personally, I am ok with not using brake sensors and fitting them neatly to road levers would be a challenge. The motor will still operate without brake sensors/levers fitted. It’s quite easy to ride without the sensors… if you want to stop the motor, just stop pedalling.
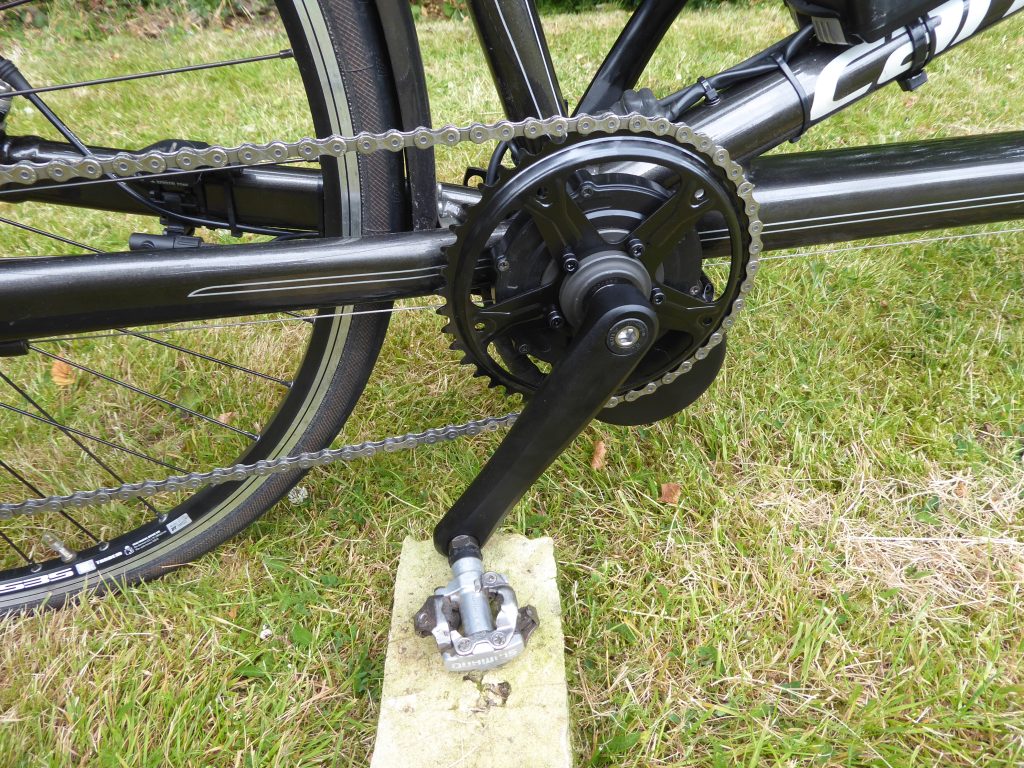
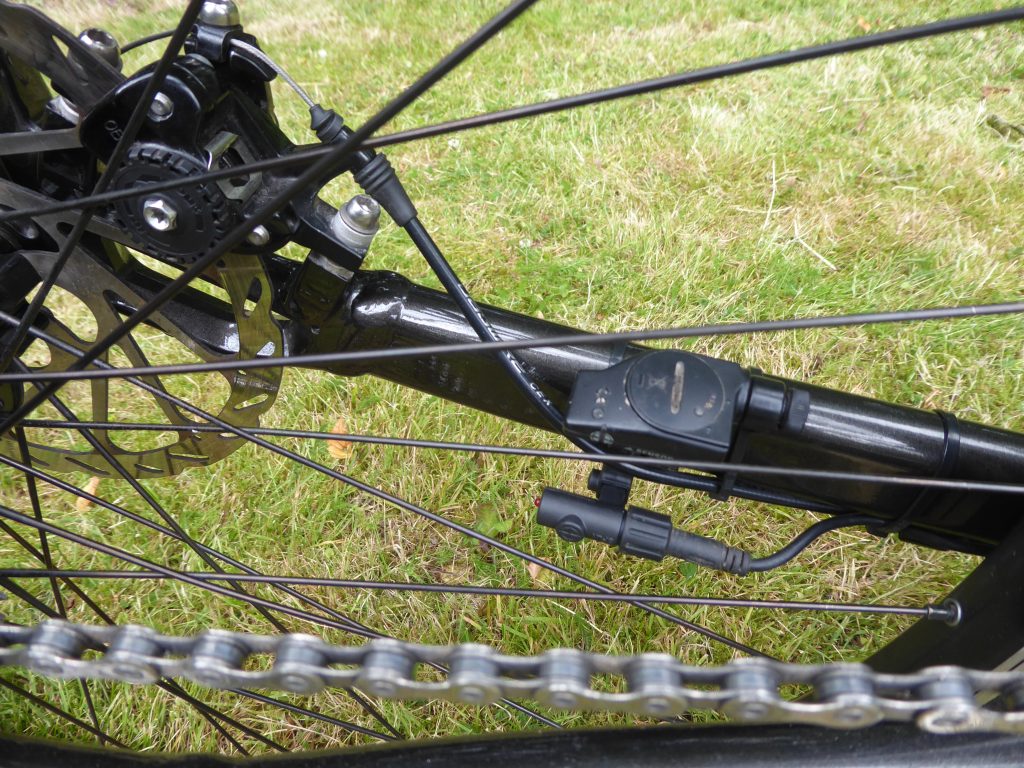
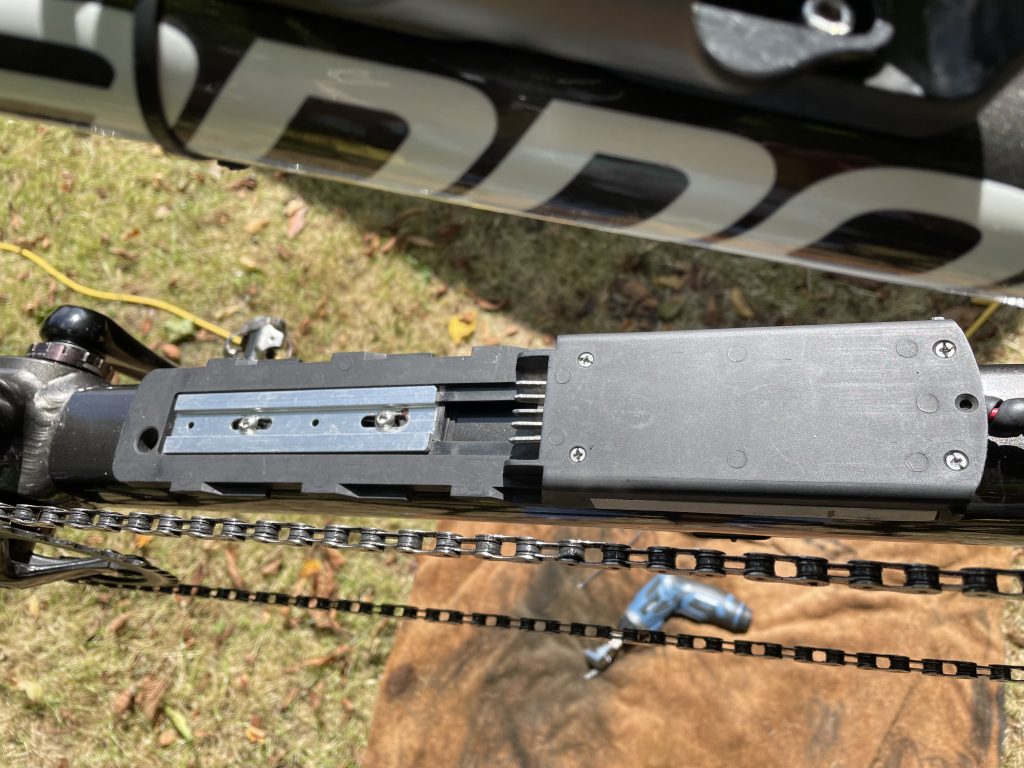
Fitting the Bafang was pretty straightforward on our Cannondale but this is the fourth fitting of a BBS01 I have done. I first needed to remove the original stoker’s chainset and front derailleur – as shown in the videos. Once this was done the Bafang motor and integrated bottom bracket slides in from the drive-side. The cable guide under the BB made it tight but I used a rubber mallet to drift the motor into place and the rear gear cable was still free to move.
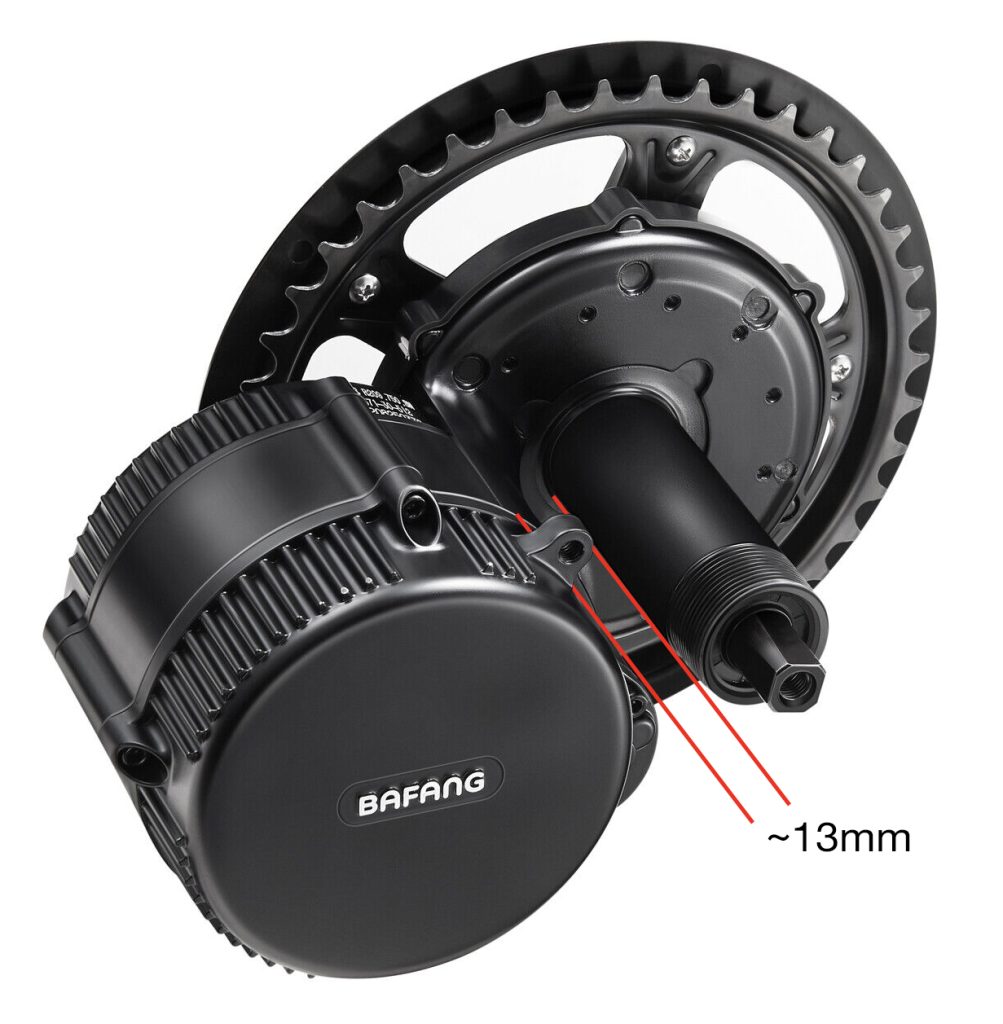
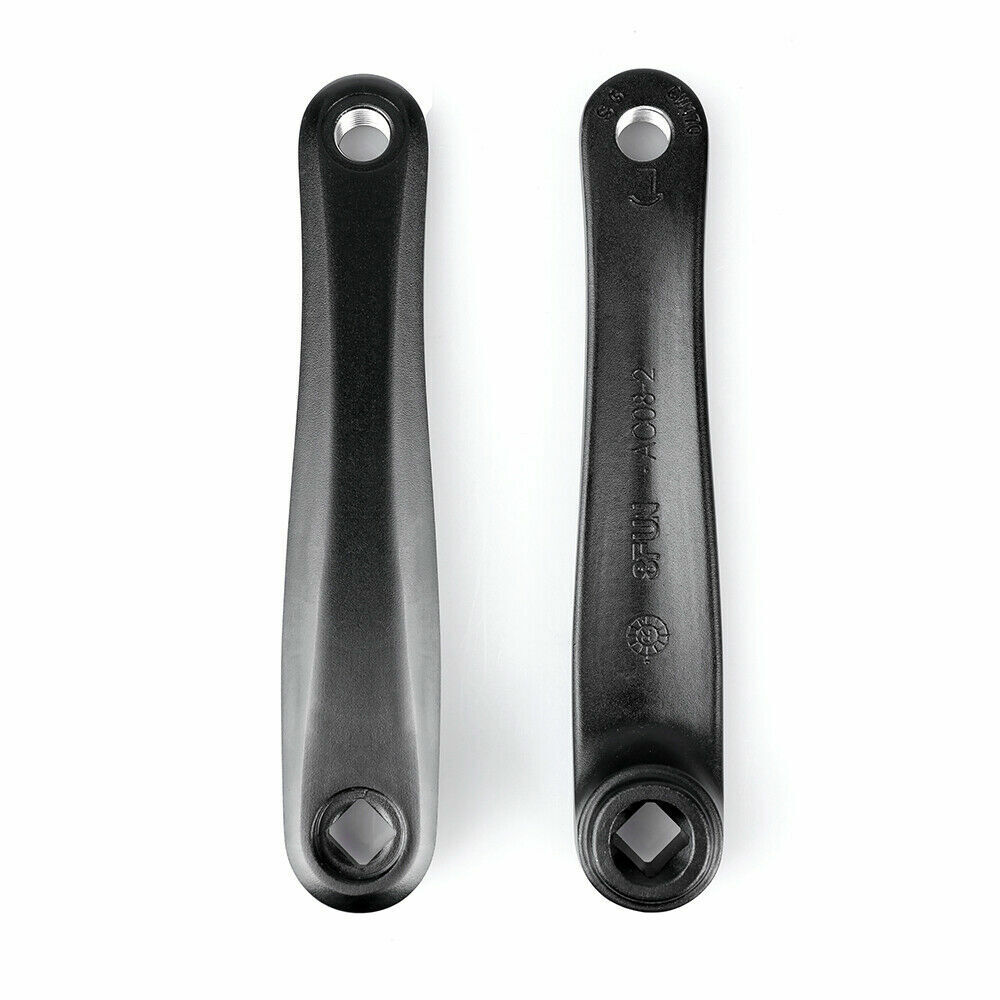
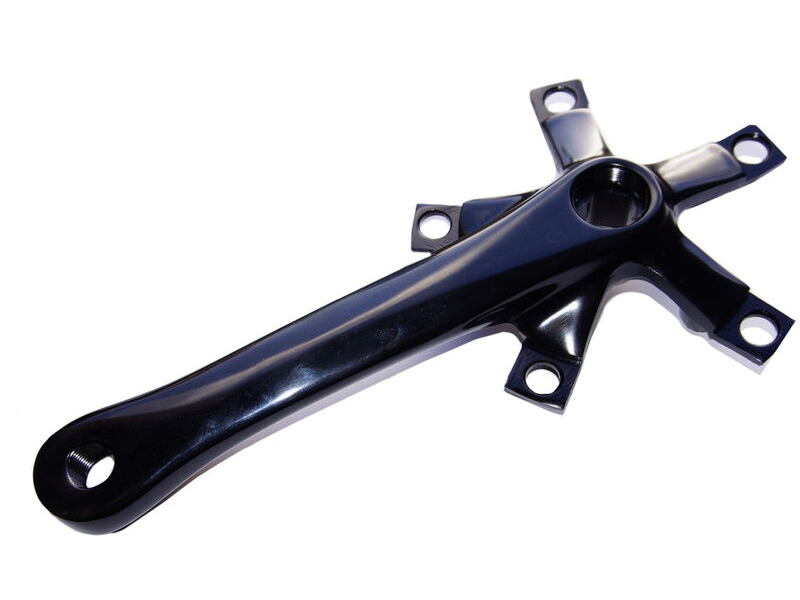
The original Cannondale BB was an ISIS drive and the Bafang is a square taper (diamond) as can be seen above and in the picture of the cranks below. The drive side uses the right hand crank that comes with the motor. On a solo the left hand crank would also be used, but on a tandem with left side timing chain, the stoker’s left crank may need replacing with a square taper crank and spider for the timing chain unless the original BB is also a square taper. I ordered a left hand tandem crank from Spa Cycles, square taper, black, 5 arm, similar to the unchanged pilot’s timing chain crank/spider, but the replacement spider was 110 bcd and the old spider was 104 bcd, so I also had to buy a 42T 5 hole 110 bcd chainring to fit the new crank/spider.
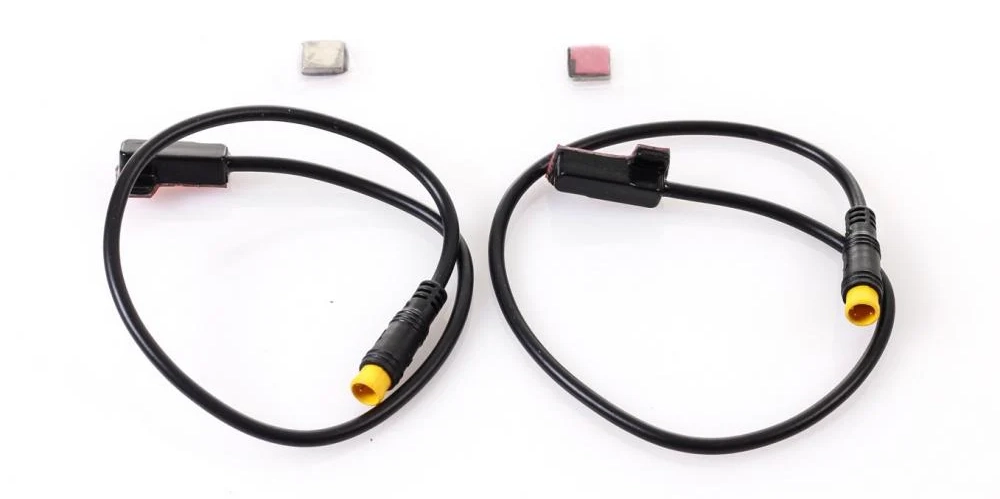
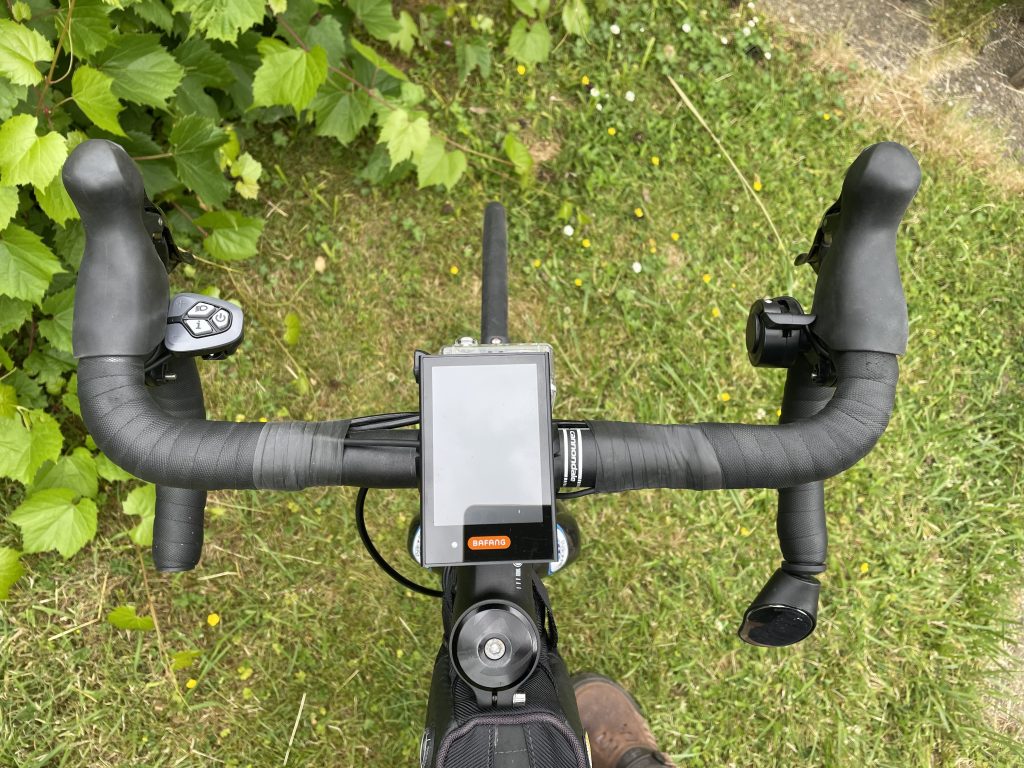
While I had the motor and a spare throttle, I didn’t have the wiring harness or display so those were ordered from Amazon. I like the DPC18 display – I have one on my MTB – as it carries more information and has a USB outlet. The Bafang BBS01 and 02 motors are very common, so there are lots of spares available on Amazon and eBay.

Chain alignment isn’t really an issue when swapping out a triple chain-ring for a single Bafang one.
As mentioned already, I decided not to try adding brake sensors. I had them on an MTB but removed them after a while and found I hadn’t needed them.
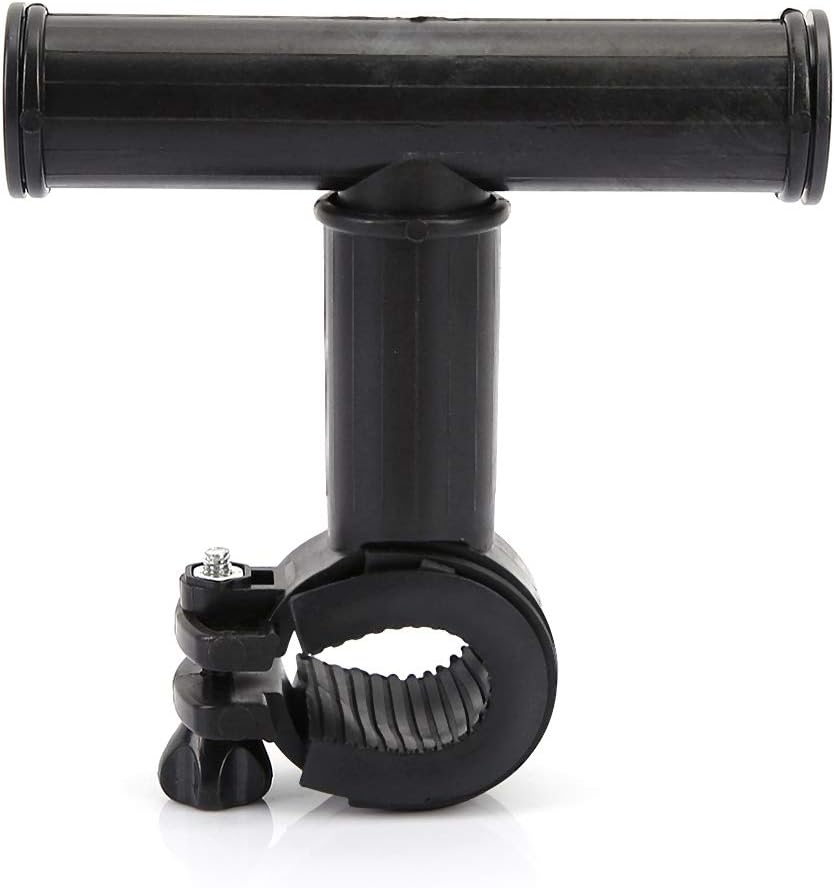
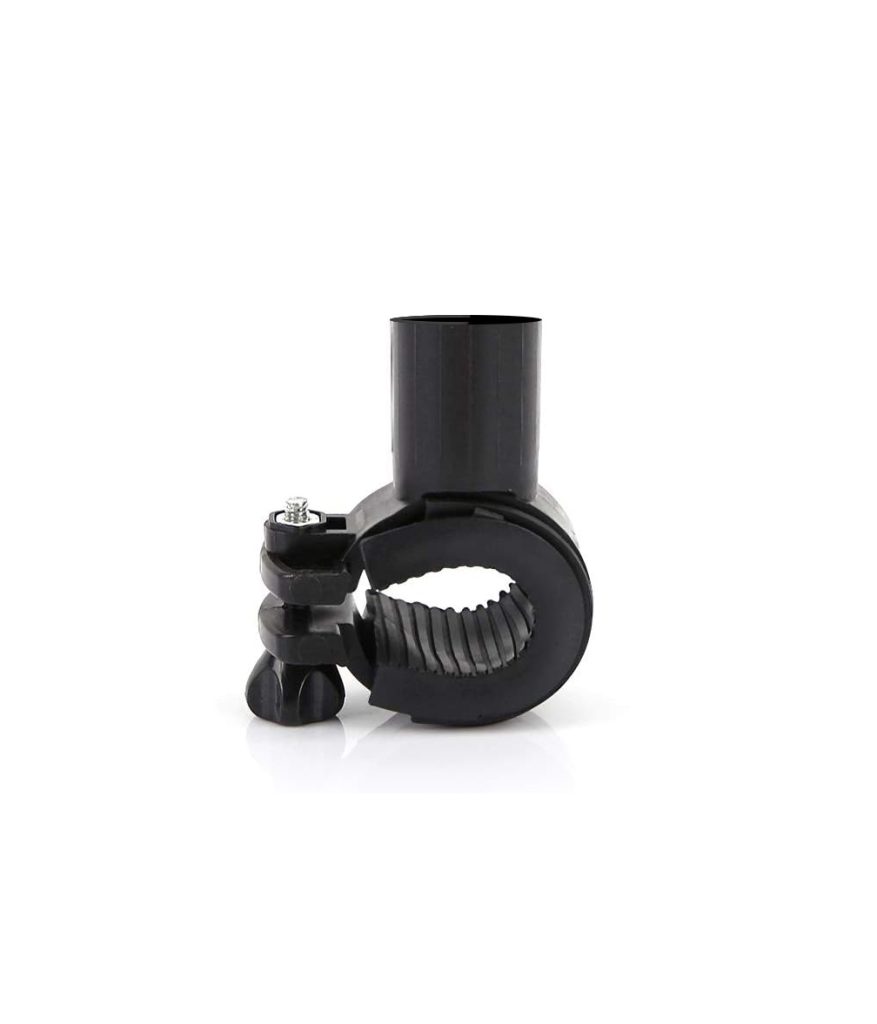
The cheap plastic accessory clamp I used to hold the control buttons and throttle, bought from Amazon. The ‘T’ section pulls out, leaving the clamp and tube, which I cut down to the length needed for the controls.
The added power from e-assist means that a front double or triple chainring is largely redundant, but with the stock 44T chainring I decided to increase the gear range by swapping the rear cassette for one with a wider range.
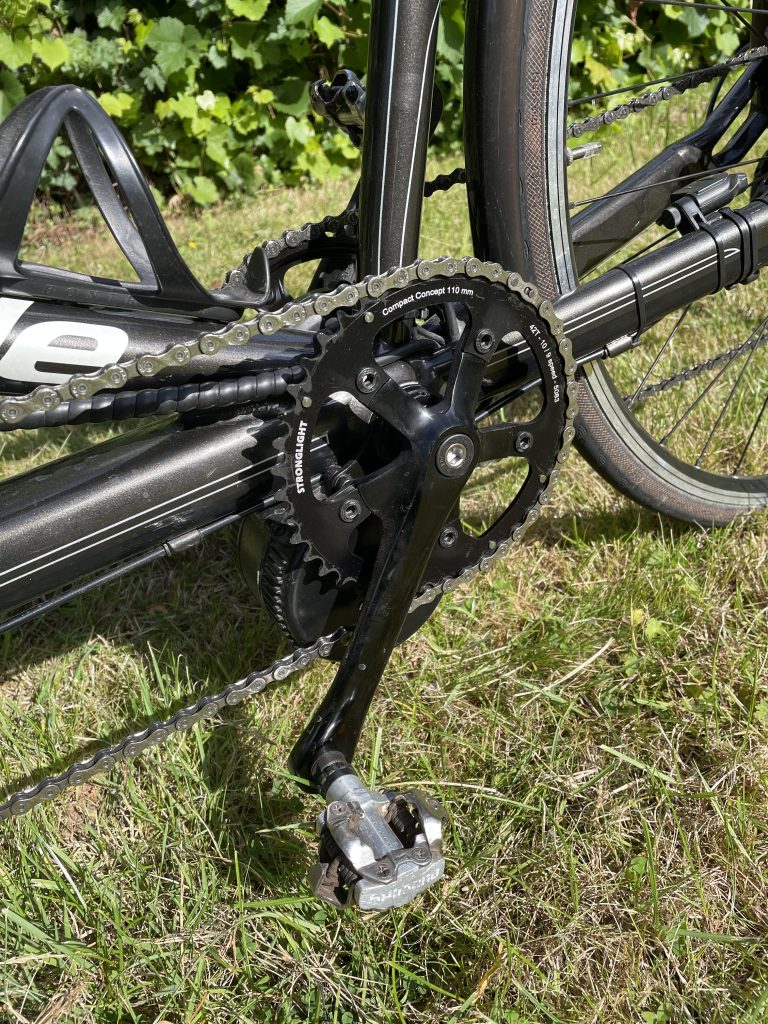
I also had a spare inset chainring – a narrow-wide 38T – which I think is the smallest that can fit the Bafang because of clearances. I fitted this inside the Bafang chaining. If we ever take the Cannondale to a more hilly area, or we ride it with loaded panniers, I can manually drop the chain onto the smaller ring and lower the whole gear range.
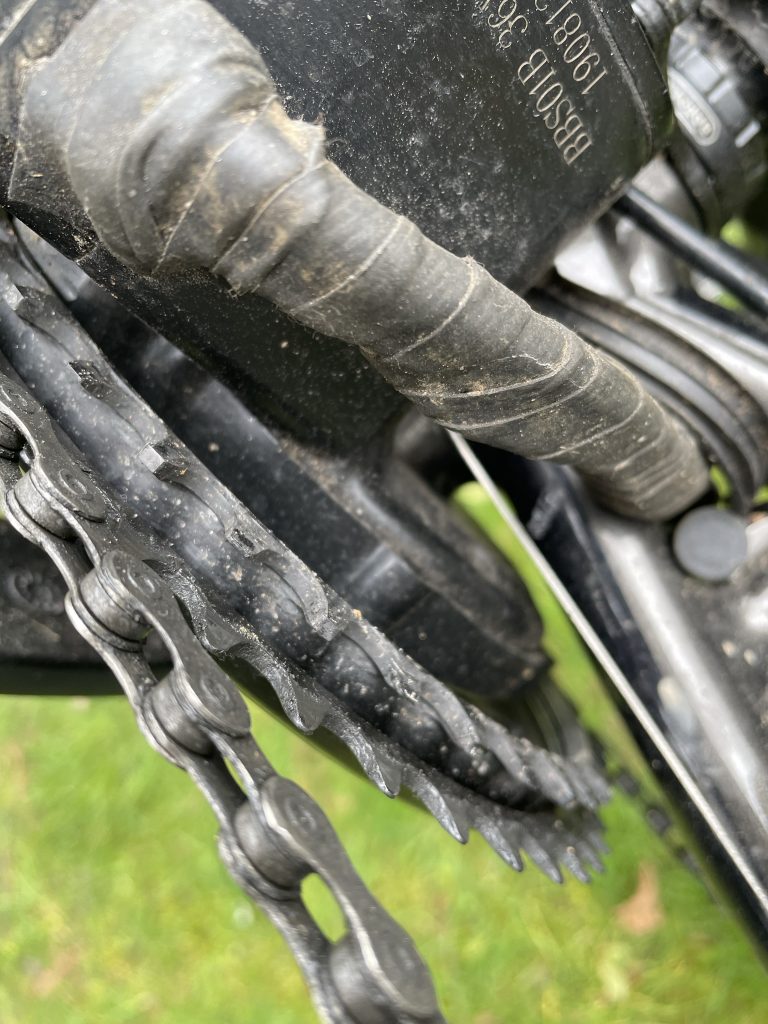

The chain on the Bafang chainring and on the inner offset, narrow-wide 38T ring. It’s pretty easy to swap the chain from one to the other manually.
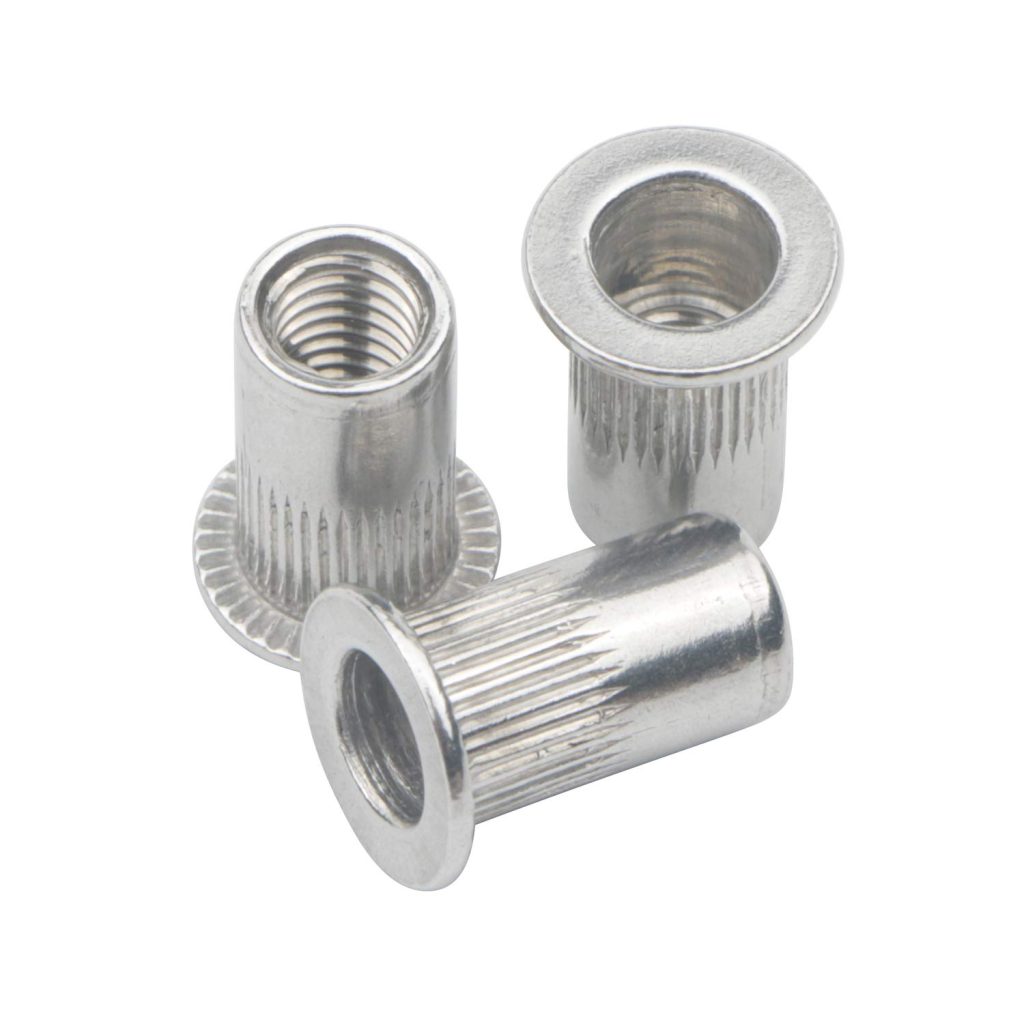
Here’s a video showing how to fit the rivnuts into place. The guy’s voice is a little annoying but the method is good.
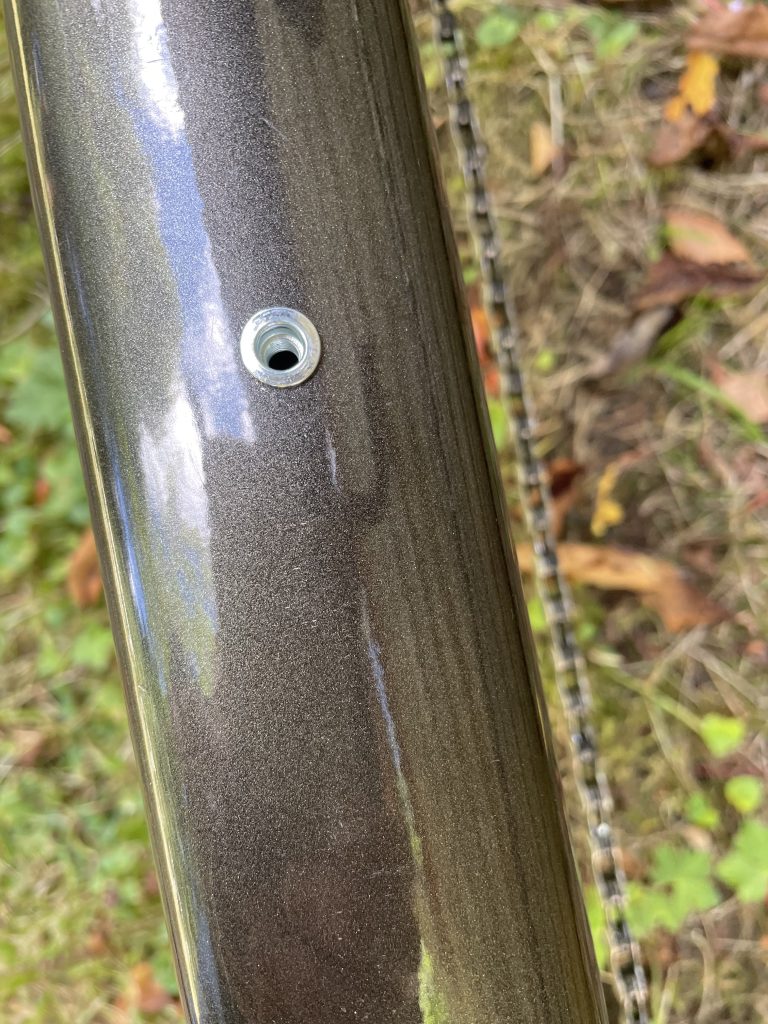
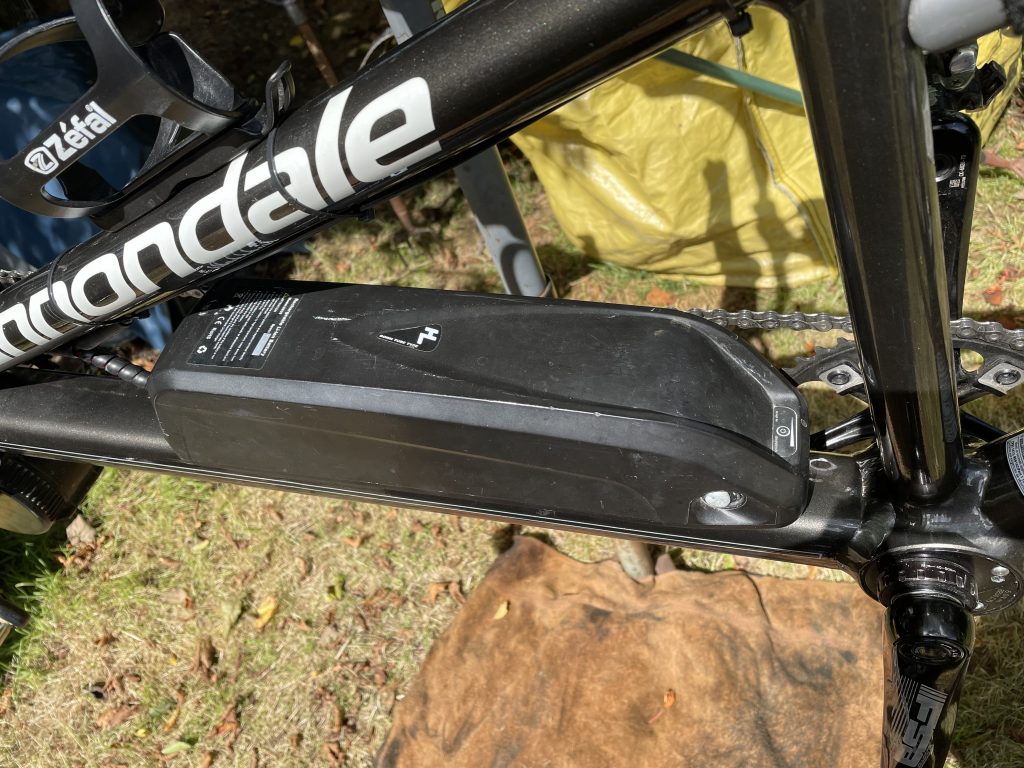
While the zip-ties to hold the battery mount in place worked ok, I didn’t like the look of the ties wrapped around the frame, so I removed the mount and put three rivnuts into the frame.
I used Sugru to make some cable clips stuck directly to the frame. This allowed me to dispense with zip ties for cable management.
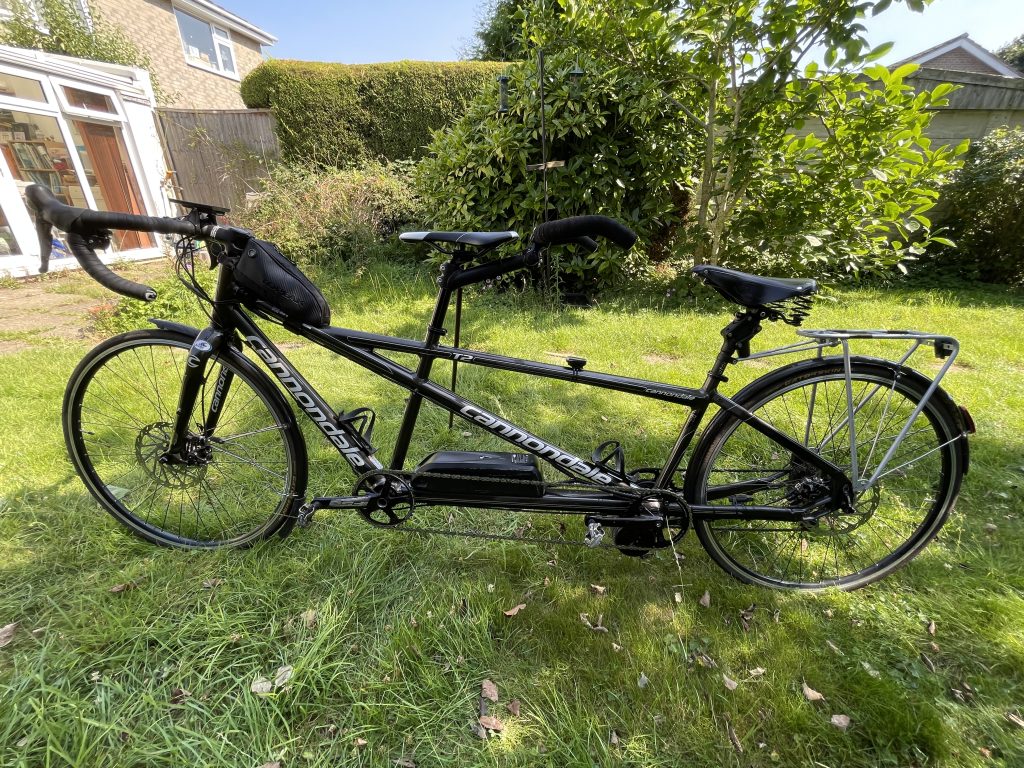
The Cannondale is a light tandem at only 17.5kg in its raw form. The Bafang BS01 can have 5 or 9 power levels to spread across the range, up to the legal 15.5mph (25kmh). I run 9 and usually select power level 6 or 7 to cruise at. This provides assist up to about 12-13mph and on the flat and without a headwind, we usually run faster than that, which means the motor has cut out for much of the time. If we hit a slight gradient, or there’s a headwind which drops our speed, the motor will ‘take up the slack’, but under normal circumstances there’s enough battery capacity to cover us for more mileage than we would usually cover in a ride.