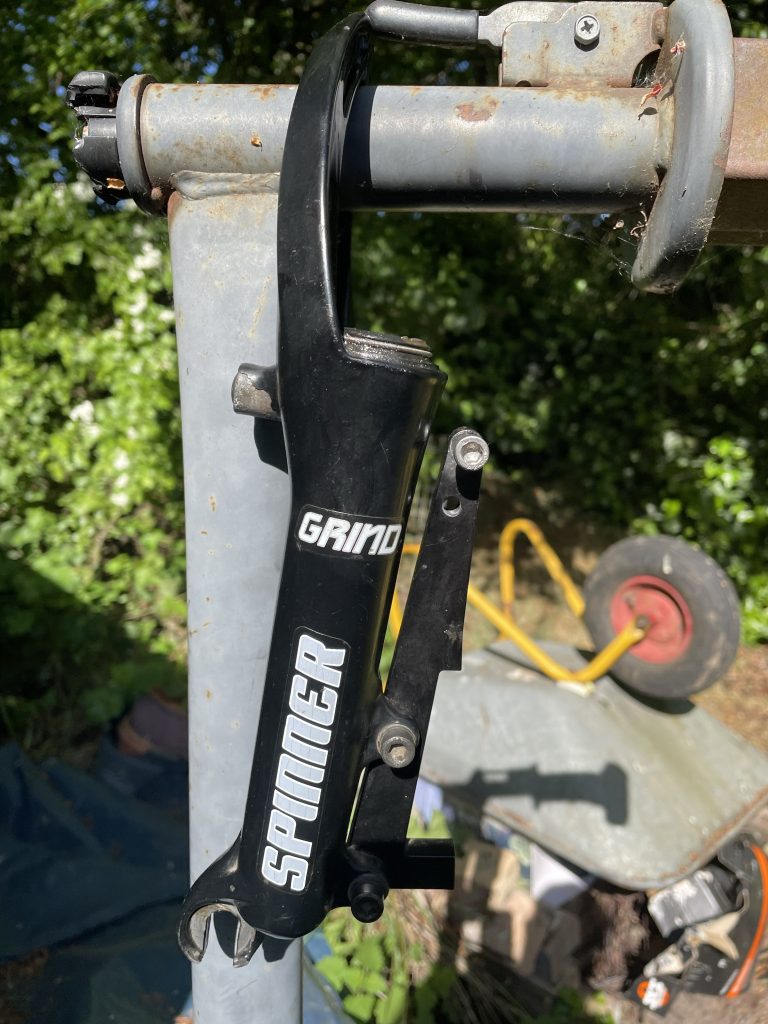
The original forks on our 2011 Pino are Spinner Grind forks. After a decade of riding, the fork was showing signs of a desperate need for replacement or at least a service.
After some searching on Youtube, I couldn’t find a strip down of the same fork, but there were videos of similar coil-sprung forks. I decided to buy a new set. It seemed the Grind was no longer made, but through JD Tandems I purchased the Spinner 300 20″ fork as a replacement. Note, the fork has a steerer clamp at the crown, specific to the Pino, so ‘any’ 20″ fork is not suitable.
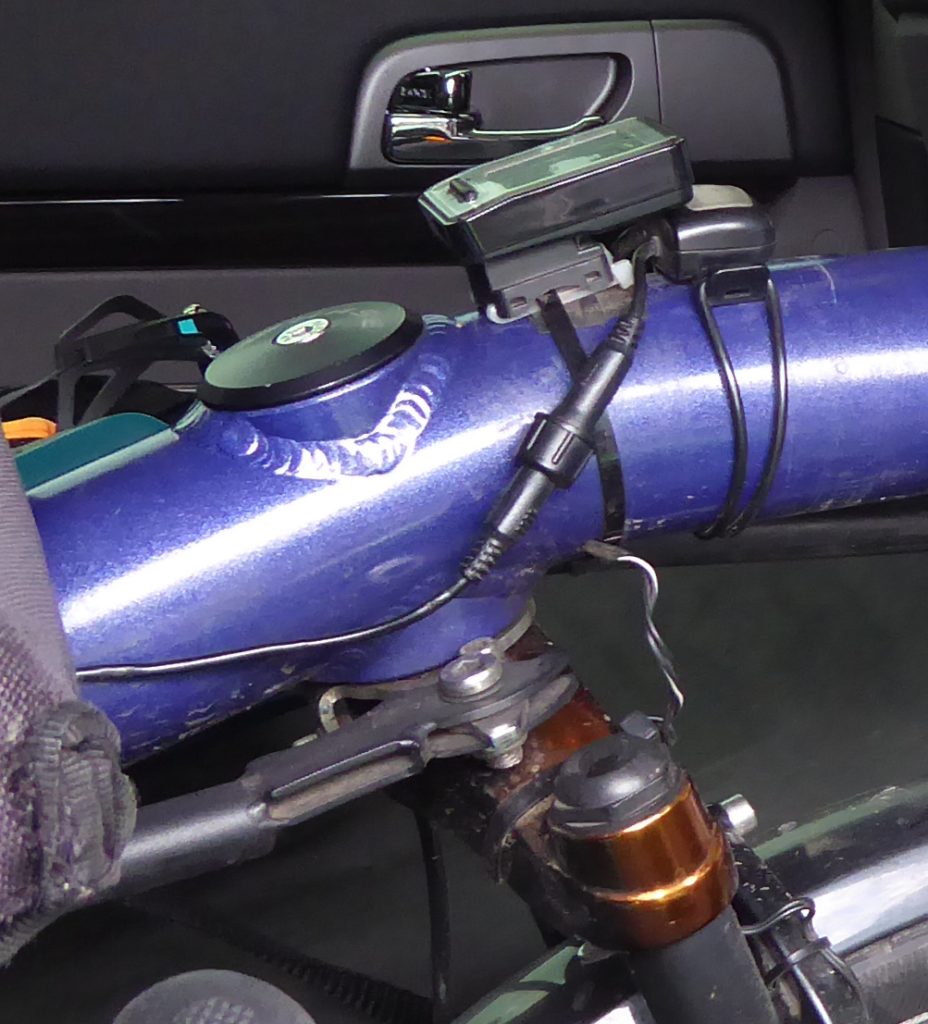
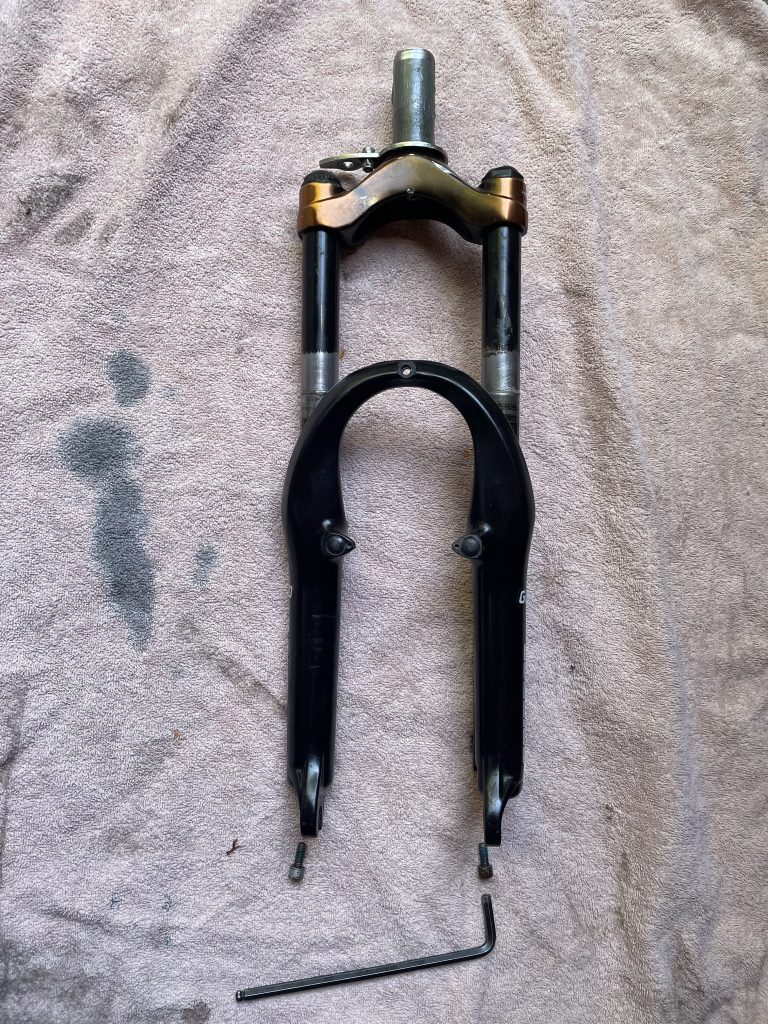
Removal of the fork is very straightforward. Remove front wheel, then the mudguard, brake calliper and any other attachment like wiring for a trip meter or dynamo. Once the fork is free of all attachments, undo the allen bolt in the centre of the headset cap on the top of the frame in front of the stoker’s seat.
The fork should then drop out. Depending on the year of manufacture, the Pino fork may vary but the servicing should be similar. Youtube videos help, but I couldn’t find one for the specific Spinner Grind we have.
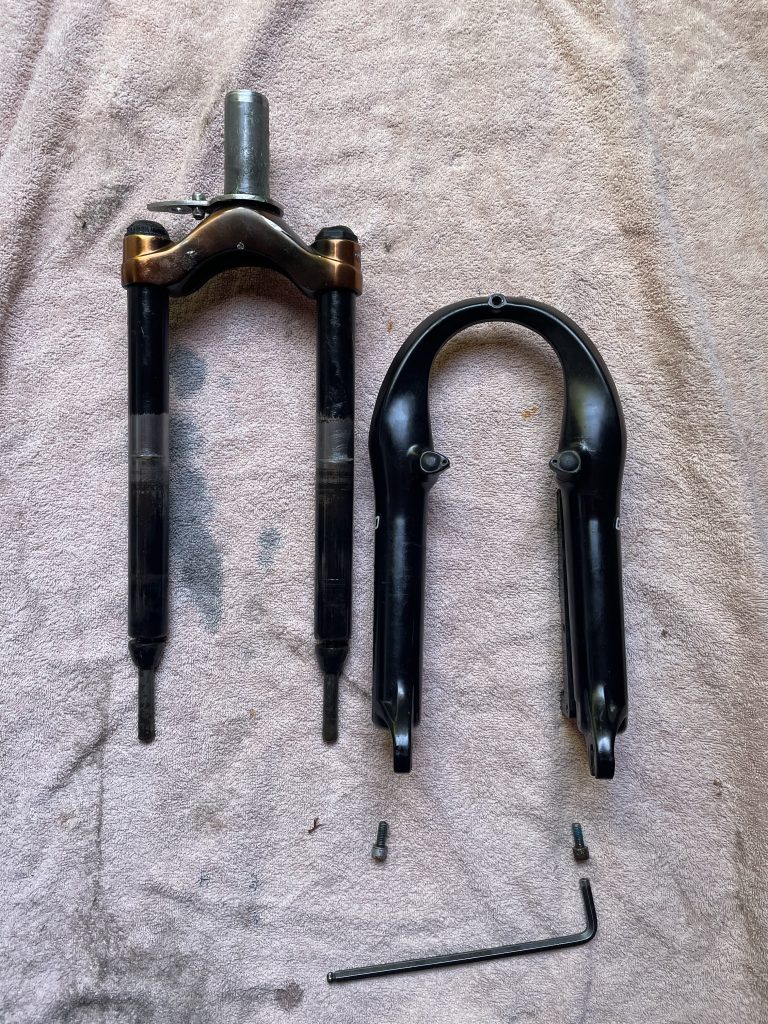
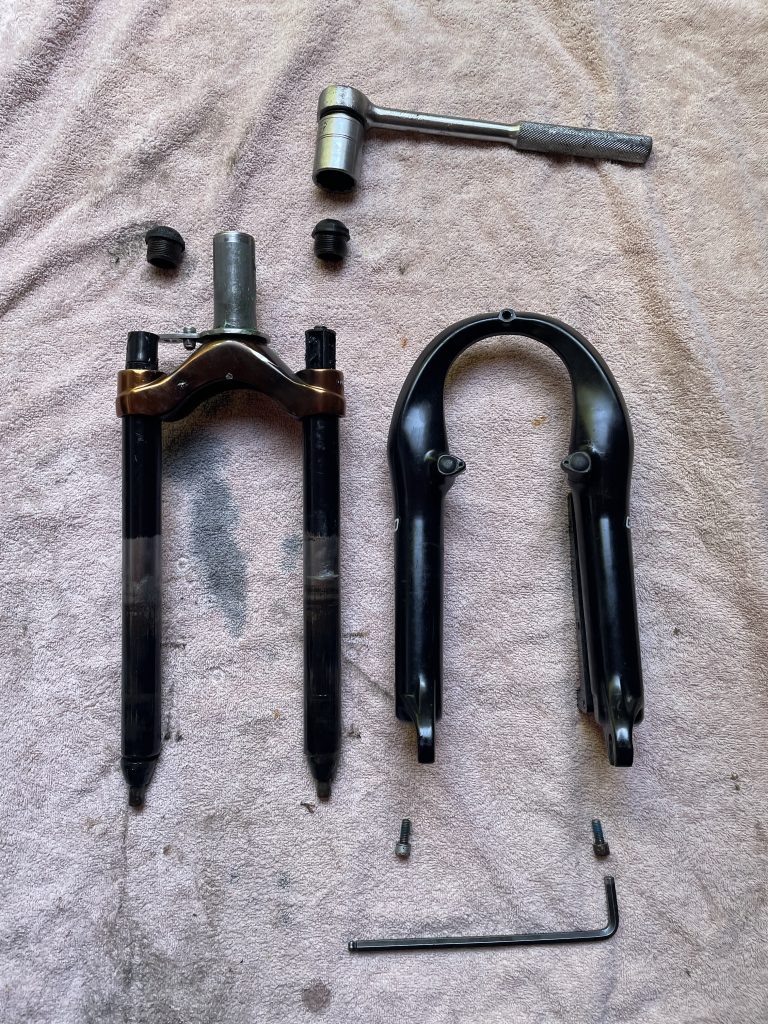
Before removing the bolts entirely, while they still have a little thread, tap them to loosen the inners, then remove the bolts. The fork lowers can then be pulled off. The photo above shows the fork lowers partly pulled off.
Next step is to remove the caps at the top of each leg on the uppers.
With the caps removed, you can push the rods at the end of the lowers up to push out the preload and spring/elastomers in the upper legs.
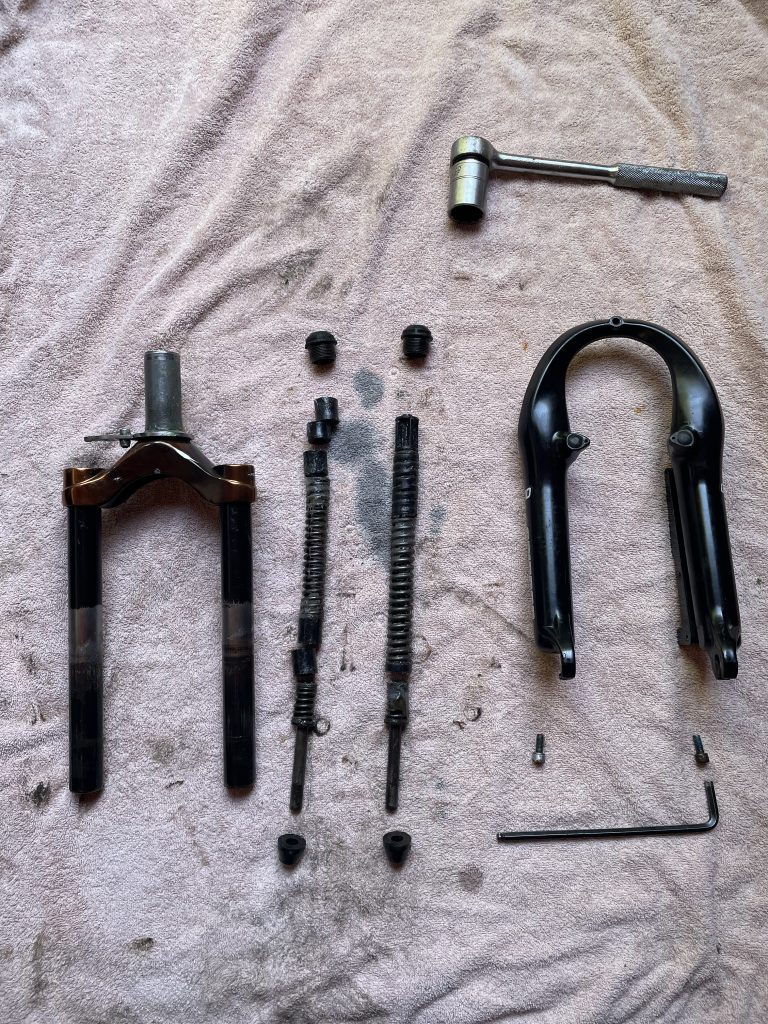
Once the forks are stripped down, everything can be cleaned and regreased. The tubes, especially the outers, can collect moisture which in turn can rust the inner surfaces and those of the uppers. The same can happen to the springs. It may be necessary to use a spirit based cleaning liquid to break down the old grease and oil before applying new.
Assembly is the reverse, with everything covered in fresh grease, but before reinstalling the two allen bolts into the inverted fork, I drop some oil into the holes then fit the bolts. You may need to tweak the position of the lower rods so the bolts align with them to successfully tighten them into place.
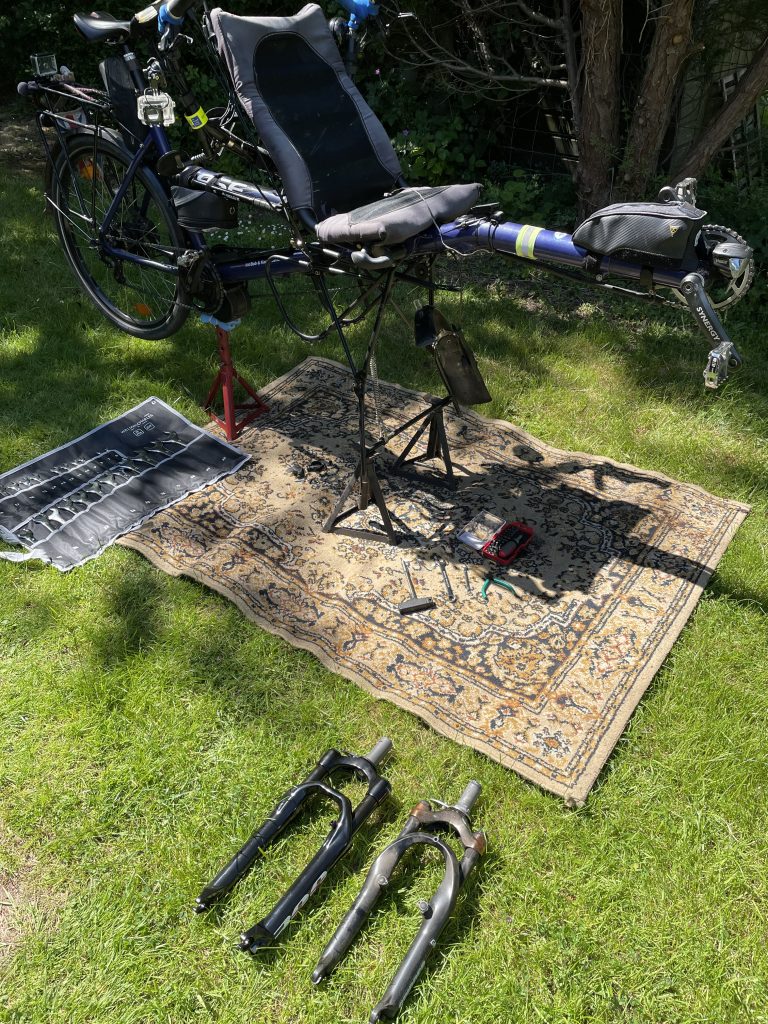
As I have two sets of forks, the rejuvenated set can be kept in the bike shed, ready for the next change-over in a couple of years.
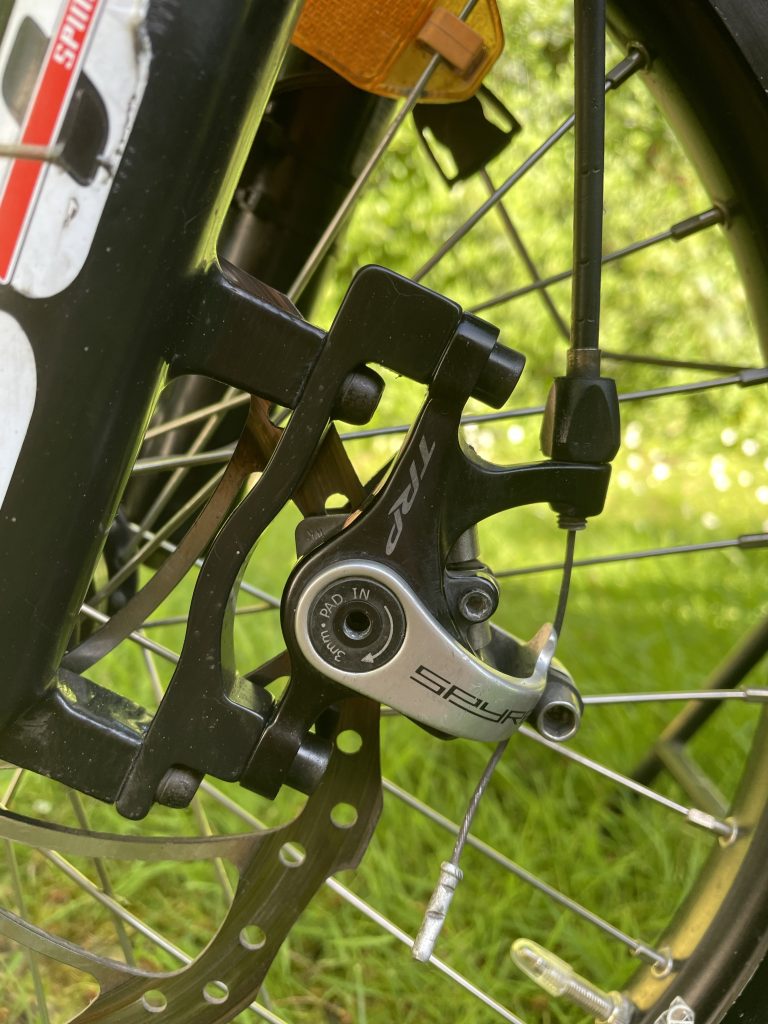
The 300 is marginally longer than the Grind and has a different disc brake mount. On the left, the 300 Post Mount with adapter and on the right, the Grind IS mount and adapter.
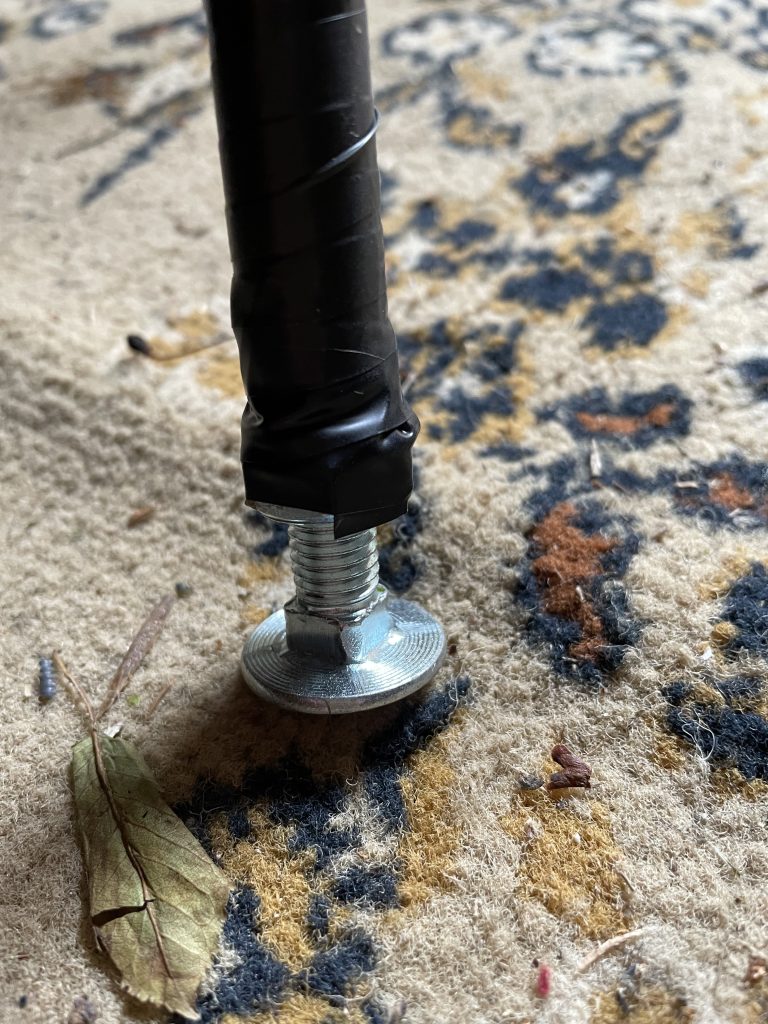
Because the 300 is about 2cm longer than the Grind, if your Pino has the Hase stand fitted, it may not have enough length to support the bike properly when up on the stand, so the legs need to be lengthened. I did this by using a couple of M12 bolts inserted into the tube of the leg and held in place with some ‘No nails’ glue. A nut placed on the bolt prevents the bolt from overpowering the glue and sliding into the leg tube.